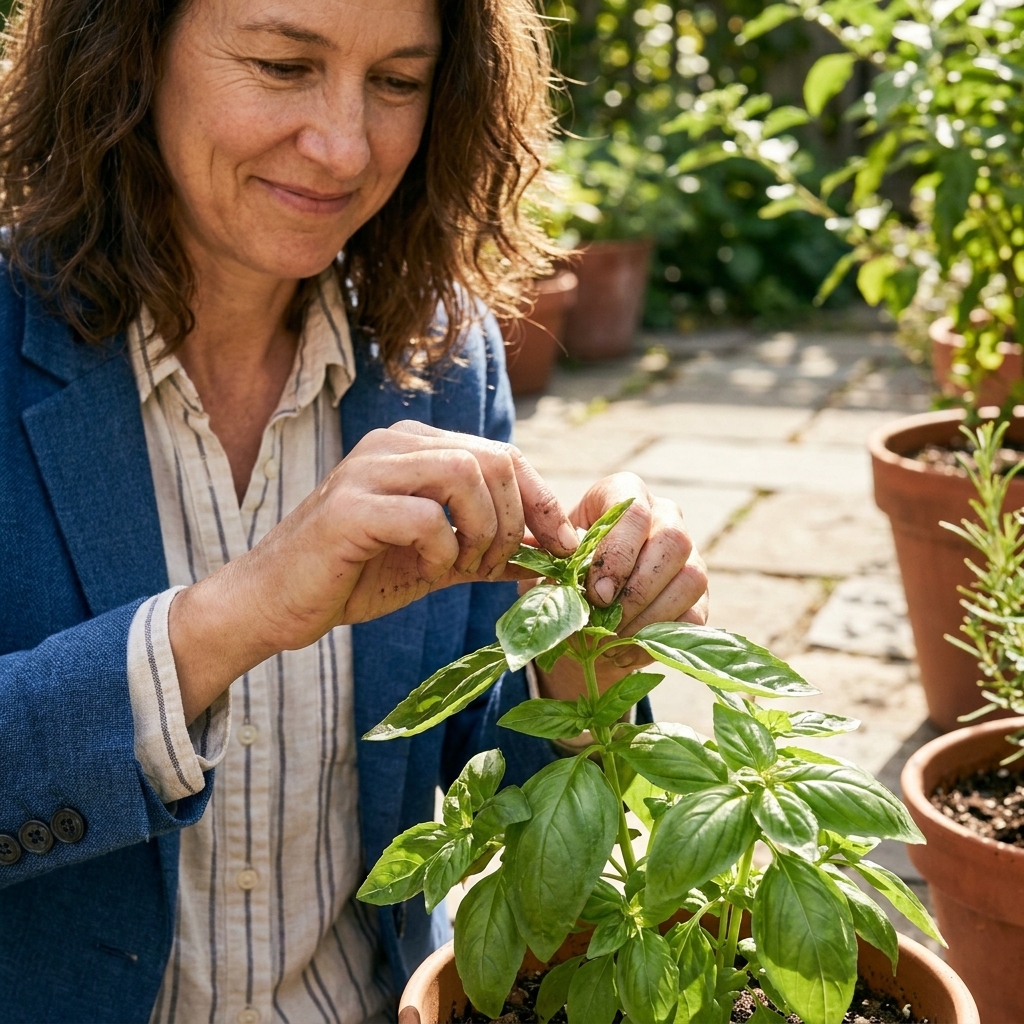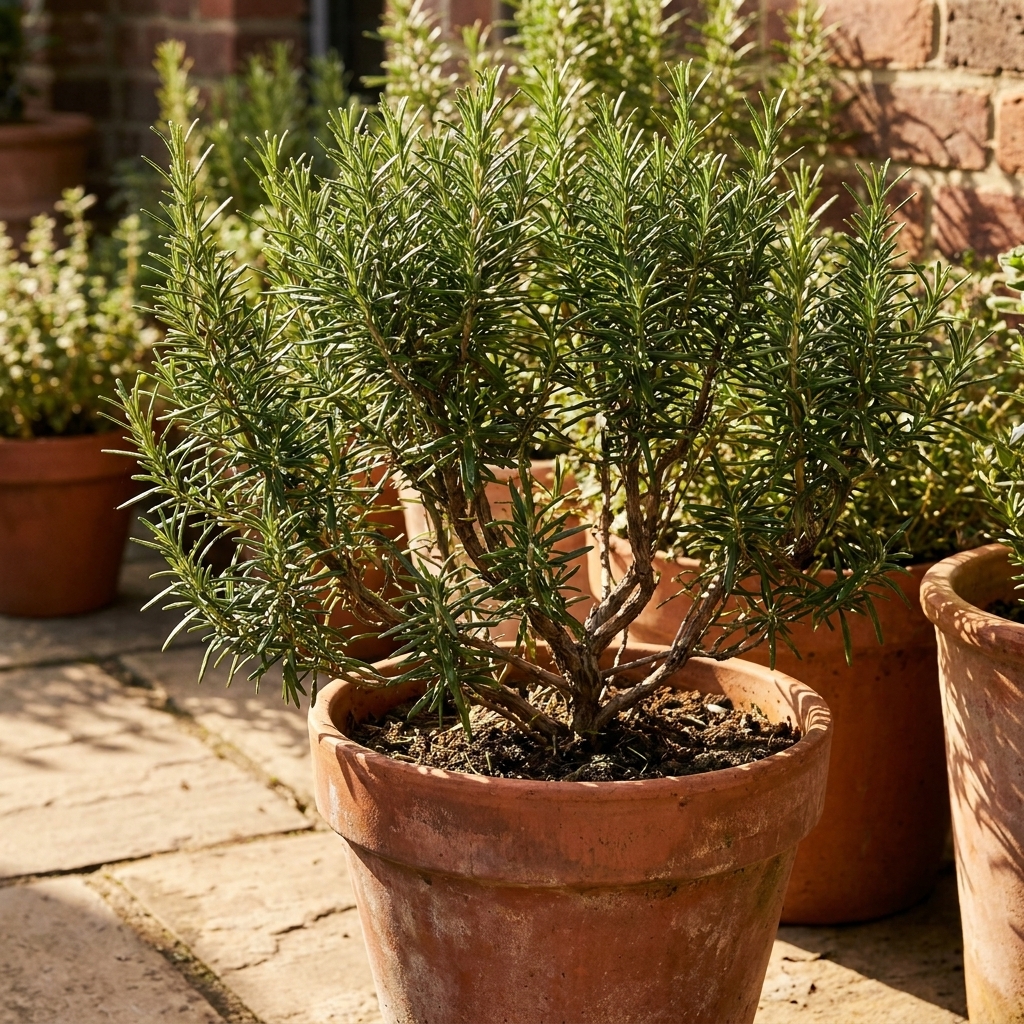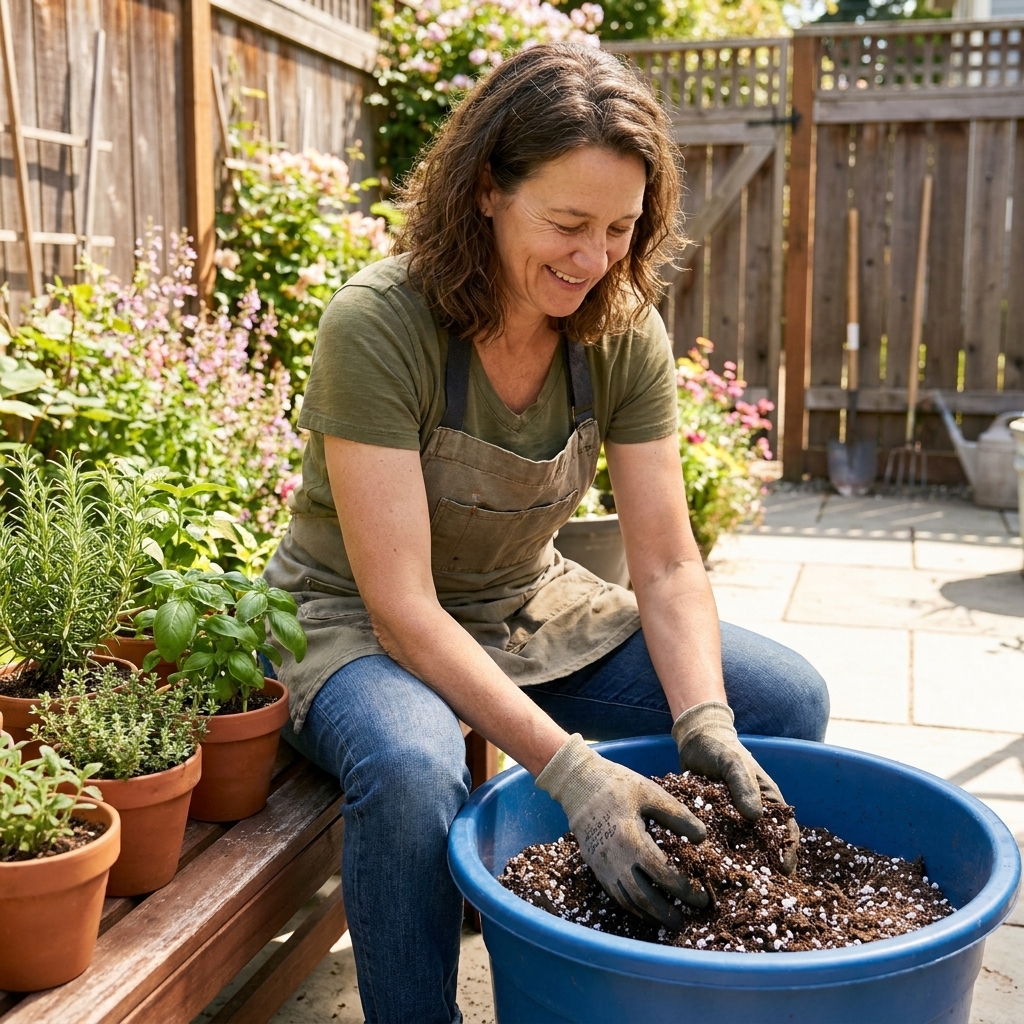
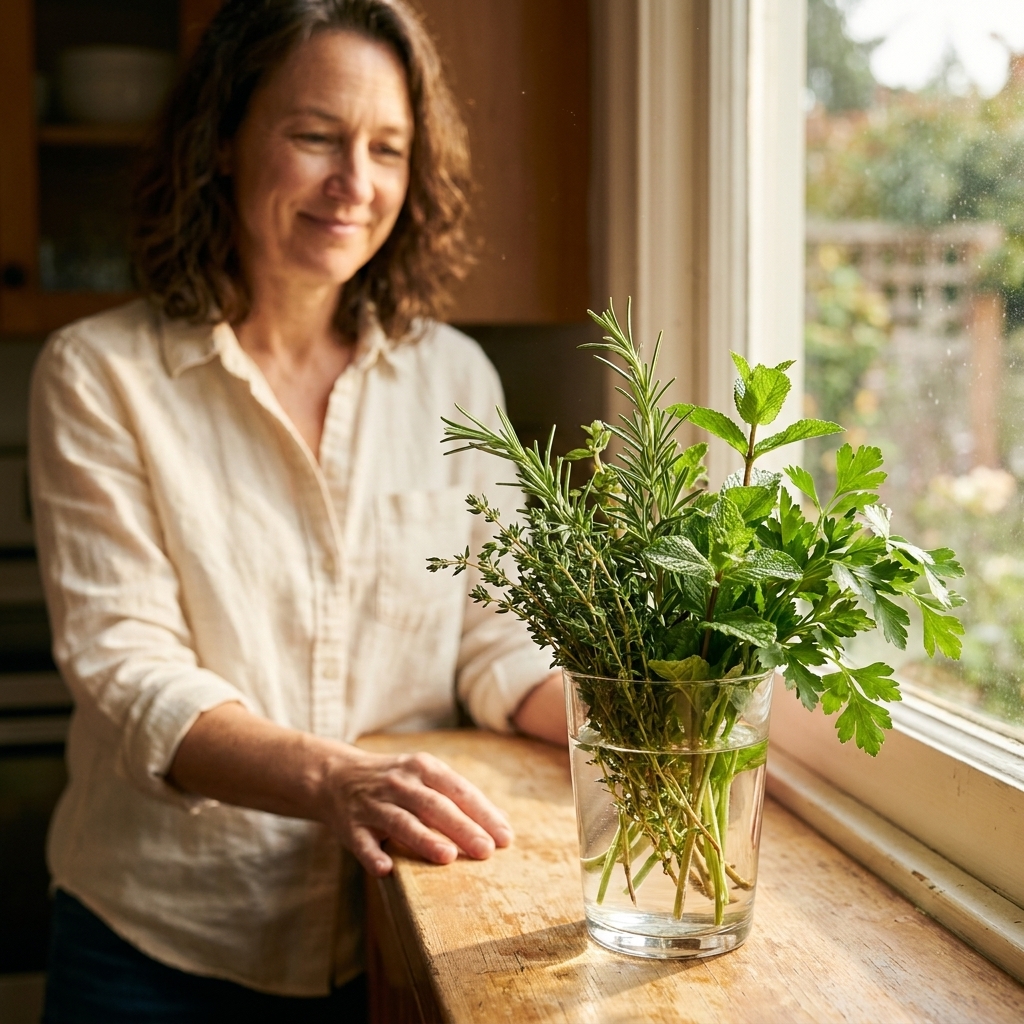
There is a special kind of joy in taking a bunch of grocery store herbs that would have wilted in your fridge and turning it into a living plant that keeps giving. I started doing this in my apartment years ago, when a single bunch of basil felt like a tiny splurge. One stubborn little stem rooted in a glass of water on my windowsill, and suddenly I had a new habit.
This guide walks you through two reliable methods, water and soil propagation, plus the small details that make the difference between “slimy stems” and “look at those roots!”
First: pick the right herbs
Not every herb roots easily from a cut stem, and grocery store bunches vary a lot in freshness. Start with herbs that are naturally eager to make roots.
Usually easy to root from sprigs
- Mint
- Basil (sweet basil, Thai basil)
- Oregano
- Marjoram
- Lemon balm
Possible, but inconsistent from grocery sprigs
- Rosemary: can root from cuttings, but store sprigs are often too woody, cold-stressed, or dried out. Your best bet is a fresh bunch with semi-soft tips (flexible, not fully barky).
- Thyme: doable, but finicky from grocery bundles. Non-flowering, flexible stems tend to perform better than tough, older ones.
Often disappointing from grocery sprigs
- Cilantro: much more reliable from seed. Cut stems rarely root well once the bunch is mature.
- Parsley: you might get the occasional success, but it is rarely successful from cut stems. Seed or nursery starts are easier.
- Dill: tends to bolt and does not love being rooted from cut stems.
- Chives: best grown from divisions with roots attached, not leaf cuttings.
How to spot a “propagation-worthy” bunch
- Stems look firm, not limp or wrinkled.
- Leaves are mostly perky and not blackened or mushy at the base.
- Longer stems (4 to 6 inches or more) give you room to remove lower leaves and still have nodes submerged.
- Look for nodes: little bumps where leaves attach to the stem. Roots form from nodes.
What you will need
You do not need fancy gear. You do need cleanliness and patience.
- Fresh herb sprigs
- Clean scissors or pruners
- A small glass or jar (for water rooting)
- Fresh water
- Small pots with drainage holes (2 to 4 inches is perfect)
- Potting mix (light, well-draining)
- Optional but helpful: perlite or seed-starting mix, rooting hormone, a clear plastic bag or humidity dome
Best conditions
A few environmental tweaks make propagation go from “why is nothing happening?” to “oh wow.”
- Temperature: 65 to 75°F (18 to 24°C) is the sweet spot for most herbs. Keep cuttings away from cold windows at night and drafty vents.
- Light: bright, indirect light for rooting. Once potted, many herbs (especially basil) want very bright light to stay sturdy. A bright window can work, but a small grow light is a game-changer in winter.
- One golden rule: keep leaves out of water and only bare nodes submerged.
Water propagation
Water propagation is my favorite for beginners because you can see what is happening. It is also a great way to rescue sprigs that are starting to droop.
1) Trim the stems correctly
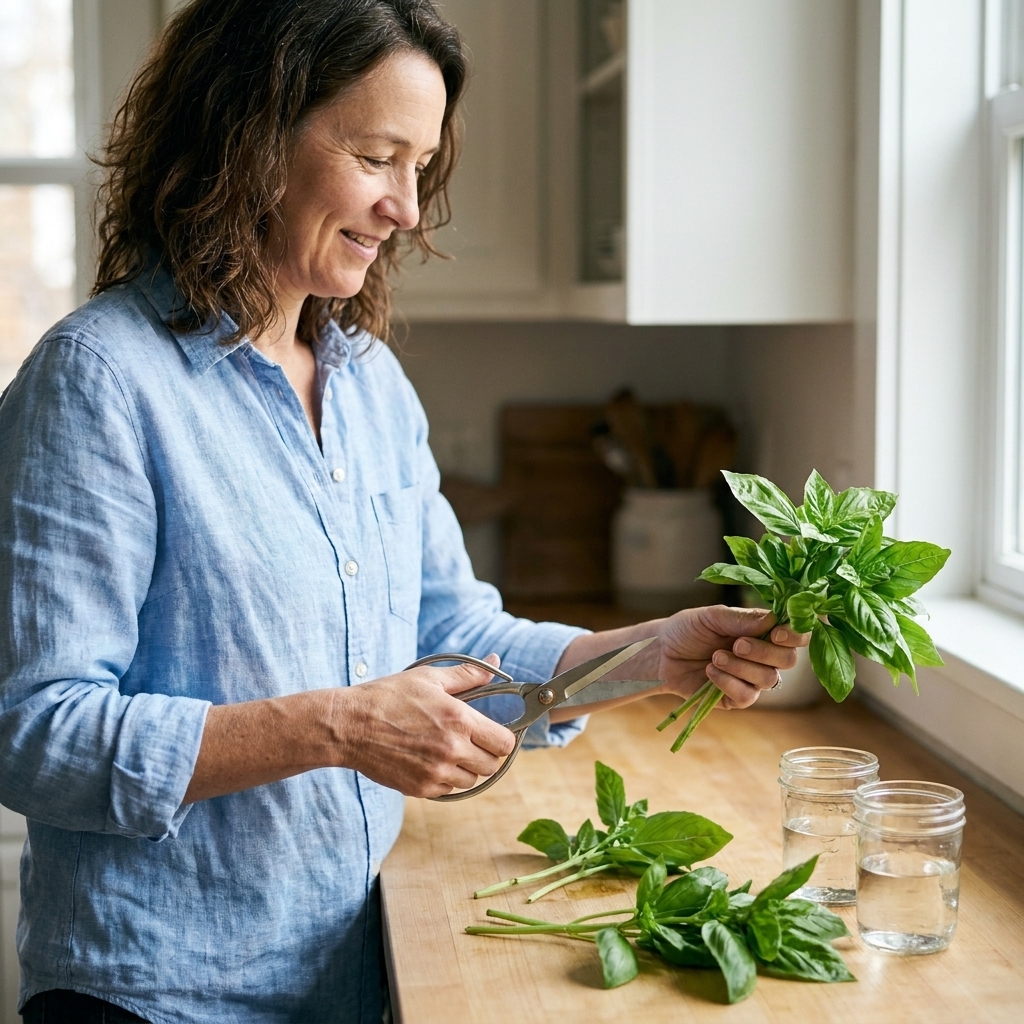
Take 3 to 8 sprigs so you are not putting all your hopes on one stem. Using clean scissors:
- Cut each stem to about 4 to 6 inches.
- Make the cut just below a node (where leaves meet the stem).
- If the bottom of the stem is browned, slimy, or crushed from packaging, cut above that damage until you see healthy green tissue.
2) Strip the lower leaves
Remove leaves from the bottom 2 inches of stem. Anything that sits underwater will rot, and rot is what turns a promising jar into a smelly science project.
3) Place stems in water
- Use a clean glass or jar.
- Add enough water to cover the bare nodes, but keep most leaves above the rim.
- Do not crowd the jar. If stems are packed together, airflow is poor and rot spreads faster.
4) Give bright light, not harsh sun
Set the jar in bright, indirect light. A sunny windowsill is fine if it is not roasting hot. If leaves look wilted by midday, check whether the jar is heating up in direct sun. Moving it a few inches back from the glass often fixes it.
5) Change the water (enough, not obsessively)
For grocery store sprigs, cleaner water usually means less rot. Change the water every 2 to 3 days, or sooner if it turns cloudy. Rinse the jar as needed. If you are fighting slime, daily changes for the first few days can help, then you can back off once things look stable.
6) Watch for roots, then pot up at the right time
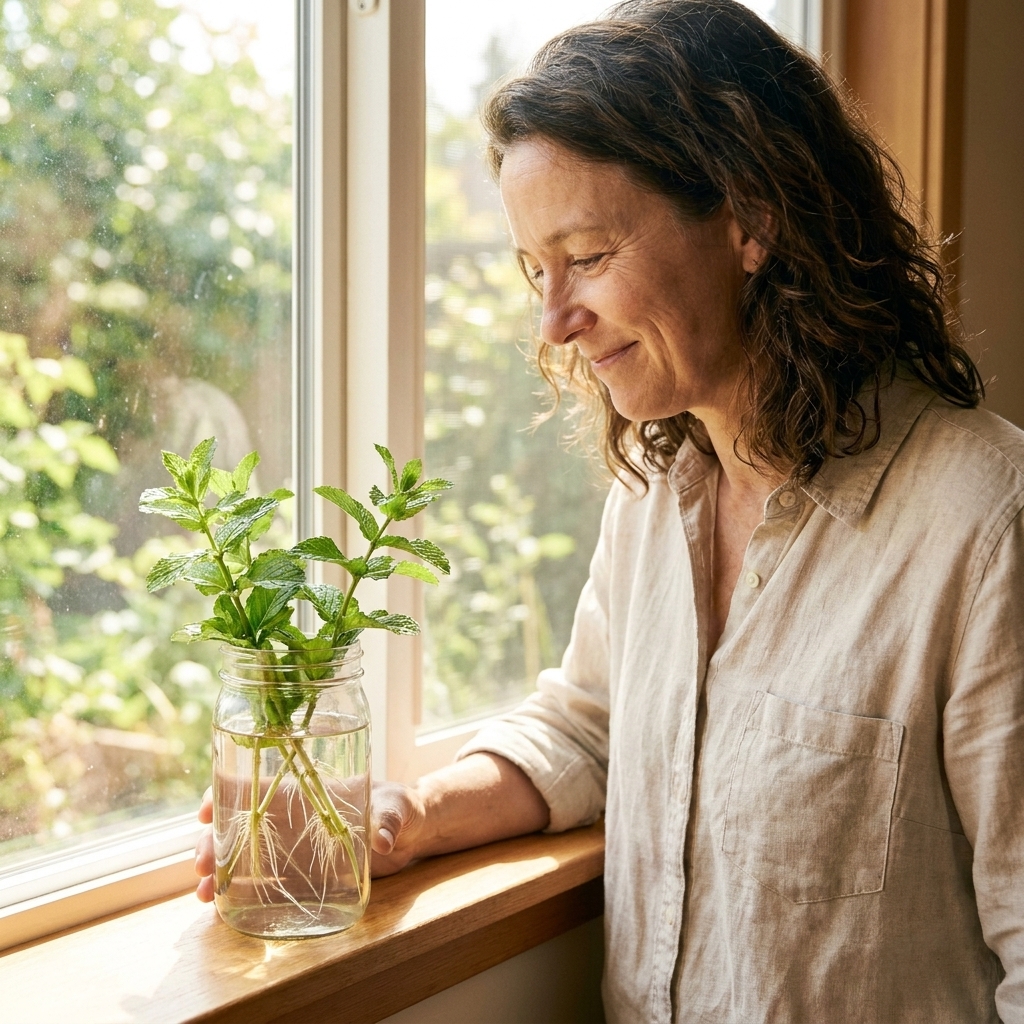
Rooting timelines vary a lot with warmth and light. In warm, bright conditions, you may see:
- Mint: often 3 to 7 days
- Basil: often 5 to 14 days
- Oregano/marjoram: often 7 to 21 days
- Rosemary/thyme: 2 to 6+ weeks (and sometimes a polite refusal)
Pot up when you have multiple roots that are 1 to 2 inches long. If you wait until the roots are a long tangled mop, they can struggle to adapt to soil.
Soil propagation
Soil propagation skips the water stage, which means roots form in the environment they will live in long-term. It can be faster for some woody herbs, and it avoids the water-root to soil-root transition that can stress delicate cuttings.
1) Prep a small pot
- Choose a pot with drainage holes.
- Fill with lightly moistened potting mix. I like to mix in a handful of perlite for extra airiness.
- Poke a hole with a chopstick or pencil so you do not scrape off the stem’s rooting area when planting.
2) Take and prepare cuttings
Same basics as water propagation:
- Cut 4 to 6 inch stems just below a node.
- Remove the bottom leaves.
- Optional: dip the cut end in rooting hormone, especially for rosemary and thyme.
3) Plant and firm gently
- Insert the stem so at least one to two nodes are under the soil surface.
- Firm the soil around the stem so it stands up, but do not compact it hard.
4) Create a humid little “greenhouse”
For most grocery store cuttings, humidity is the secret sauce.
- Loosely cover the pot with a clear plastic bag, supported so it does not press on the leaves.
- Or use a humidity dome if you have one.
- Open it once a day for a minute to refresh the air.
5) Keep soil lightly moist, never soggy
Think of a wrung-out sponge. If the pot feels heavy and wet, pause watering and let it breathe.
6) Check for rooting
In 2 to 4 weeks (sometimes longer), give the stem a gentle tug. Resistance usually means roots. Once you see new growth at the top, that is an even better sign.
Potting up and early care
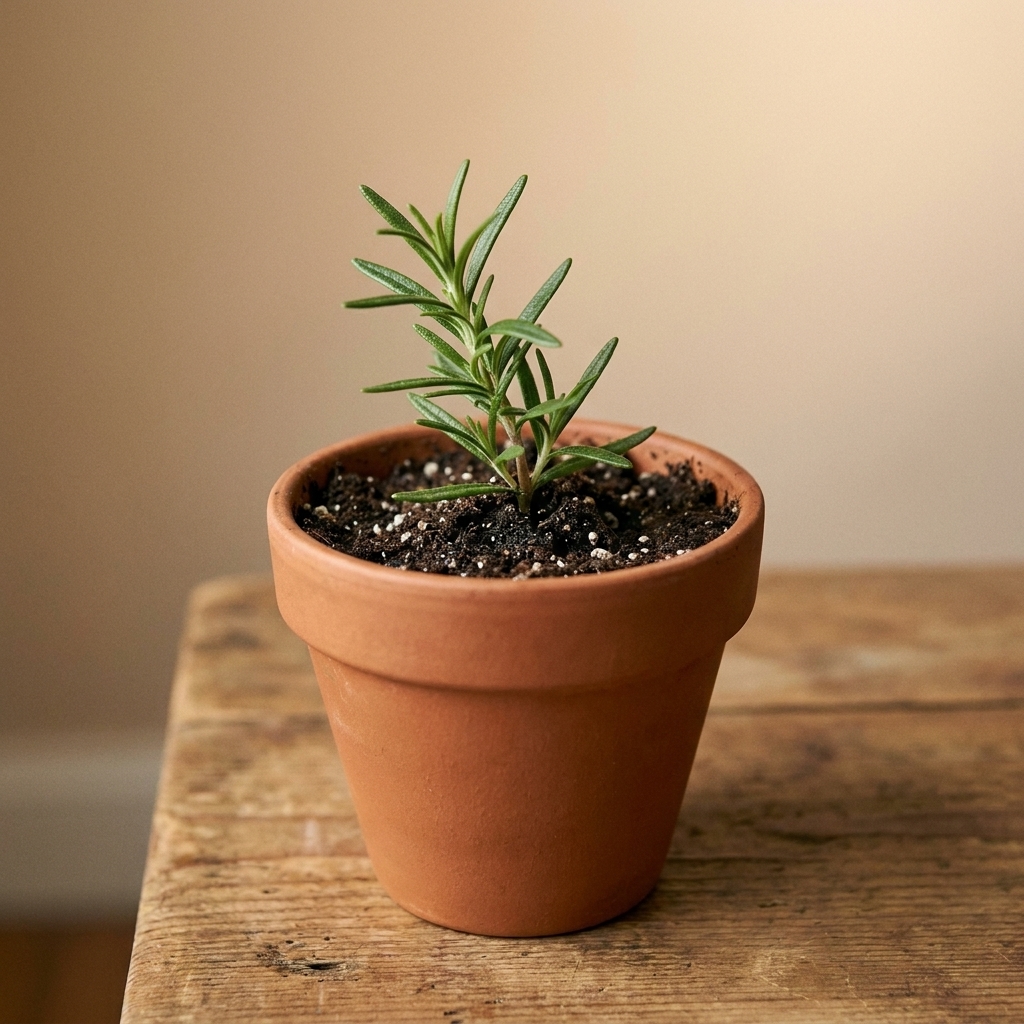
This is where many new propagations fail, not because rooting was hard, but because the transition is rushed.
Choose the right pot and soil
- Pot size: start small (3 to 4 inches). Big pots hold extra wet soil and can smother young roots.
- Soil: a light potting mix is fine. For Mediterranean herbs like rosemary and thyme, add extra perlite for drainage.
Acclimate to normal air (especially water-rooted cuttings)
If your cutting rooted in water, the leaves have been living a very cushy life. Help it adjust:
- After potting, keep it in bright, indirect light for about a week.
- Keep the soil consistently moist but not wet for the first 7 to 10 days.
- Then gradually increase sun exposure.
When to fertilize
Hold off on fertilizer at first. Once the cutting is settled and putting out new growth, usually 2 to 4 weeks after potting, you can start feeding lightly (half-strength, occasional). Too much too soon can burn new roots.
When to pinch and harvest
Once you see steady new growth, start pinching the tips to encourage branching. With basil and mint, pinching early makes a bushy plant instead of a tall, floppy one.
Herb notes
Basil
- Roots readily in water.
- Pinch tops early to prevent legginess.
- Warmth matters. Basil sulks in cold windows.
- For long-term indoor growth, basil often needs very bright light. If it stretches, add a grow light.
Mint
- Ridiculously easy in water or soil.
- Pot it up and keep it contained. Mint loves to take over a garden bed.
Oregano and marjoram
- Often roots well in water, then transitions nicely to soil.
- Likes bright light and good drainage.
Rosemary
- Pick the freshest sprigs you can find, ideally with semi-soft tips.
- Remove leaves from the bottom half and consider rooting hormone.
- Patience required. It can sit quietly for weeks before doing anything visible.
Thyme
- Works best with non-flowering, flexible stems.
- Soil propagation with humidity often beats water for thyme.
Common problems
My stems turn slimy in water
- Remove any submerged leaves.
- Trim the stem above the slimy section to healthy tissue.
- Use a clean jar and change water more often.
- Move to brighter light if it is too dim.
No roots after two weeks
- Some herbs are slow, especially rosemary and thyme.
- Try warmer temperatures and brighter indirect light.
- Refresh by re-cutting the bottom of the stem just below a node.
- If the sprig came from an older, woody bunch, grab a fresher one next time.
Roots formed, but the plant droops after potting
- New roots are delicate. Keep the soil evenly moist for the first week.
- Reduce direct sun temporarily.
- Consider a loose humidity cover for a few days to reduce shock.
Mold on soil-propagated cuttings
- Vent the humidity cover daily and keep it from touching leaves.
- Let the soil surface dry slightly between waterings.
- Use fresh potting mix and a clean pot.
Safe handling note
Grocery herbs are grown for eating, not necessarily for long-term indoor growing conditions. Give your cuttings a quick rinse, start with clean jars and pots, and do not be surprised if a few stems fail. Some store herbs are heavily stressed or treated post-harvest, and they simply do not feel like becoming houseplants.
If you plan to keep harvesting and eating your homegrown herbs, stick to food-safe practices. Skip non-edible pesticides and follow any product labels carefully if you ever treat for pests.
FAQ
Can I propagate herbs that come in the plastic clamshell?
Yes. In fact, those sprigs are sometimes fresher than big bunches. Look for firm stems and bright leaves, then follow the same steps.
Do I need rooting hormone?
No for basil and mint. It can help with slower, woodier herbs like rosemary and thyme, but good light, clean cuts, and steady humidity matter more.
How many stems should I start with?
If you can, start with 5 to 10 stems. Even experienced gardeners lose a few to rot or stress, especially with store-bought bunches.
Can I keep the plant indoors year-round?
Absolutely. A bright window is often enough for mint. Basil can do well in a bright window too, but if your light is weak in winter, a simple grow light can make a big difference.
Try this this week
Next time you buy herbs for dinner, set aside a few of the healthiest sprigs before you chop the rest. Trim them, strip the lower leaves, and pop them in a clean glass of water. In a week or two, you might have the start of a little herb family on your windowsill, and that is the kind of kitchen magic I never get tired of.