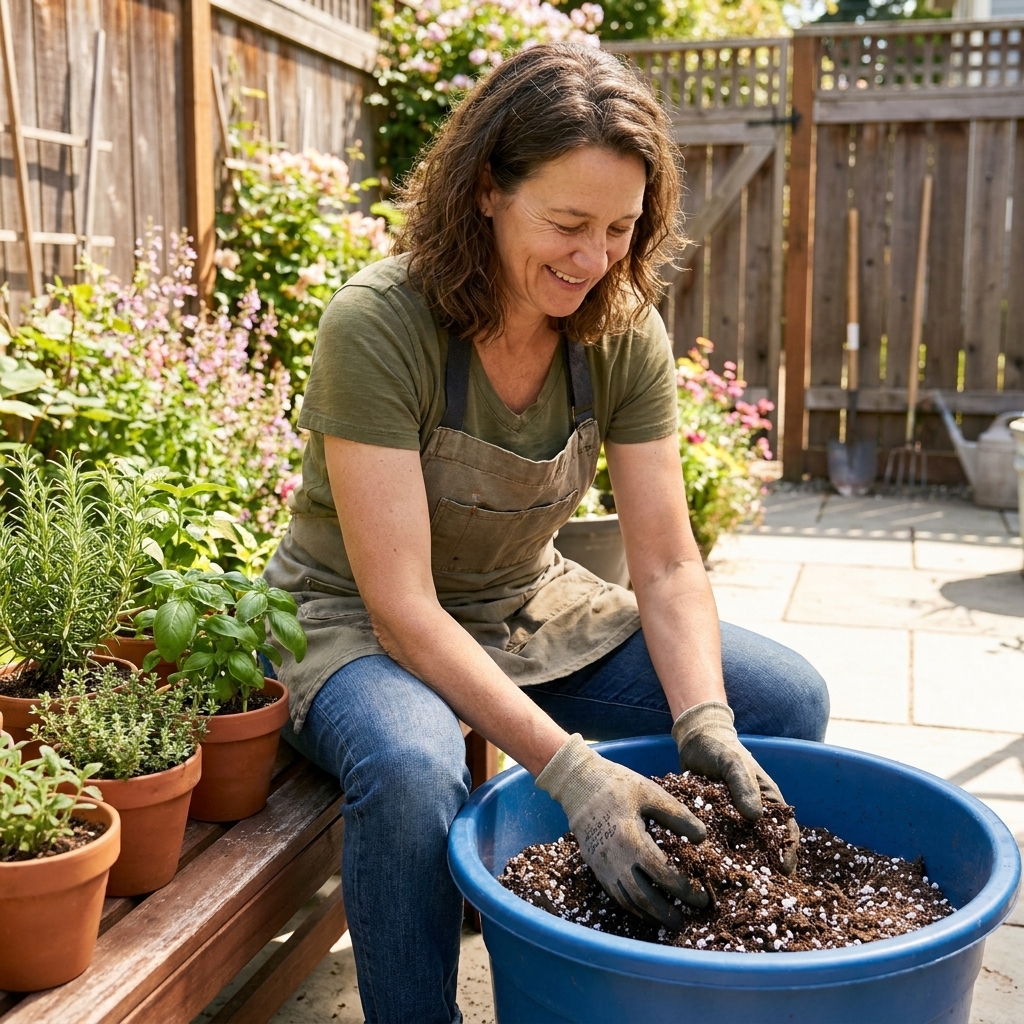
Rosemary is one of those herbs that makes a home feel alive. Brush past it on the porch and your fingers come away smelling like pine and lemon. Snip a few sprigs for potatoes or soup and the whole kitchen warms up. The trick is this: rosemary is happiest when it can live like it is back on a rocky Mediterranean hillside, even if you are growing it in a pot on a balcony.
In containers, rosemary can thrive for years if you get three things right: bright sun, fast-draining gritty soil, and watering that leans dry, not damp. This guide walks you through everything from propagation to winter survival.
Meet rosemary (and why pots work)
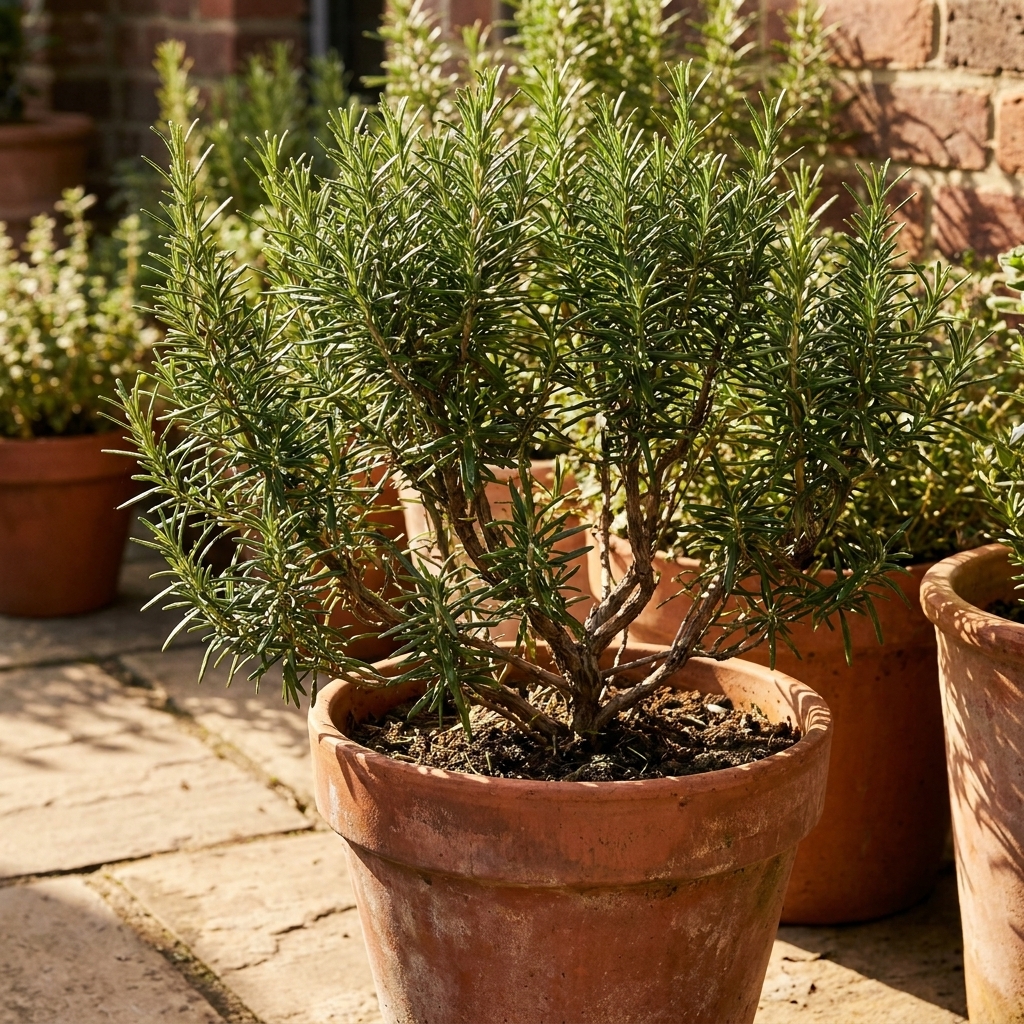
Salvia rosmarinus (formerly Rosmarinus officinalis) is a woody, evergreen herb. In warm climates it can become a shrub, but in colder regions it is often treated like a tender perennial that needs winter help. Pots are perfect for that because you can control drainage and move the plant when temperatures drop.
Best types for containers
- Upright rosemary (classic cooking type): sturdy, easier to bring indoors, good for frequent harvesting.
- Trailing rosemary: gorgeous spilling from pots, still edible, sometimes a little fussier indoors because the growth is looser and it wants strong light.
If you are buying your first plant, choose one labeled upright or culinary rosemary and start there. Once you learn its rhythms, branch out to trailing or ornamental forms.
Light and placement
Rosemary wants full sun. Outdoors, treat 6 to 8 hours of direct sunlight as a reliable target for best growth. Many plants will tolerate a bit less, but more sun usually means sturdier stems and better flavor.
In extreme heat, especially in small pots, that sun can turn into a hair dryer. During heat waves, check moisture daily and consider giving it a little afternoon shade if the pot is drying out within hours.
Indoors, light is the make-or-break
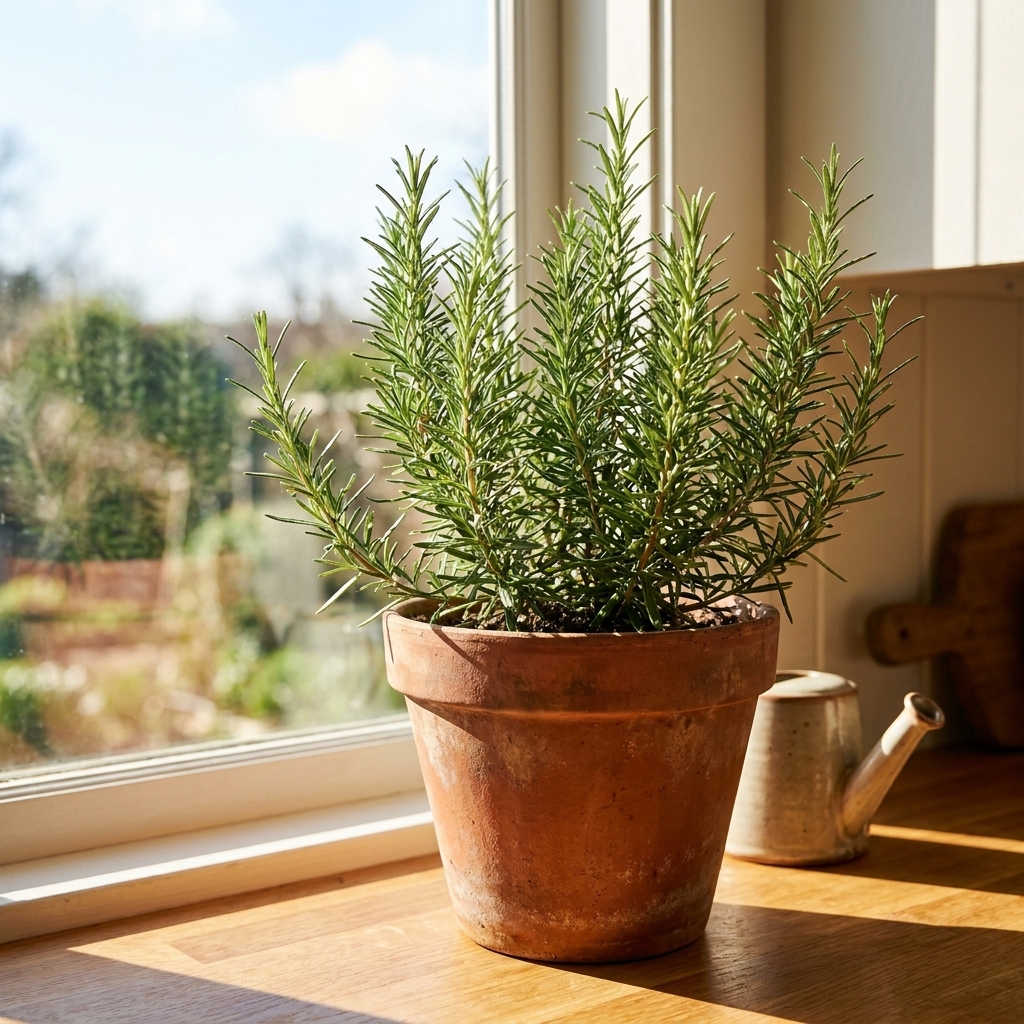
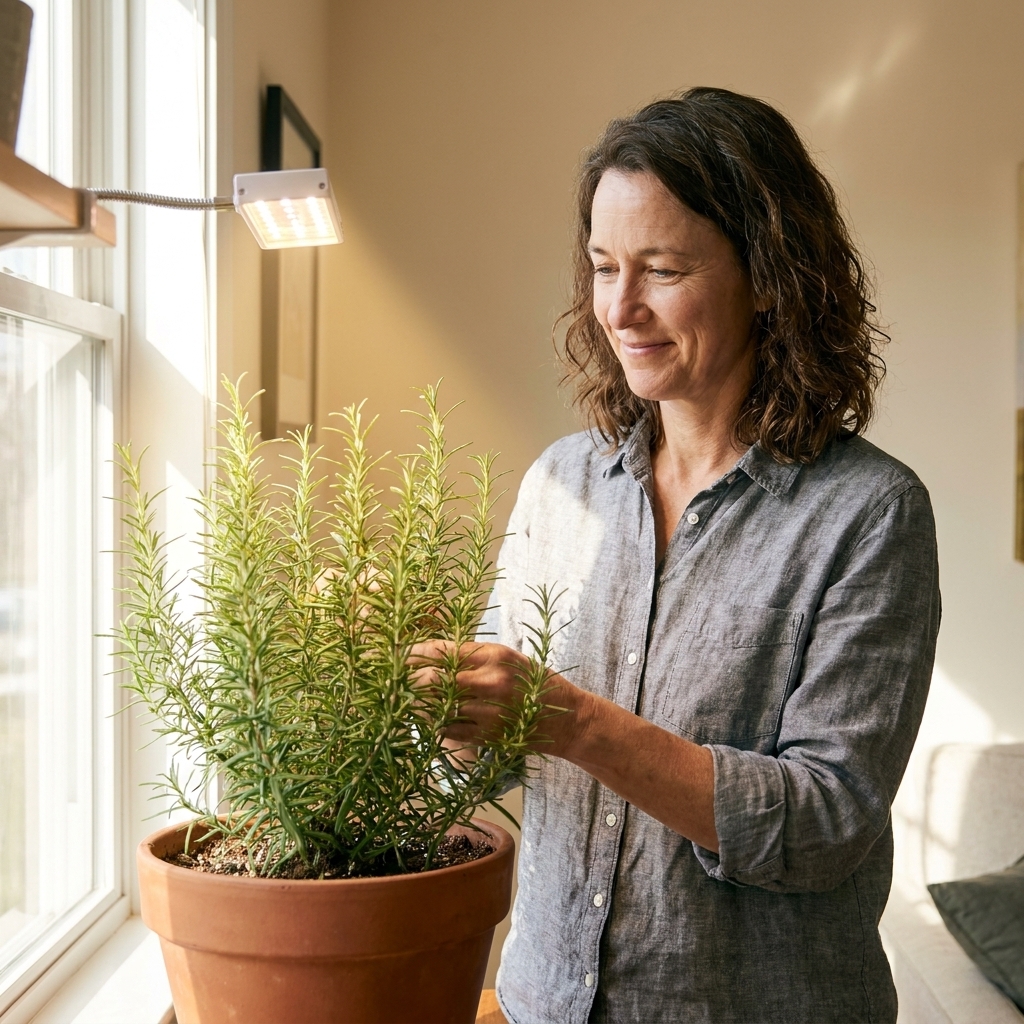
Indoors is where many rosemary plants struggle. A bright window is a good start, but in many homes it is not enough in winter.
- Best window: south-facing (or west-facing if it is very bright).
- Rotate the pot every few days so it grows evenly.
- Grow light tip: if your rosemary stretches, pales, or drops needles, increase light. Also take a quick look at watering and drainage, because needle drop can be more than one issue at once.
Soil that prevents root rot
Most rosemary problems in pots come down to one thing: the roots stayed wet for too long. Rosemary likes oxygen around its roots, and regular potting mix often holds water like a sponge.
What the mix should feel like
Think gritty, airy, and quick-draining. When you water, it should run through readily, not puddle on top.
An easy container mix
- 2 parts high-quality potting mix
- 1 part perlite or pumice
- 1 part coarse sand (or extra pumice if sand is not available)
If you already have cactus or succulent mix you love, rosemary often does well in that too, especially if you bump it with a small amount of compost-rich potting mix for nutrition. Keep it modest, though. In containers, compost can also increase water retention, which is not rosemary's favorite.
pH and fertility
Rosemary tends to prefer neutral to slightly alkaline soil, but it tolerates slightly acidic conditions just fine. What it is picky about is soggy soil. Keep fertility moderate. Too much nitrogen can make soft, sappy growth that is more prone to stress indoors.

Choosing the right pot
Drainage is non-negotiable
Your container must have drainage holes. If you fall in love with a pot that does not, use it as a cachepot and keep rosemary in a draining nursery pot inside it.
Pot size guidelines
- New small plant: start in an 8 to 10 inch pot.
- Established rosemary plant: 12 to 16 inch pot is a comfortable long-term home.
Going too big too fast can hold extra moisture in unused soil. I prefer stepping up gradually as the roots fill in.
Terracotta vs plastic
- Terracotta breathes and dries faster, which rosemary loves. You will water a bit more often in summer.
- Plastic or glazed pots hold moisture longer. If you use them, lean extra gritty with your soil mix and be cautious with watering.
Propagation from cuttings
Rosemary can be grown from seed, but it is slow and germination can be finicky. Cuttings are faster and give you a clone of a plant you already love.
When to take cuttings
Late spring through early fall is easiest, when the plant is actively growing. In very hot climates, cuttings often root best in late spring or early fall, when the heat is less intense.
Step-by-step method
- Snip a 4 to 6 inch stem from healthy growth. Aim for stems that are flexible but starting to firm up.
- Strip the lower needles from the bottom 2 inches.
- Optional: dip the cut end in rooting hormone.
- Stick into a small pot filled with lightly damp perlite, pumice, or a very airy potting mix blend.
- Cover loosely with a clear plastic bag (do not let it touch the needles) to hold humidity, then ventilate daily.
- Bright light, no harsh midday sun until roots form.
Roots typically form in a few weeks, sometimes longer. You will know it is taking when you see fresh new growth and the cutting resists a gentle tug.

Planting and repotting
How to plant a nursery rosemary
- Choose a pot just a little larger than the root ball.
- Add your gritty soil mix, then set the plant at the same depth it was growing before.
- Water thoroughly once to settle soil, then let it dry down well.
When to repot
Repot when you see roots circling the bottom or when water runs straight through because the pot is root-packed. For most container rosemary plants, that is every 1 to 2 years.
A gentle root check
If the root ball is extremely tight, you can lightly loosen the outer roots. Do not shred it. Rosemary appreciates a calm transition.
Watering in pots
If you remember only one rosemary rule, make it this: water deeply, then wait.
The finger test
Stick your finger into the soil. If the top 2 inches are dry, water. If it is still cool and damp, wait. Outdoors in summer, that might mean watering every few days in terracotta. Indoors in winter, it can be much less frequent, sometimes a week or two or more in a cool, bright room. In warmer homes, it may dry faster, so let the soil be your guide.
How to water correctly
- Water until it runs out the drainage holes.
- Empty the saucer. Rosemary should not sit in water.
- Avoid frequent little sips. Those keep the top damp and encourage shallow roots.
Common watering mistakes
- Misting instead of watering: rosemary is not a humidity-loving tropical plant. It wants light and airflow.
- Watering on a schedule: your rosemary does not own a calendar. Check the soil.
- Letting it stay wet after winter move-in: indoors it uses less water and dries slower.
Fertilizing
Rosemary is not a heavy feeder. In pots, a little support goes a long way.
- Spring through mid-summer: feed lightly every 4 to 6 weeks with a balanced, diluted liquid fertilizer, or top-dress with a small pinch of compost and keep the mix gritty.
- Late summer through winter: back off. Slower growth needs less nutrition, especially indoors.
If your rosemary looks pale but you are confident the roots are healthy and the light is strong, a gentle feeding can help. If the soil is staying wet, fix that first.
Pruning
Pruning is what turns rosemary from a lanky stick into a full, happy little shrub. It also gives you a steady supply of sprigs for cooking.
How to prune
- Snip soft green growth just above a leaf node.
- Take no more than about one-third of the plant at a time.
- Shape lightly and often during the growing season.
Avoid cutting into bare old wood
Rosemary does not always regrow well from woody stems with no green needles. I learned this the hard way after an overly ambitious haircut. Keep your cuts in leafy growth when possible.
Harvesting and using rosemary
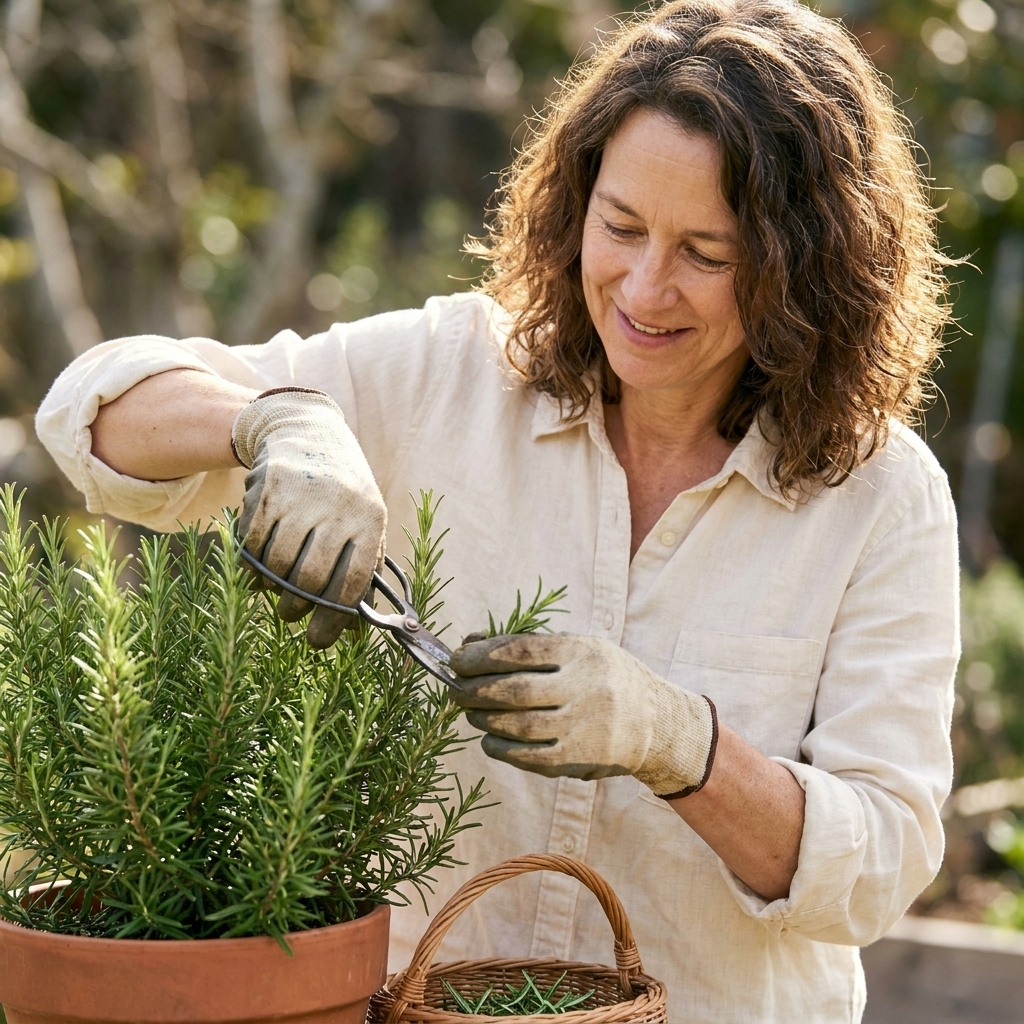
Harvest any time, but many gardeners find the flavor is strongest right before the plant blooms.
Best harvesting habit
- Cut longer sprigs rather than plucking individual needles.
- Use harvesting as gentle pruning to encourage branching.
Preserving your harvest
- Air-dry: tie small bundles and hang in a warm, airy spot out of direct sun.
- Freeze: strip needles and freeze in a jar, or freeze whole sprigs on a tray then bag them.
- Rosemary oil note: for infused oils, follow food safety guidance and refrigerate promptly. When in doubt, keep infusions short-lived and cold.
Common pests
Rosemary is fairly tough, but indoor winter conditions can invite pests. The usual suspects are spider mites (fine webbing and a dusty look), aphids (clusters on new growth), and whiteflies (tiny white insects that flutter when you move the plant).
- First step: isolate the plant and rinse it well, especially the undersides and inner branches.
- Low-toxicity controls: insecticidal soap or horticultural oil can work well when applied thoroughly and repeated as directed on the label.
- Prevention: strong light, good airflow, and not overwatering go a long way indoors.
Root rot
Rosemary is tough, but it is not forgiving about wet feet. Catching trouble early can save the plant.
Warning signs
- Drooping even though the soil is wet
- Yellowing needles and sudden needle drop
- A dull, gray-green look instead of vibrant green
- Musty smell from the pot
What to do if you suspect rot
- Stop watering and move the pot to bright light with good airflow.
- Check drainage. Make sure holes are open and the saucer is dry.
- Unpot and inspect roots if symptoms continue. Healthy roots are firm and pale. Rotted roots are brown, mushy, and may smell sour.
- Trim away rot with clean snips, then repot into fresh gritty mix.
If the root system is severely compromised, take a few healthy cuttings as insurance. Rosemary can sometimes be restarted faster than it can be rehabilitated.
Outdoor seasonal care
Spring
- Gradually increase sun exposure if it overwintered indoors.
- Refresh the top few inches of soil or repot if needed.
- Begin light feeding once you see new growth.
Summer
- Water deeply, then let the mix dry well between waterings.
- Harvest and prune regularly to keep it bushy.
- Watch for heat stress in small pots, especially terracotta in full afternoon sun.
Fall
- Stop heavy feeding by late summer.
- Inspect for pests before bringing indoors.
- Plan your indoor spot and lighting before the first cold snap.
Winter options by climate
Rosemary is often sold as hardy in warm regions, but a pot changes the game because roots freeze faster above ground. Use your winters, not the plant tag, as your guide.
- Mild winter climates (often USDA Zone 8 and warmer): rosemary can frequently stay outdoors year-round in a pot if it is sheltered from hard freezes and winter sogginess.
- Cold winter climates (often USDA Zone 7 and colder): plan to protect it. Indoors is one option, but an unheated garage, enclosed porch, or cold frame can also work if the plant stays above deep-freeze temperatures and still gets some light.
Wherever it spends winter, your priorities are the same: keep roots on the dry side, maximize light, and avoid harsh temperature swings.
Transitioning indoors
This is the part where a little planning saves a lot of heartbreak. The biggest shock is not the temperature. It is the sudden drop in light and airflow.
When to bring rosemary inside
If your winters dip below freezing, bring potted rosemary in before hard frost. Cool nights are fine for many varieties, but a deep freeze in a pot can damage roots quickly.
How to move it indoors
- Check for hitchhikers: look under leaves and along stems for aphids, mites, and whiteflies.
- Rinse the plant with a gentle spray of water, including the undersides of branches.
- Quarantine for a week or two away from other houseplants if possible.
- Reduce watering: indoors, rosemary dries slowly.
- Give it your brightest spot: think sunny window plus a grow light if you can.
Indoor care checklist
- Airflow: rosemary loves moving air. A small fan on low nearby can help.
- Cooler temps: it often does better in a cool bright room than in hot, dry air near a vent.
- Watering: let the top couple inches dry before watering again, then drain the saucer.
Winter care and spring wake-up
What rosemary looks like in winter
Even healthy overwintered rosemary may slow down, drop a few needles, or look less perky in the lowest-light months. The goal is survival with steady, not soggy, roots.
Common winter issues
- Needle drop: usually low light, overwatering, or both.
- Gray, dusty leaves: can be spider mites, especially in dry heated rooms. It can also be plain household dust, so look closely.
- Blackened tips: cold damage from a drafty window or sudden chill.
How to harden off in spring
When nights are reliably mild, move rosemary outside gradually.
- Start with a couple hours of sheltered shade.
- Increase outdoor time over 7 to 10 days.
- Return to full sun once it is acclimated.
Troubleshooting
My rosemary is drooping
- Soil wet: stop watering, increase light and airflow, consider repotting into grittier mix.
- Soil bone dry: water deeply, then let drain completely.
Leaves are turning yellow
- Most often overwatering or poor drainage.
- Also possible: low light indoors or an exhausted potting mix in a long-neglected pot.
It smells amazing but tastes bitter
- Older, tougher sprigs can be more resinous. Use younger tips for delicate dishes.
- Try chopping finer, or infusing whole sprigs and removing them before serving.
Powdery or dusty look on foliage
- Wipe test: rub a few needles between your fingers. If it wipes off cleanly, it may just be dust or mineral residue. If it smears and keeps coming back in patches, think powdery mildew.
- Also check for mites: look for fine webbing and tiny specks, especially indoors.
- Fixes: increase airflow, give the plant more light, and avoid crowding. Outdoors, full sun and faster-drying foliage help prevent mildew.
Success checklist
- Pot: drainage holes, not oversized
- Soil: gritty and fast-draining, not heavy or peat-soggy
- Light: full sun outdoors, brightest possible indoors
- Water: deep soak, then wait until the top 2 inches are dry
- Airflow: especially indoors in winter
- Prune: lightly and often, avoid cutting into bare wood
Choosing pot size and a winter plan comes down to your climate and your setup. If you are unsure what to do in your area, leave a comment with your general region and whether your rosemary lives on a balcony, patio, or windowsill.