Thyme is one of those herbs that quietly earns its keep. It asks for very little, forgives missed waterings, and still shows up with that warm, woodsy, almost lemony perfume that makes roasted vegetables taste like you planned ahead.
But “thyme” at the garden center can mean two very different growth habits: upright culinary thyme (the one you snip for soup) and creeping thyme (the one that spills between stepping stones). Both are wonderful plants, but they play different roles in the kitchen and the garden. Let’s match the right thyme to the way you cook, then set it up for years of steady, tender growth.
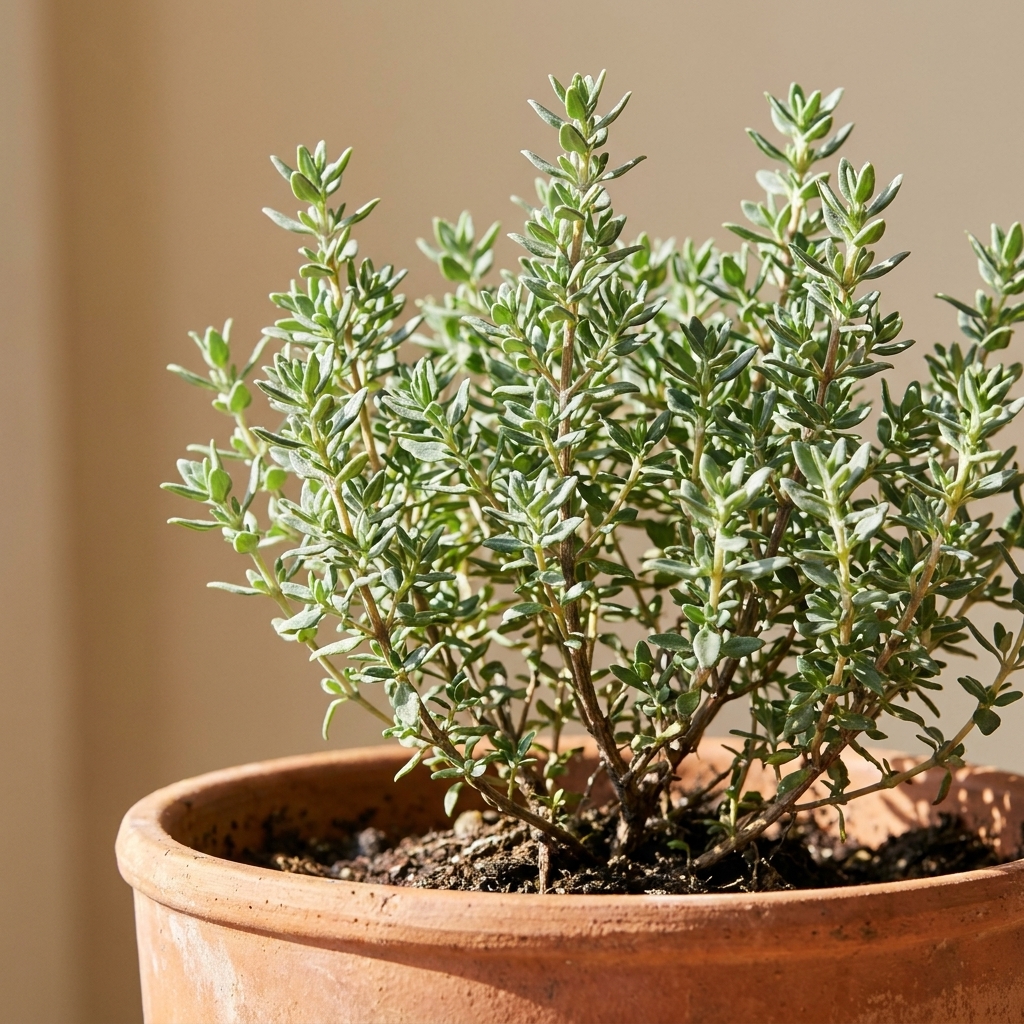
Upright vs. creeping thyme
Most thymes you will cook with regularly are upright, shrubby types. Most thymes used as groundcovers are creeping types. The confusing part is that many creeping thymes are still edible, they just do not always taste as good, and harvesting them can feel like picking confetti.
| Trait | Upright culinary thyme | Creeping thyme |
|---|---|---|
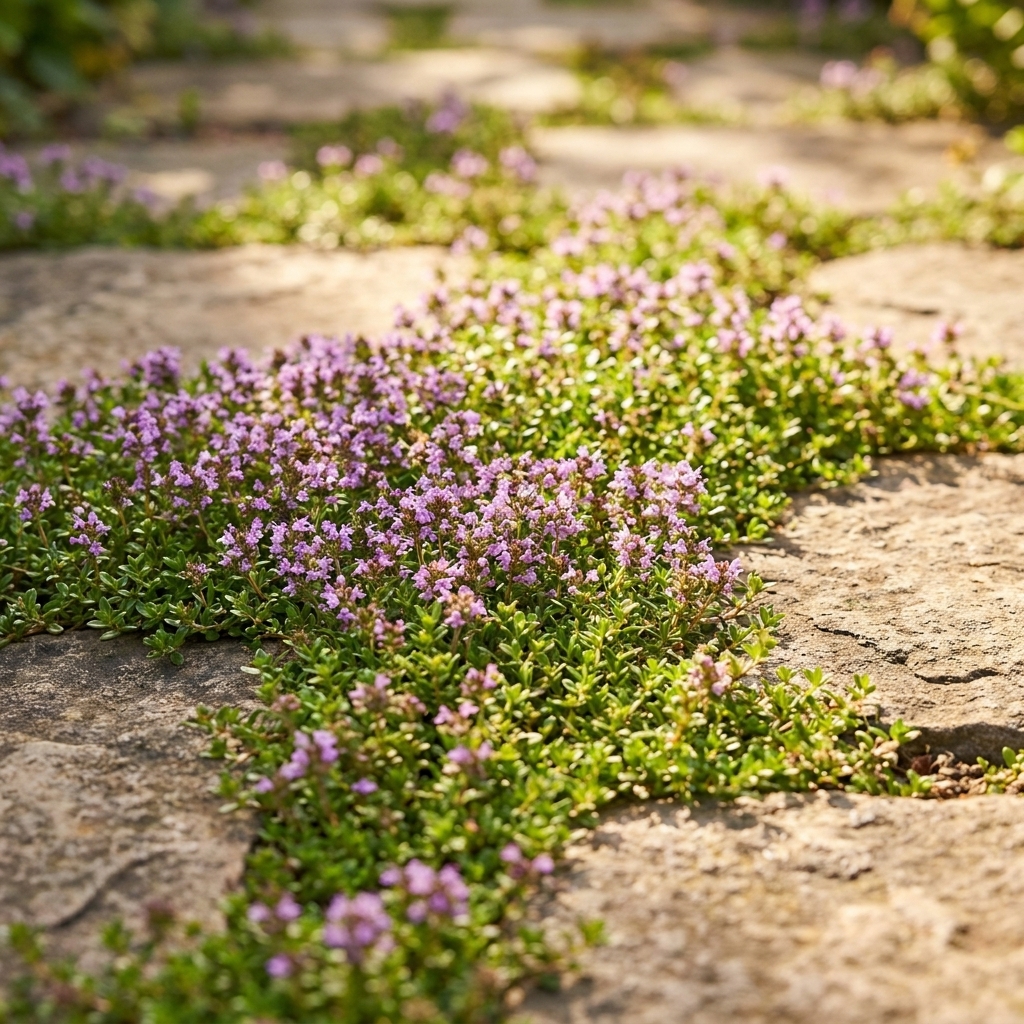
| Growth habit | Small woody shrub, usually 8 to 14 inches tall | Low mat, typically 1 to 4 inches tall, spreads wide |
| Best use | Cooking, drying, continuous harvest | Groundcover, edging, pollinator patches, light snipping |
| Flavor | Classic savory thyme, strong and reliable | Ranges from mild to pleasantly thyme-like, sometimes more floral |
| Ease of harvesting | Easy: long sprigs you can strip | Fiddly: short stems and tiny leaves |
| Woody center risk | Moderate if not pruned and harvested | Lower for “woody shrub” shape, but mats can thin in the middle |
Best thyme for cooking
If your main goal is flavor, start with an upright culinary thyme and treat creeping thyme as a bonus plant for tea, garnishes, and general nibbling.
Upright culinary thyme
- English thyme (Thymus vulgaris): This is the classic “thyme” in most recipes. Savory, earthy, slightly minty. If you grow only one thyme for cooking, make it this one.
- French thyme (often a cultivar of Thymus vulgaris): “French thyme” labeling varies by nursery. When a pot is labeled French thyme, it is often a particularly flavorful strain of common thyme, great for roasting and long simmers.
- Lemon thyme (Thymus × citriodorus): Bright, citrusy, and lovely with chicken, fish, berry desserts, and herbal salts. Cold hardiness varies by cultivar and conditions, and winter wet is often a bigger issue than cold alone, but it is worth a spot.
- Caraway thyme (Thymus herba-barona): Warm, caraway-like aroma. I love it with potatoes and cabbage dishes. It is not as universally available, but it is a treat if you find it.
Creeping thyme
- Creeping thyme (Thymus serpyllum): A traditional groundcover thyme with a gentle thyme flavor. I use it for quick snips into salads or to tuck under roast chicken as a bed of herbs, but only if it is from a clean, unsprayed planting that is not along a path or anywhere pets roam.
- Woolly thyme (Thymus pseudolanuginosus): Soft, fuzzy foliage and pretty as a path plant, but the flavor is usually mild. Grow it for texture and bees, not pantry jars.
- Mother of thyme (often Thymus serpyllum types): Another groundcover group with edible leaves. Better fresh than dried because the flavor can be subtle.
My simple rule: If you want thyme you can harvest by the handful, choose upright. If you want a thyme carpet that blooms and hums with pollinators, choose creeping.
Soil prep
Thyme is drought tolerant, but it is not endlessly tolerant of soggy soil. The one issue that causes the most trouble is drainage that is too slow and roots that stay wet too long.
What thyme wants
- Sharp drainage: Water should run through the pot or bed quickly.
- Moderately lean soil: Very rich soil can push quick, soft growth that flops, tastes milder, and ages faster. Woodiness is mostly time plus not enough pruning, but a too-fertile start does not help.
- Neutral to slightly alkaline soil: Thyme is flexible, but it often looks happiest around pH 6.5 to 8.
Quick soil recipes
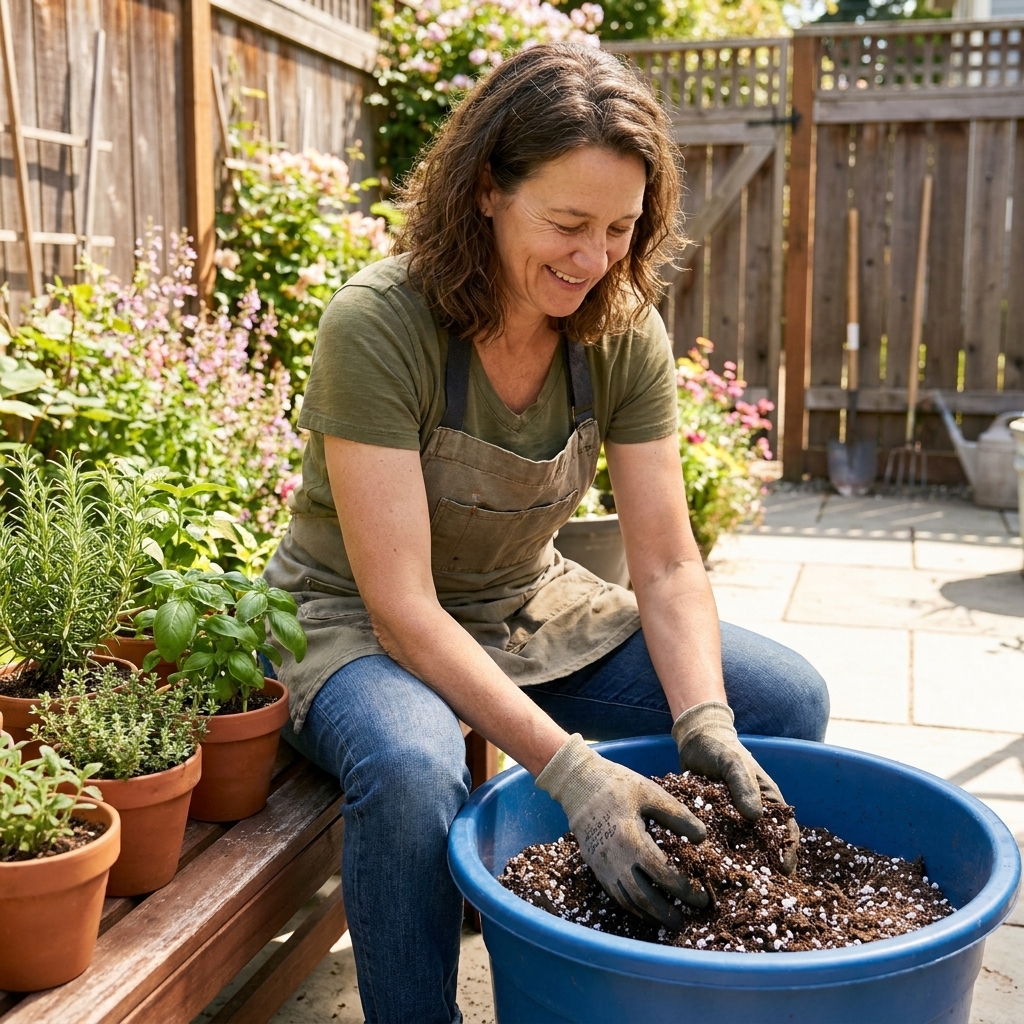
In containers: Use a high-quality potting mix and lighten it. I like roughly 2 parts potting mix to 1 part perlite or pumice. If you already have a bag of cactus mix, thyme usually loves that straight from the bag.
In raised beds: If your bed is already fluffy and drains well, you are set. If it stays wet, mix in extra mineral drainage such as pumice, coarse sand, or fine gravel in the thyme area. Aim for a “crumbly” feel, not sticky.
In clay ground: Consider planting thyme slightly raised in a mound, or grow it in a pot. Thyme can survive clay, but it rarely looks joyful there.
Sun and spacing
Give thyme full sun whenever possible. Six hours is a good baseline, and more is even better in cooler climates.
- Upright thyme spacing: 10 to 14 inches between plants so air can move through the stems.
- Creeping thyme spacing: 8 to 12 inches apart if you want it to knit together over time.
Good airflow does two big things: it helps leaves dry after rain, and it keeps the plant producing leafy growth along the stems instead of turning into a woody little tumbleweed. (When I say “woody donut,” I mean that bare center with a ring of green on the outside.)
Watering schedule
Thyme likes a cycle: soak, then dry down. Frequent sips keep the top inch damp and encourage shallow roots. A deeper rhythm builds a tougher, more flavorful plant. As always, adjust for heat, wind, rainfall, pot size, and soil type.
Newly planted (first 2 to 4 weeks)
- In-ground: Water every 3 to 5 days if you have no rain, enough to moisten the root zone.
- Containers: Check every 1 to 3 days, since pots dry faster. Water when the top inch feels dry and the pot feels light.
Established (after rooting in)
- In-ground: Water about every 7 to 14 days during dry weather. In many climates, thyme needs almost nothing once established unless you are in a long hot stretch.
- Containers: Water when the pot dries about halfway down. In summer, that can be every 4 to 7 days, sometimes more during heat waves.
Signs of overwatering
- Leaves turn dull yellow or start dropping from the base.
- Stems get soft at the soil line.
- The plant smells “off” instead of fragrant when you brush it.
If that sounds familiar, let it dry more deeply between waterings and consider repotting into a grittier mix. Persistent wet soil can also lead to root rot, which thyme rarely forgives.
Harvesting without woodiness
Thyme gets woody when older stems keep stretching and no one tells the plant to branch. Harvesting is not just for dinner. It is pruning with benefits.
How to snip
- Follow a stem down to a leafy junction, then cut just above it. That junction will branch into two new shoots.
- Avoid cutting into bare, brown wood with no leaves. Thyme often struggles to resprout from old wood.
- Take the top 2 to 5 inches of tender growth rather than plucking individual leaves.
How much to take
A safe rule is to harvest up to one third of the plant at a time during active growth. If you need a big harvest for drying, do it in late spring through midsummer, when thyme rebounds quickly.
Little and often
For cooking thyme, I snip a few sprigs every week or two through the growing season. That steady trimming encourages dense, young growth and delays the woody phase.
Post-bloom trim
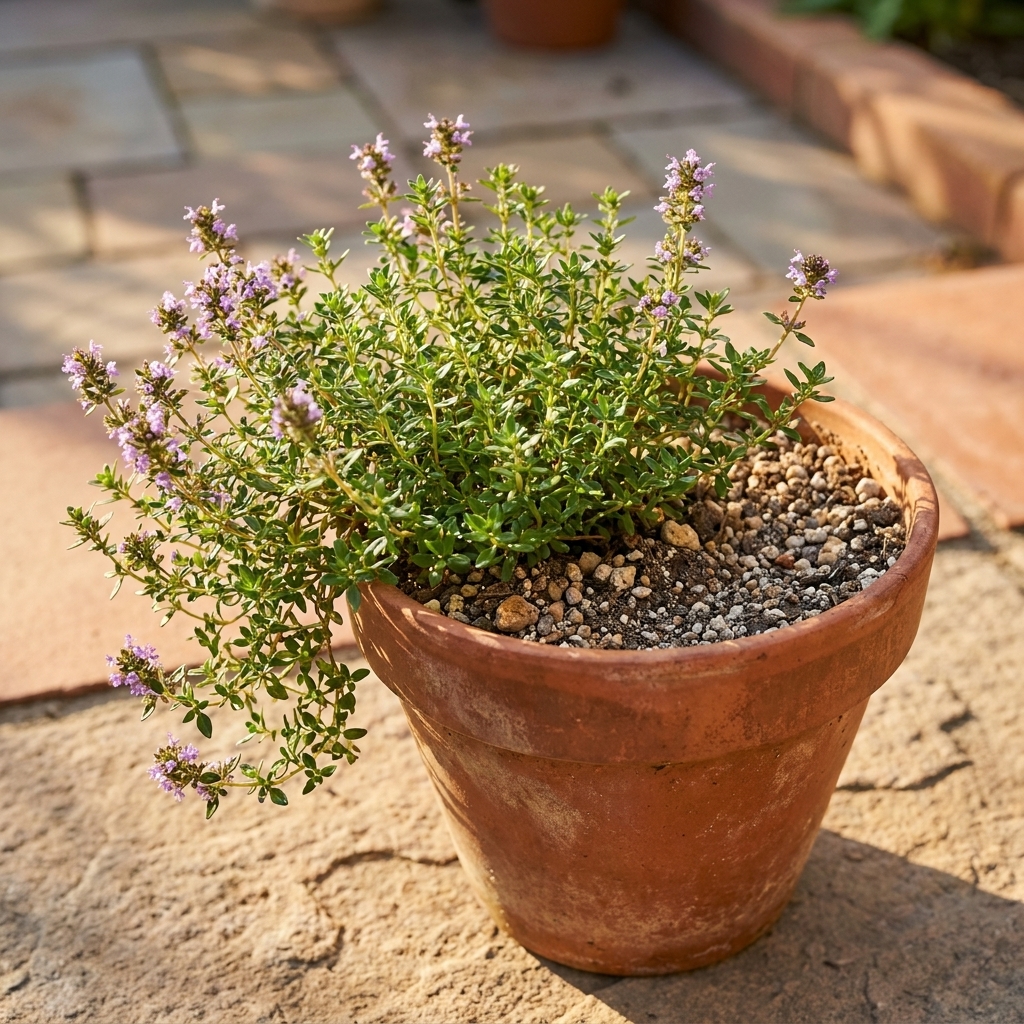
After thyme flowers, it can look a bit rangy. Once the main bloom fades, give the plant a gentle haircut, usually 1 to 2 inches off the top, staying in the green. This refreshes the plant and keeps it compact.
Keeping upright thyme compact
Upright thyme naturally lignifies at the base over time, meaning stems harden into wood. That is normal, but we can keep the leafy portion generous and avoid that bare-center “donut” look.
Three habits that help
- Start pinching early: When plants are young, pinch the tips to encourage branching.
- Prune lightly twice a year: A spring shape-up and a post-bloom trim are usually enough.
- Replace or propagate every few years: Even well cared for thyme can get tired after 3 to 5 years. Root a few cuttings as a “next generation” plant.
Propagation from cuttings
- Snip 3 to 4 inch non-flowering stems.
- Strip leaves from the bottom inch.
- Stick stems into a small pot of damp, gritty mix.
- Keep bright light and lightly moist soil until rooted, usually a few weeks.
Where creeping thyme shines
I love creeping thyme for places where nothing else wants to behave. It is tough, it blooms beautifully, and it invites bees right up to your doorstep.
- Between stepping stones where foot traffic is light
- Along the edge of a raised bed as a living mulch
- In rock gardens and sunny slopes
- In shallow pots that you want to spill over
If you want to cook with it, snip small handfuls right before use from clean, unsprayed areas. For drying, upright thyme is usually the better choice because you will get longer stems and fuller flavor.
Hardiness notes
Many common culinary thymes are hardy in a wide range of climates, but exact cold tolerance depends on the species, cultivar, and your winter conditions. The bigger threat is often winter wet. If your soil stays soggy through freeze-thaw cycles, thyme is much more likely to fail than it is from cold air alone.
Common problems
Leggy and sparse
Usually: not enough sun, too much fertilizer, or not enough harvesting. Move it to brighter light, skip feeding, and start regular tip snips.
Gray and dusty
If it is just the natural leaf color, that can be normal, especially in hot sun. If it wipes off or looks webby, check for spider mites. Rinse foliage and improve airflow.
Died over winter
In cold climates, winter wet is often the culprit. Plant in sharper drainage, avoid heavy mulch right at the crown, and consider a pot you can shelter from constant saturation.
Tastes weak
Flavor concentrates in sun and in slightly lean conditions. Give it more light, water less frequently once established, and avoid high-nitrogen fertilizers.
Sticky new growth
Aphids can show up on tender tips, especially on sheltered patio pots. A firm rinse with water and better airflow usually fixes it. If they persist, repeat rinses and remove the most infested tips.
Quick choosing guide
- If you cook with thyme weekly: Plant English thyme (Thymus vulgaris), plus a lemon thyme if you have space.
- If you want a groundcover you can snip: Plant creeping thyme (Thymus serpyllum).
- If you only have one pot on a sunny balcony: Choose upright culinary thyme for the most harvest per square inch.
- If you want bees and fragrance near a walkway: Choose creeping thyme and let it bloom.
FAQ
Can I use creeping thyme in recipes that call for thyme?
Yes, especially fresh. Taste a leaf first. If it is mild, use a little more than the recipe calls for. For dried thyme, upright culinary thyme usually gives a stronger result.
Should I let thyme flower?
I do, at least once. The flowers are great for pollinators. Just plan on a post-bloom trim to keep the plant compact and leafy.
Does thyme need fertilizer?
Usually no. In containers, a tiny spring top-dress of compost is enough, and even that is optional. Too much feeding can reduce flavor and encourage floppy growth.
What is the best way to dry thyme?
Bundle small stems, hang them in a dry airy spot out of direct sun, and strip the leaves once fully crisp. You can also dry sprigs on a rack in a single layer. Store leaves in an airtight jar away from heat and light.