My very first “indoor herb garden” was a single basil plant leaning hard toward a winter window, stretching like it was trying to escape my apartment. The day I added a simple LED grow light, that basil stopped reaching and started growing again: tighter leaves, sturdier stems, and a scent that actually smelled like summer.
If your indoor herbs look leggy, pale, or a little sulky, it is most often a light problem, not a you problem. Temperature, crowded pots, weak grocery-store transplants, and uneven watering can contribute too, but light is usually the big lever. LEDs make it possible to grow sun-loving herbs indoors year-round, even if your brightest window is more “cozy” than “sun-drenched.”
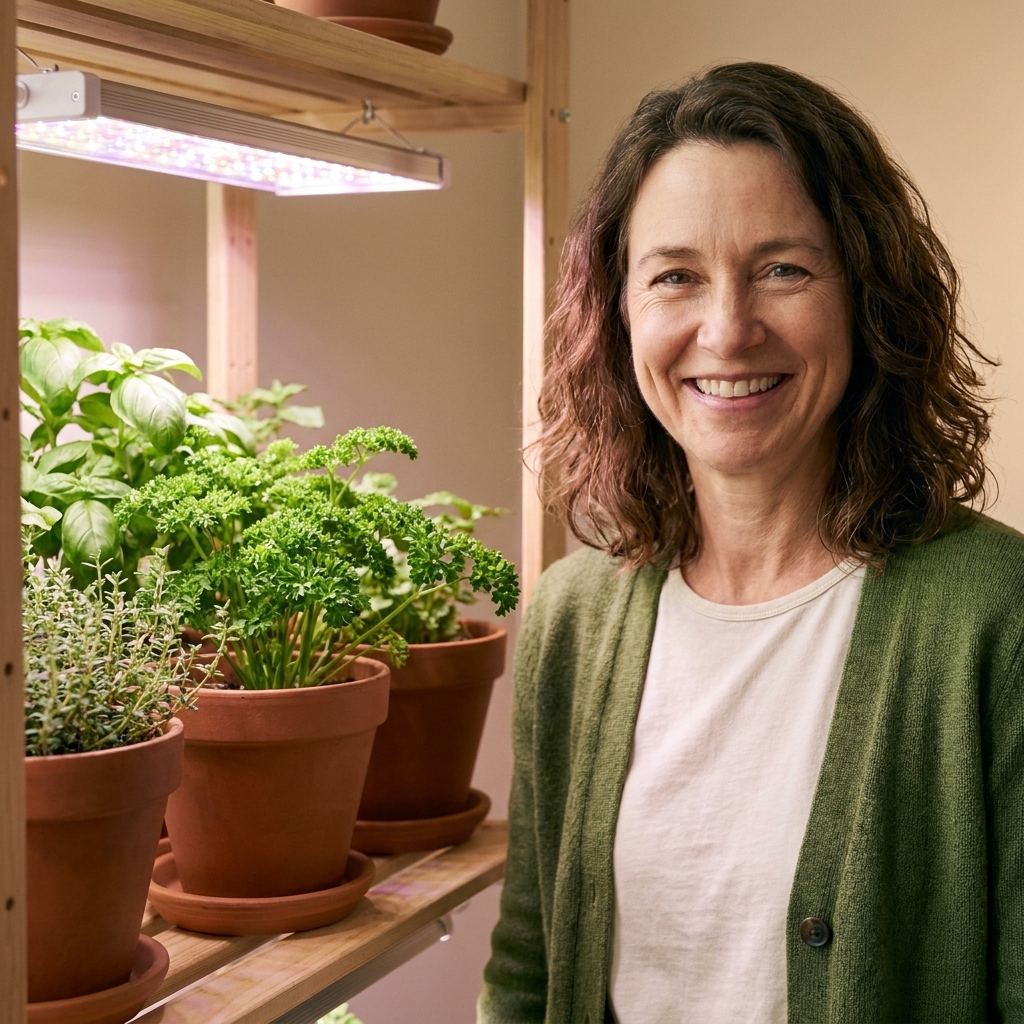
What herbs do best under LED grow lights?
Nearly all culinary herbs can grow indoors, but LEDs help most with herbs that want strong light and tend to struggle in winter windows.
Great candidates
- Basil: loves bright light, grows fast, rewards you quickly.
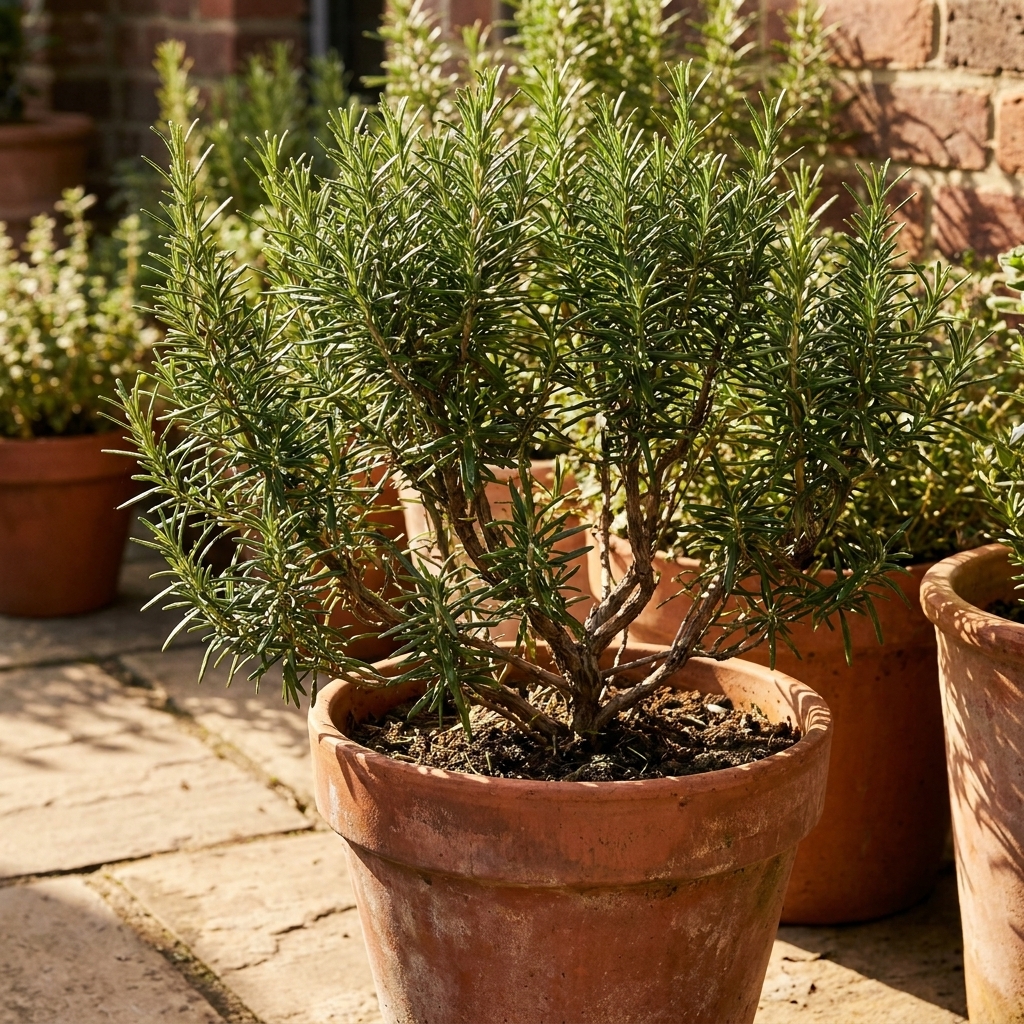
- Rosemary: possible indoors with the right light and airflow, but needs intensity and patience.
- Thyme and oregano: compact, happy under strong light, easy to keep tidy.
- Sage: sturdy and aromatic, likes bright conditions.
- Cilantro: grows fine under LEDs, but it is still quick to bolt if too warm or older.
- Mint and lemon balm: not fussy, but LEDs help keep growth dense (and keep them from chasing a window).
Note on parsley and chives: They handle lower light better than basil or rosemary, but they still grow fuller under LEDs.
Picking the right LED grow light
Grow lights get confusing fast. For herbs, you do not need a lab-grade setup. You need the right type, the right brightness, and a way to put the light close enough to the plants.
Pick a style that fits your space
- Bar or strip lights: my favorite for shelves and countertops. Even coverage, easy to mount under a shelf or rack.
- Panel lights: great for a wider growing area, like a plant stand with several pots.
- Clamp lights with a grow bulb: flexible and budget-friendly, especially for 1 to 3 pots.
Look for full spectrum and real output
For herbs, full spectrum LED grow lights are the easiest choice. You will see listings that mention PAR, PPFD, or “high output.” Those are real concepts, but manufacturers do not always report them consistently.
My practical shopping filter:
- Full spectrum (often described as white light)
- Dimmable if possible (helps dial in intensity without raising the fixture too high)
- Coverage claims that match your footprint (do not light a 3-foot shelf with a tiny clip light and expect miracles)
If a brand publishes PPFD at a specific distance (for example, 6 or 12 inches), that is a good sign. If they do not, use this simple reality check: at canopy level, the light should be bright enough to cast a clear, sharp-ish shadow from your hand.
A quick reality check on watts
Watts tell you energy use, not plant-usable light by themselves. Still, they can help you compare within the same style of product.
- For a small cluster of herbs on a counter, many people do well with a roughly 20 to 40 watt LED fixture or equivalent output.
- For a longer shelf, look at multiple bars or a longer bar fixture so the light is even from end to end.
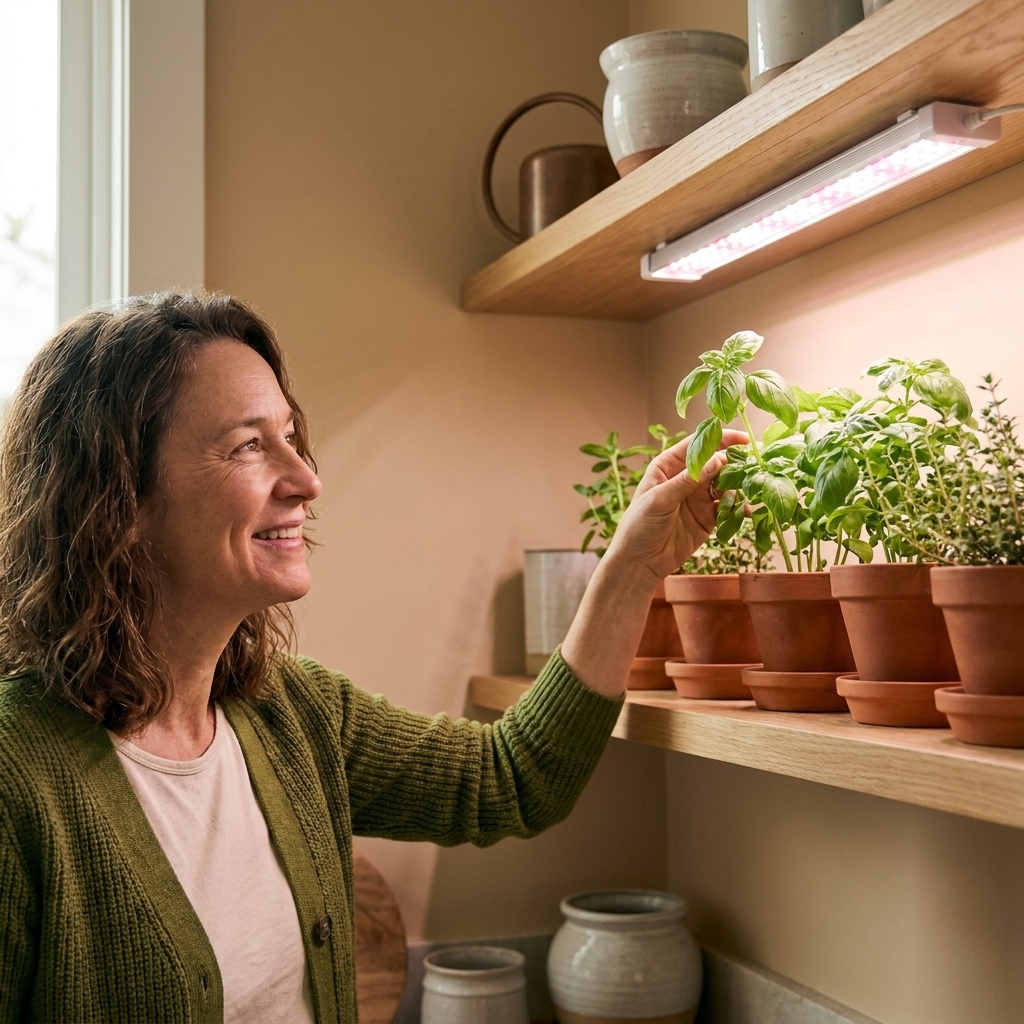
How to set up your herb light station
Think of your setup as three parts: a stable surface, a way to mount the light, and a tray that makes watering easy.
What you need
- LED grow light (bar, panel, or clamp style)
- A shelf, rack, or sturdy table
- A timer (outlet timer or smart plug)
- Plant saucers or a waterproof tray
- Optional but helpful: small oscillating fan for airflow
Best spots at home
Choose a spot where the herbs will be easy to water and harvest. I like a kitchen corner, a laundry room shelf, or a dining room sideboard that is not in the splash zone.
- Near a window is a bonus, but not required.
- Avoid heat blasts from vents and radiators, especially for cilantro and parsley.
- Leave breathing room around plants so humidity does not get trapped.
Mount the light so it can move
Herbs change height quickly. If your light is fixed, you will either scorch seedlings or starve mature plants. The easiest solution is a light that can be adjusted up and down.
- Under-shelf bars: mount with screws or strong adhesive strips, then raise pots on small risers if needed.
- Panel lights: hang with adjustable rope ratchets or chains.
- Clamp lights: clamp to a shelf pole or sturdy edge and angle the bulb straight down.
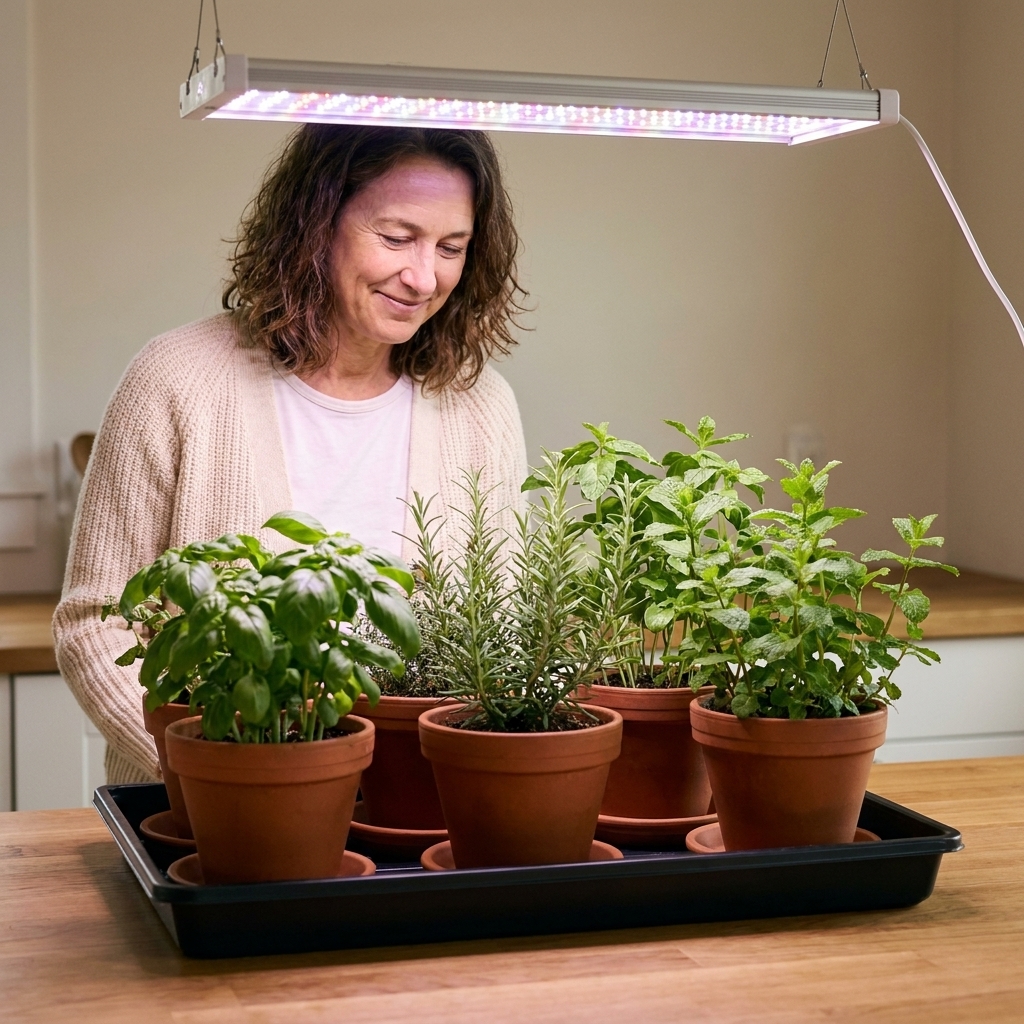
Light height and intensity
Distance matters as much as the light itself. Too far away and herbs stretch and flop. Too close and leaves bleach, curl, or get crispy.
Starting distances
These ranges are a good place to begin, but fixture output varies a lot. A strong bar can work closer, while a weak clip light may need to be closer than you think.
- Seedlings and cuttings: start around 12 to 18 inches above the plant tops, then adjust based on how they respond.
- Established herbs: often do well around 6 to 12 inches, depending on the fixture strength.
Use your plants as the meter
Within a week, your herbs will tell you if the light is right:
- Too little light: long gaps between leaves, leaning, pale new growth, slow growth.
- Too much light: bleached patches, curled edges, dry crispy tips, leaves that look washed out.
If you see stress, change only one thing at a time: raise the light a few inches, or dim it slightly, or shorten the photoperiod. Tiny adjustments beat big overcorrections.
Acclimate when you change anything
If you move a light closer, upgrade to a stronger fixture, or shift plants from a window to a shelf, step up intensity gradually over 3 to 7 days. I usually do it by raising the light at first, then lowering it a little each day, or by starting with fewer hours and adding time.
Also remember that even LEDs can warm a tight shelf. If leaves feel hot to the touch under the fixture, raise the light or add gentle airflow.
Setting a grow light schedule
Herbs do best with a consistent day and night rhythm. A timer keeps you from playing “light switch roulette,” which is easy to do when life gets busy.
A good baseline
- Most culinary herbs: 12 to 16 hours of light per day
- Start at: 14 hours on, 10 hours off, then adjust if needed
Why not 24 hours?
Most herbs perform best with a real dark period. Some growers experiment with near-continuous light for leafy crops, but for a home herb shelf, it is usually simpler and more reliable to give plants consistent nights so they stay vigorous.
Sample schedules
- Kitchen counter garden: 7:00 AM to 9:00 PM
- Basement or windowless room: 6:00 AM to 10:00 PM
- If algae or fungus gnats show up: keep the same total hours, but make sure the dark period is uninterrupted
My personal tip: Set your lights to come on about an hour before you are typically in the kitchen. Harvesting basil under bright, clean light makes the whole space feel like a tiny greenhouse.
Containers, soil, and drainage
Strong light grows strong plants, but only if roots are happy. Most indoor herb problems I troubleshoot for friends are a mix of low light and too-wet soil.
Pot basics
- Drainage hole required. If the pot cannot drain, the roots will eventually rot.
- Starting sizes: basil and parsley often do well in 6 to 8 inch pots; rosemary commonly prefers 8 to 10 inches indoors.
- Saucers or trays: catch runoff, protect surfaces, and make watering less stressful.
Use a light, airy mix
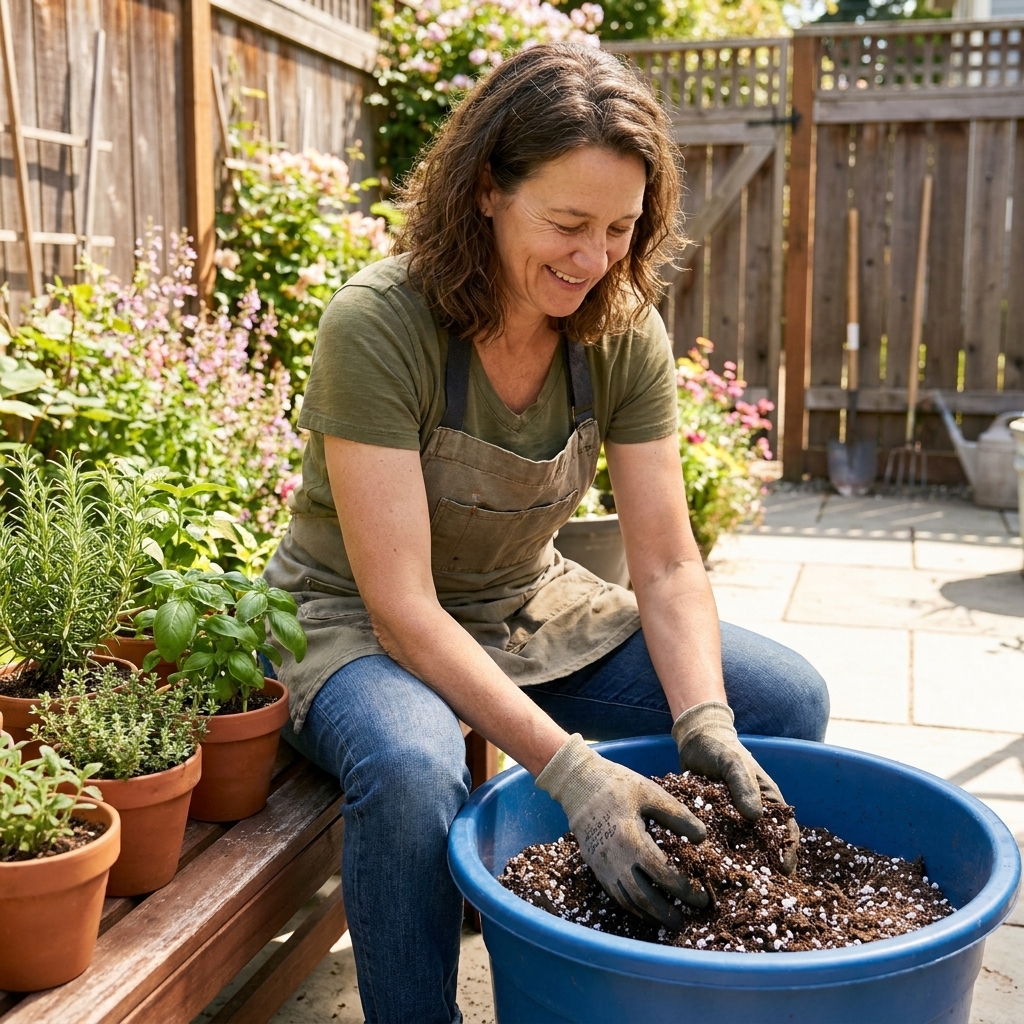
A quality potting mix is usually enough. If your mix stays wet for days indoors, blend in a little extra perlite or pumice for airflow.
Watering under grow lights
With LEDs, herbs may use more water than a windowsill plant in winter, but indoor airflow is still gentler than outdoors. The goal is steady moisture, not soggy soil.
My watering routine
- Check soil with a fingertip.
- Water when the top 1 inch feels dry for most herbs.
- Water thoroughly until a little drains out, then empty the tray.
One exception: rosemary
Rosemary likes to dry slightly more between waterings. If it is always damp, it tends to drop needles and decline.
Fertilizing indoor herbs
Pots under strong light can run out of nutrients faster than you expect, especially basil. If your herbs look pale even with good light, or growth stalls after a few weeks, feeding may be the missing piece.
- Easy approach: use a balanced liquid fertilizer at half strength every 2 to 4 weeks during active growth.
- Go gentle: too much fertilizer can make herbs taste flat, and it can stress rosemary.
Keeping herbs compact
Under good lighting, herbs grow faster, which means you get to harvest more. Regular trimming also prevents that lanky indoor look.
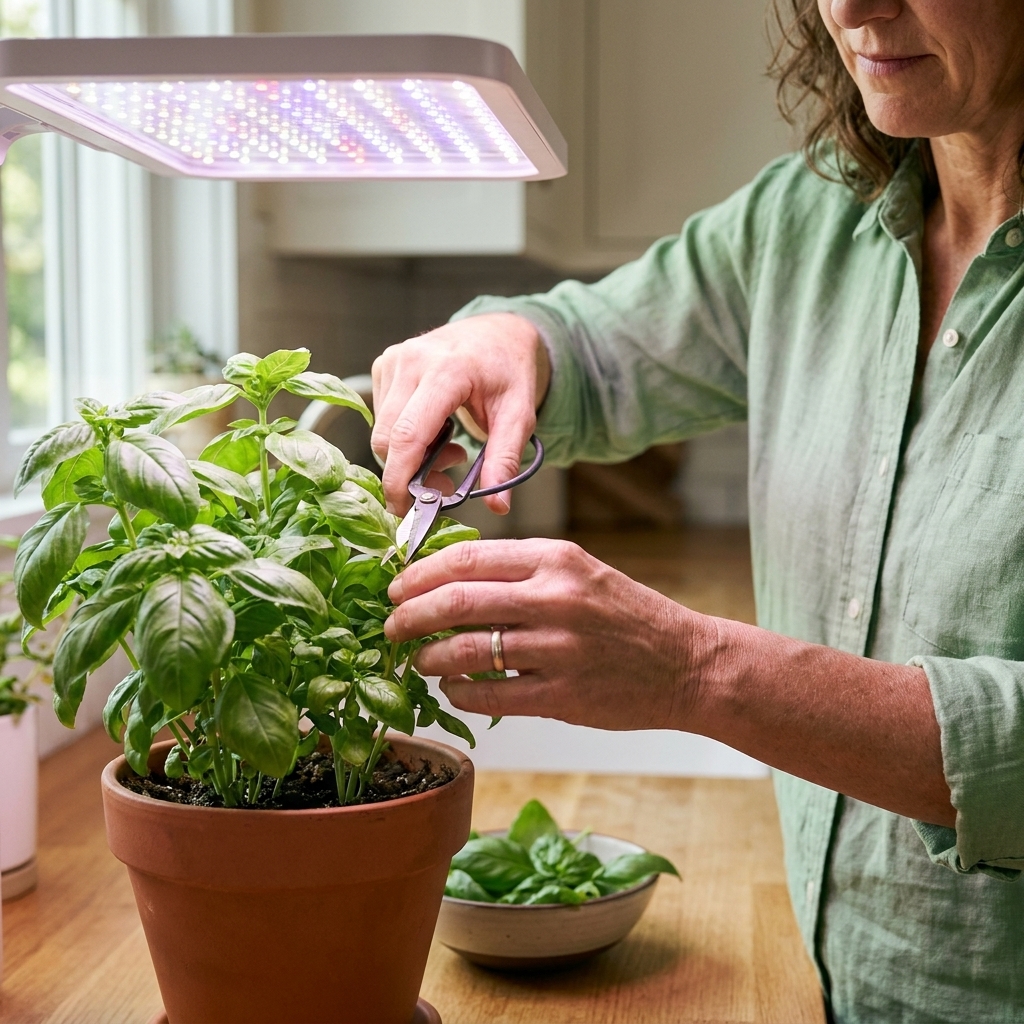
Basil: pinch early
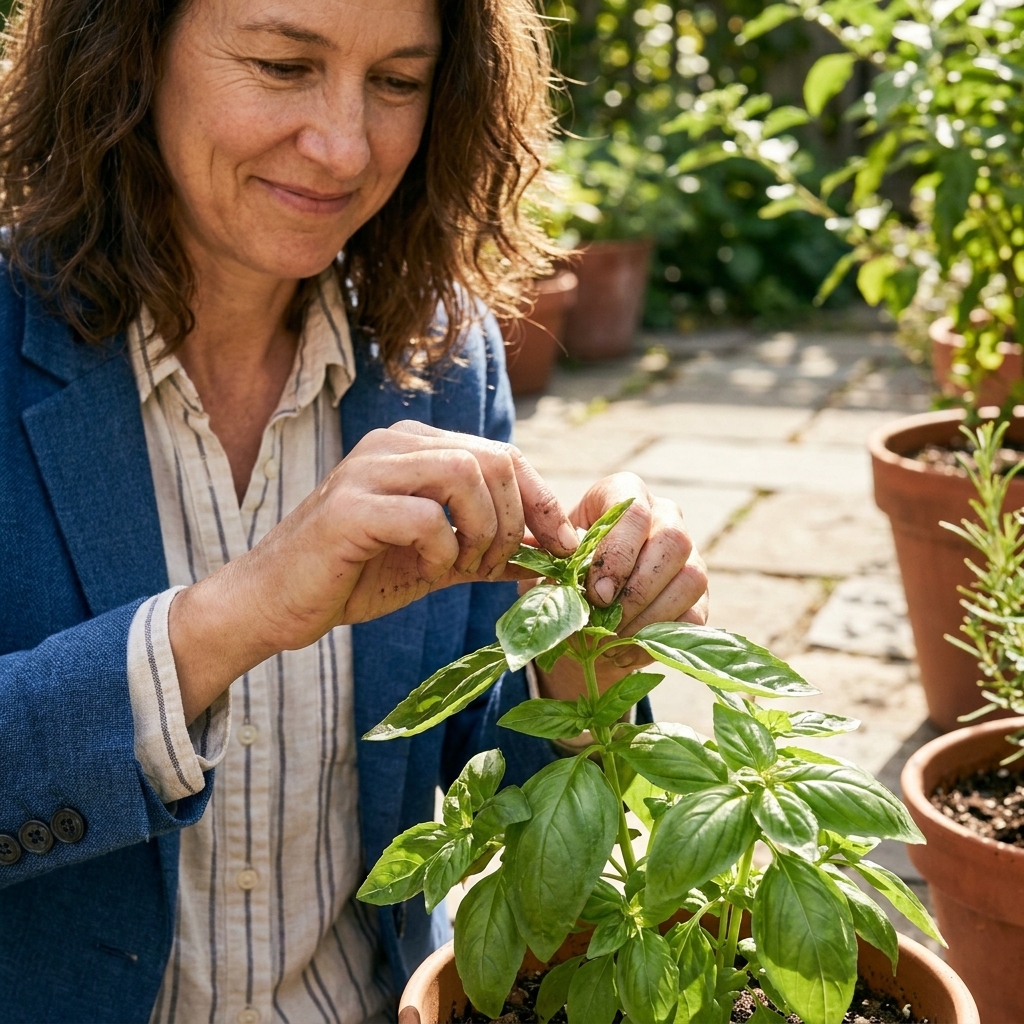
Once basil has 3 to 4 sets of true leaves, pinch just above a leaf pair. You will encourage branching and a fuller plant.
Woody herbs: small, frequent snips
For thyme, oregano, sage, and rosemary, trim a little at a time and avoid cutting deep into bare woody stems. Keep a soft, leafy cushion on the plant.
Common problems and fixes
Leggy herbs
- Common causes: light too weak or too far away, photoperiod too short, warm room with low light, crowded stems, not enough pruning.
- Fix: lower the light a few inches (or increase output), increase daily light by 1 to 2 hours, thin crowded starts, pinch basil and mint to encourage branching, rotate pots for even growth.
Leaves bleaching or crisping
- Cause: light too close or too intense, or a sudden jump in intensity.
- Fix: raise the light, dim it, or shorten the schedule slightly, then acclimate back up slowly.
Slow growth even with lights
- Common causes: rootbound plants, exhausted soil, cold room, overwatering, or not enough nutrients.
- Fix: repot if roots are circling, refresh potting mix, keep temps roughly 65 to 75°F, let the top inch dry before watering, and consider light feeding.
Fungus gnats
- Cause: consistently wet soil.
- Fix: allow soil surface to dry more between waterings, use yellow sticky traps, and consider bottom watering for a while.
A simple setup to copy
If you want a no-fuss starting point, here is a setup I recommend to friends who just want fresh herbs without turning their home into a science project:
- A two-tier wire shelf or sturdy small plant stand
- One full spectrum LED bar or panel per shelf level
- Lights on a timer set to 14 hours daily
- A waterproof tray on each shelf
- 3 to 6 herbs: basil, thyme, oregano, parsley, chives, and mint
Once you have that working, add rosemary as your challenge plant if you feel like leveling up.
FAQ
Can I use regular LED shop lights for herbs?
Some people do, especially with bright, high-output fixtures placed close to plants. For the most reliable results, I prefer full spectrum grow lights because they are designed for plant-usable output and predictable placement. If you go the shop-light route, aim for bright white light and keep it close enough that you see dense, compact growth.
How far should LED grow lights be from herbs?
A practical starting range is 12 to 18 inches for seedlings and 6 to 12 inches for established herbs, then adjust based on plant response. Output varies a lot by fixture, so use the leaves as your guide and acclimate gradually when you move lights closer.
Do grow lights make herbs taste different?
Healthy, well-lit herbs tend to be more aromatic and flavorful because they produce more oils and dense leaf growth. The biggest taste upgrade I notice is with basil and oregano grown under strong, consistent light.
Is it safe to leave LED grow lights on while I sleep?
Quality LED fixtures are designed for extended use, but always follow the manufacturer’s safety instructions, keep cords tidy, and avoid draping anything over the light. A timer helps prevent accidental all-night or 24-hour lighting.