Sage is one of those herbs that makes a whole kitchen feel like fall. One brush of those thick, velvety leaves and you get that warm, savory aroma that belongs on roast chicken, squash, potatoes, and stuffing. The best part is that common culinary sage (Salvia officinalis) is a true perennial in many gardens, which means one well-cared-for plant can feed your roasting habit for years.
I will walk you through planting sage, keeping it from turning into a woody little shrub, and harvesting in a way that encourages tender new growth. Then we will dry those fuzzy leaves for a pantry jar that smells like Thanksgiving every time you open it.
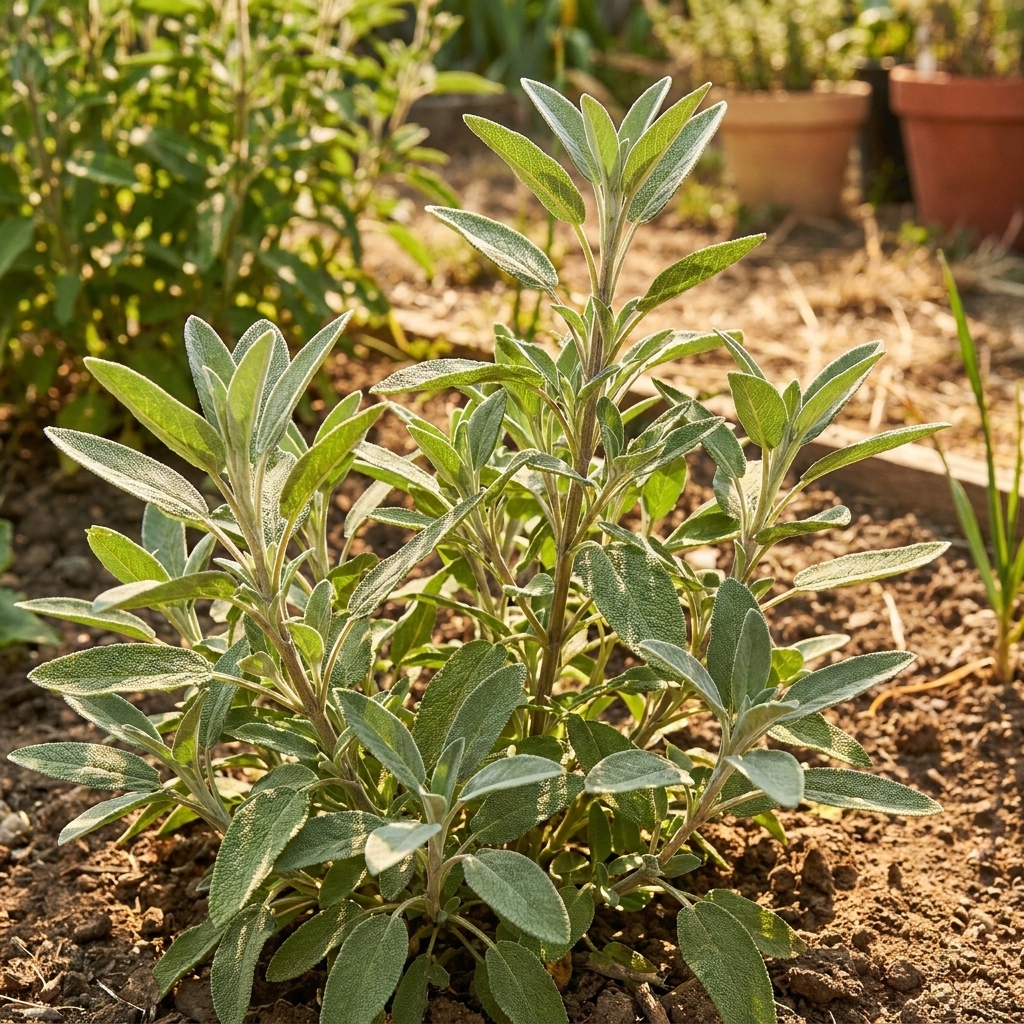
Meet common culinary sage
Common sage is an evergreen or semi-evergreen subshrub with gray-green leaves that feel soft and slightly fuzzy. It is drought-tolerant once established, loves sun, and prefers soil that drains quickly. Flavor-wise, the leaves are bold and resinous, which is why sage pairs so well with rich foods and roasted vegetables.
Quick sage basics
- Life cycle: Perennial (often stays most productive for about 3 to 5 years before it gets woody, though longevity varies with climate and pruning)
- Sun: Full sun is best, at least 6 hours
- Soil: Well-draining, on the lean side
- Water: Moderate while establishing, then drought-tolerant
- Hardiness: Often hardy in USDA zones 4 to 8 (sometimes into 9), depending on winter wet and the variety
- Best harvest flavor: Often strongest before flowering and on dry mornings
Where to plant sage
If there is one secret to happy sage, it is this: sage hates wet feet. Soggy soil leads to root issues quickly, especially in winter. Choose the brightest, driest spot you have.
In-ground planting
- Pick the sunniest bed you can. Sage gets leggy in shade, and flavor is milder.
- Check drainage. If water puddles after rain, mound the soil up a few inches or plant in a raised bed.
- Give it space. Most varieties want about 18 to 24 inches of room. Airflow helps prevent mildew.
Container planting
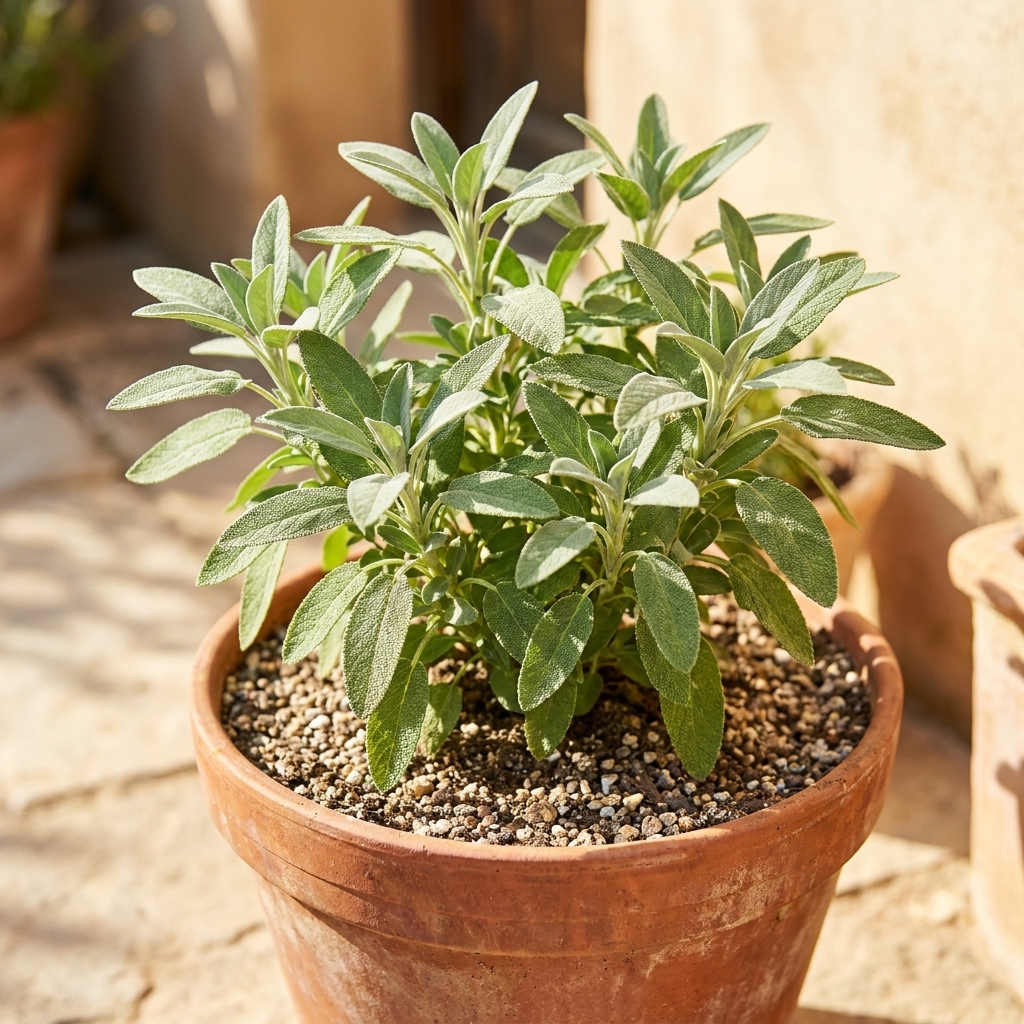
Sage is wonderfully container-friendly and, in many climates, a pot is actually the safer option because you control drainage.
- Pot size: At least 10 to 12 inches wide with a drainage hole
- Soil: Potting mix cut with perlite or coarse sand for extra drainage
- Placement: Full sun, and rotate the pot occasionally for even growth
How to plant sage
You can start sage from seed, but most home gardeners get quicker, more reliable results from transplants or cuttings. Seeds can be slow to germinate and seedlings vary in vigor. If you want one dependable plant for cooking, buying a young plant is the fastest win.
Planting a nursery start
- Timing: Plant in spring after hard frosts have passed. In mild climates, early fall planting also works if roots have time to settle before winter.
- Prep the hole: Dig a hole about as deep as the pot and twice as wide.
- Loosen roots gently: If the plant is root-bound, tease the bottom a bit so roots can explore.
- Plant at the same depth: Keep the crown level with the soil surface.
- Water in once: A deep watering helps eliminate air pockets. After that, let the top inch or two of soil dry before watering again.
Starting from cuttings (my favorite budget method)
In late spring or early summer, snip a 4 to 6 inch nonflowering tip, strip the lower leaves, and place it in moist potting mix. Keep it bright but out of harsh midday sun until it roots. Once it resists a gentle tug, you have a new sage plant.
Watering and feeding
Sage does best with a light hand. Overwatering and heavy fertilizer produce soft, lush growth that flops, tastes weaker, and is more vulnerable to pests.
Watering rhythm
- First month after planting: Water when the top inch of soil feels dry.
- Established plants: Water deeply, then wait. In many gardens, sage only needs water during extended dry spells.
- Containers: Pots dry out faster. Water when the top 2 inches are dry, and never let the pot sit in a saucer of water.
Fertilizer
If your sage is in decent soil, you can skip fertilizer. If growth is pale or slow, top dress with a small amount of compost in spring. Avoid high-nitrogen feeds, which push leafy growth at the expense of flavor and structure.
Pruning sage
This is the part that turns sage from “pretty for one season” into “my personal roast seasoning shrub.” Sage naturally gets woody with age. Your job is to keep encouraging fresh green stems from lower down, while avoiding hard cuts into old wood that may not resprout.
The big rule: do not cut deep into bare, brown wood
Sage can struggle to push new growth from old, leafless stems. When you prune, aim to leave some green growth and leaves on the stems you keep.
When to prune
- Early spring: The main shaping prune, once you see new buds or fresh growth starting.
- After flowering: A lighter trim can tidy the plant and encourage a fresh flush.
- Late fall: Avoid heavy pruning right before winter in cold climates. Tender new growth can be damaged by frost.
How to prune
- Start with cleanup: Remove any dead, broken, or crossing stems.
- Cut back by about one third: Snip stems just above a set of leaves, keeping the plant rounded.
- Thin for airflow: If the center is crowded, remove one or two older stems at the base, but do it gradually over seasons.
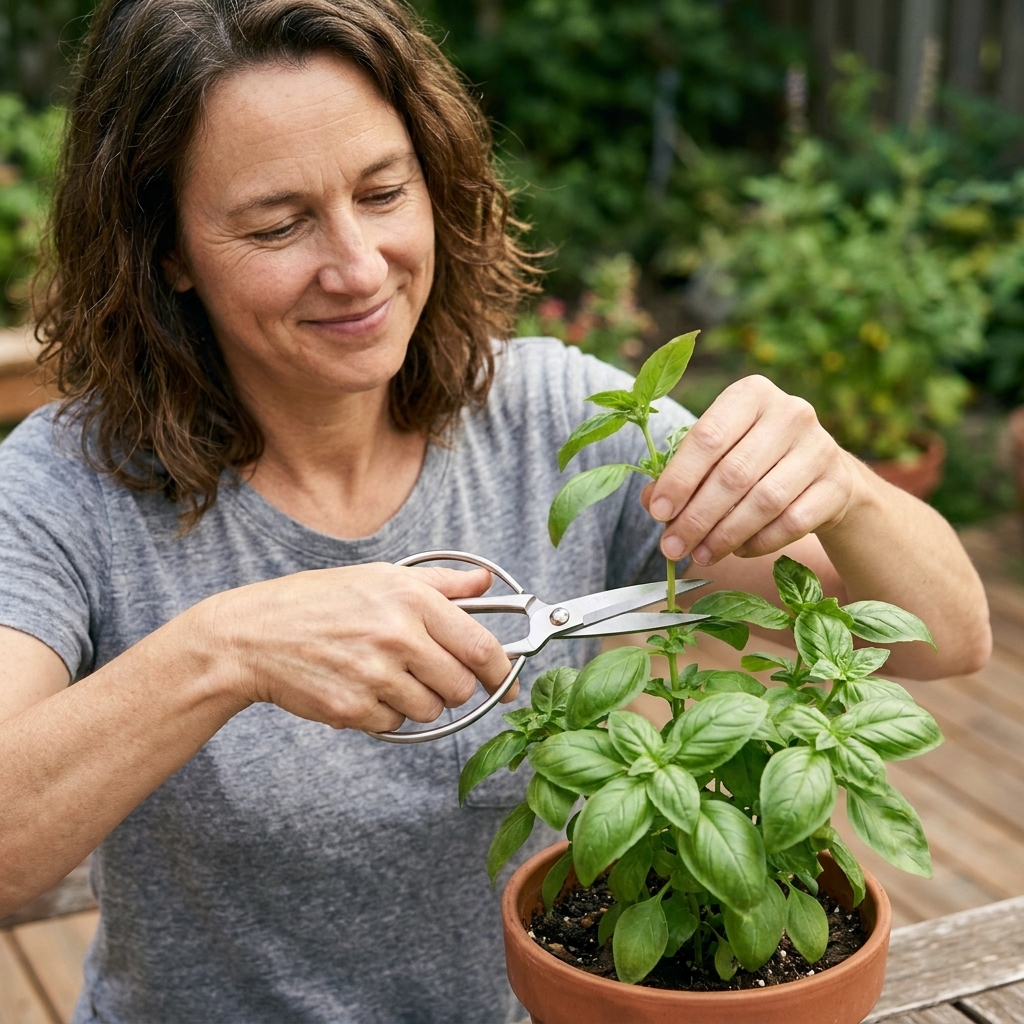
- Pinch tips during the growing season: If you notice long stems reaching, pinch the tips to encourage branching.
Harvesting sage
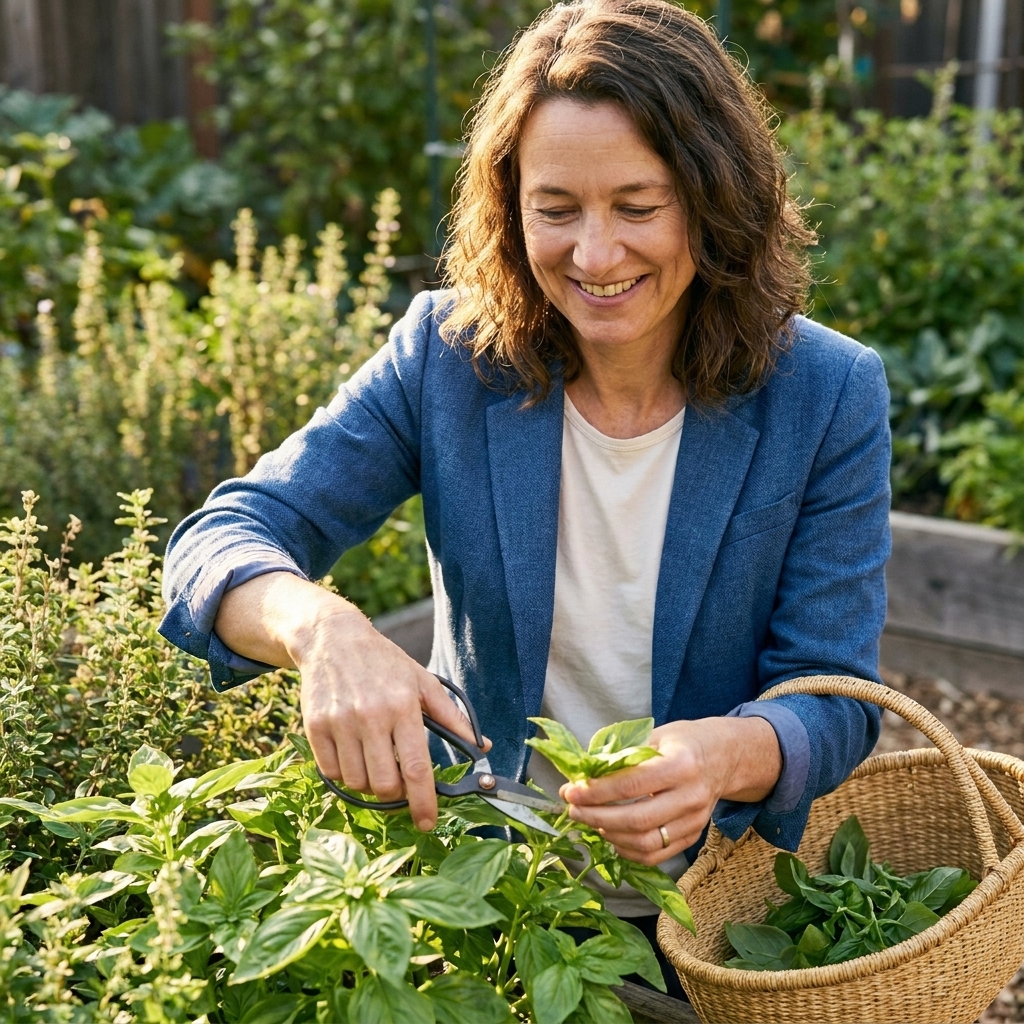
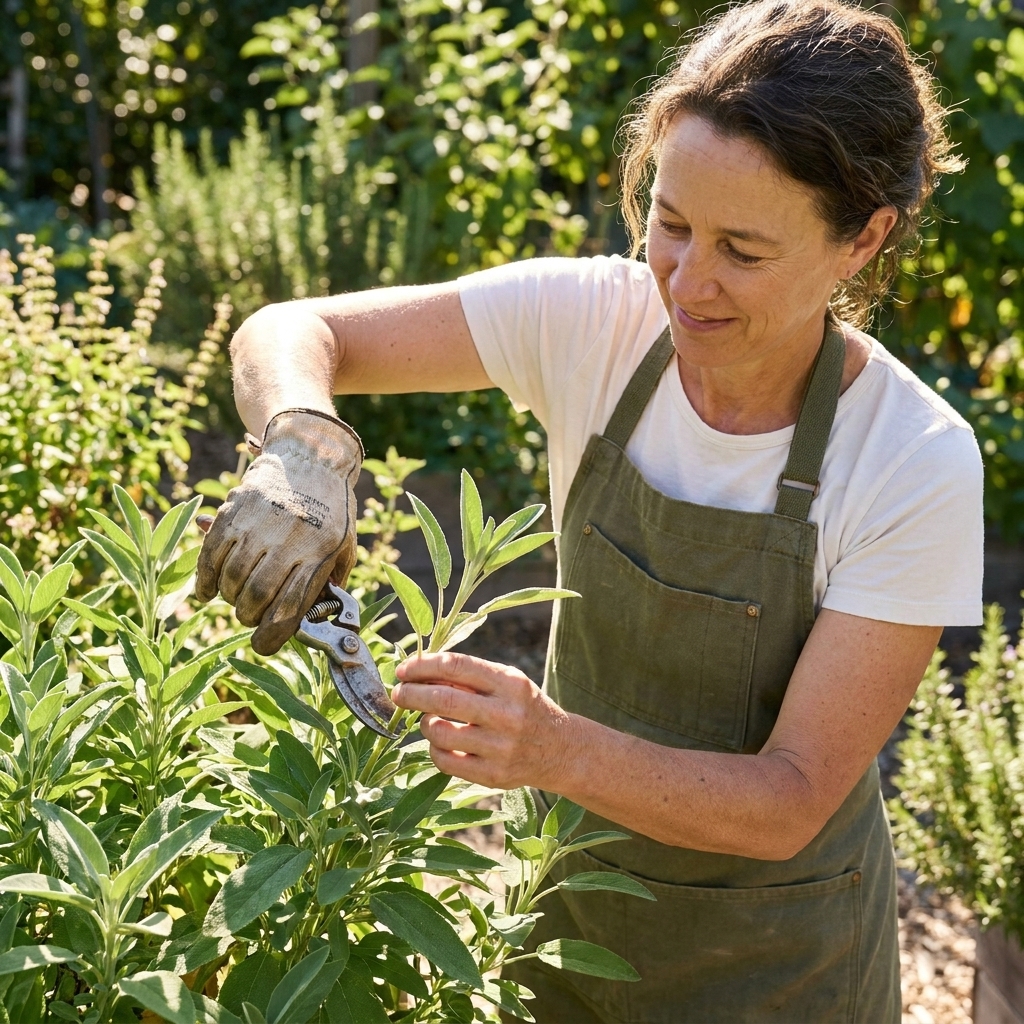
Harvesting is basically pruning with dinner in mind. Done right, it keeps your plant compact and productive.
When to harvest
- Best flavor: Harvest in the morning after dew dries, before the heat of the day.
- Before flowering: Leaves are often at their most flavorful right before buds open, though you can keep harvesting through bloom.
- For fall cooking: Take bigger harvests in late summer to early fall, but leave the plant enough time to recover before hard freezes.
How much to take
A safe guideline is to harvest up to about one third of the plant at a time during the growing season. If your sage is small or newly planted, harvest lightly and focus on pinching tips.
Best leaves for roasting
For crispy fried sage leaves or to scatter on sheet-pan veggies, choose medium-sized leaves that are clean and unblemished. The oldest, biggest leaves can be a bit tougher, but they are wonderful for flavoring braises, stocks, and gravy.
Harvest method
- Use clean snips and cut stems just above a leaf pair to encourage branching.
- Bundle stems loosely if you plan to dry them.
- Do not wash unless you must. If you rinse, dry thoroughly before drying or storing.
Drying sage leaves
Sage is one of the easiest herbs to dry because the leaves are thick and hold their flavor beautifully. The key is airflow and patience. Those velvety leaves can trap moisture, so do not rush the process.
Air-drying (my favorite for flavor)
- Harvest: Cut healthy stems, ideally on a dry day.
- Bundle: Tie 6 to 10 stems together loosely.
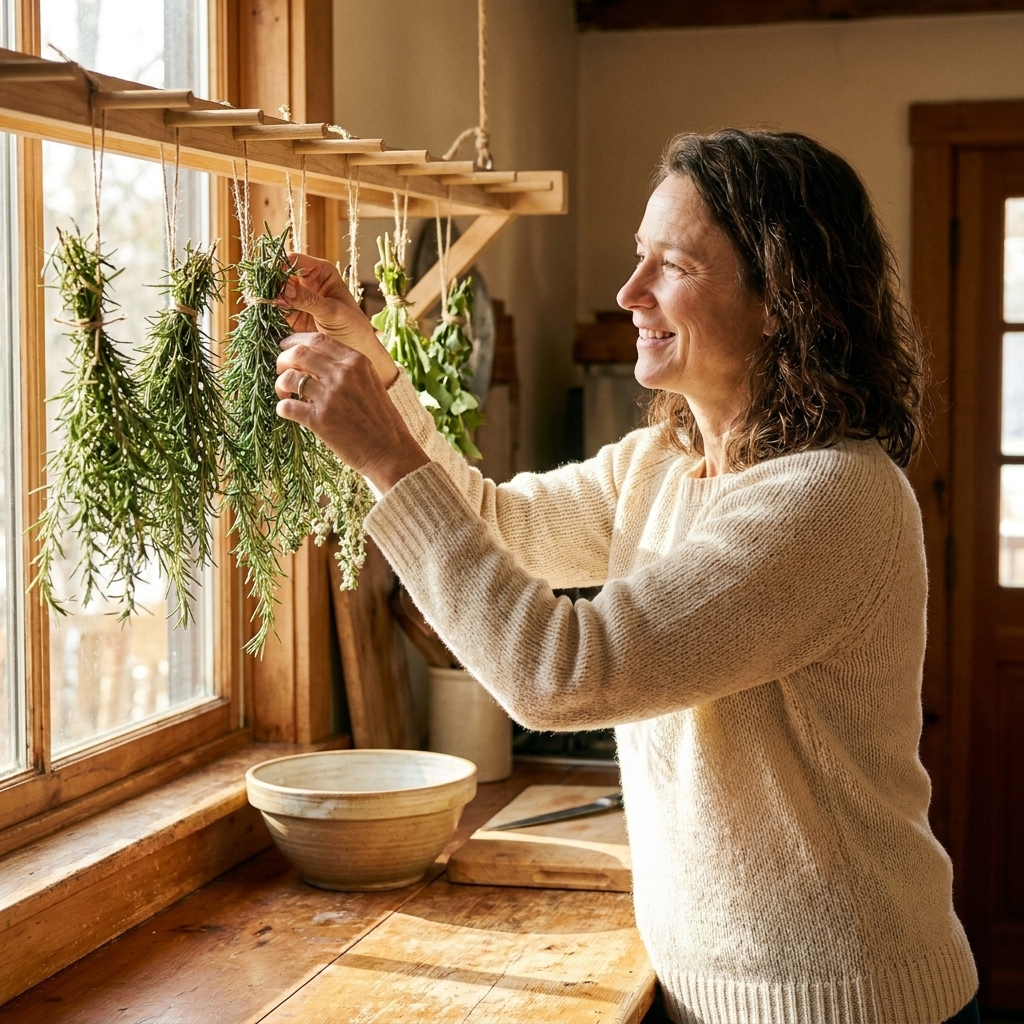
- Hang: Hang upside down in a warm, dry spot out of direct sun with good airflow.
- Wait: Usually 1 to 2 weeks, depending on humidity.
- Strip and store: Once leaves crumble easily, strip them from stems and store whole leaves or gently crumbled pieces.
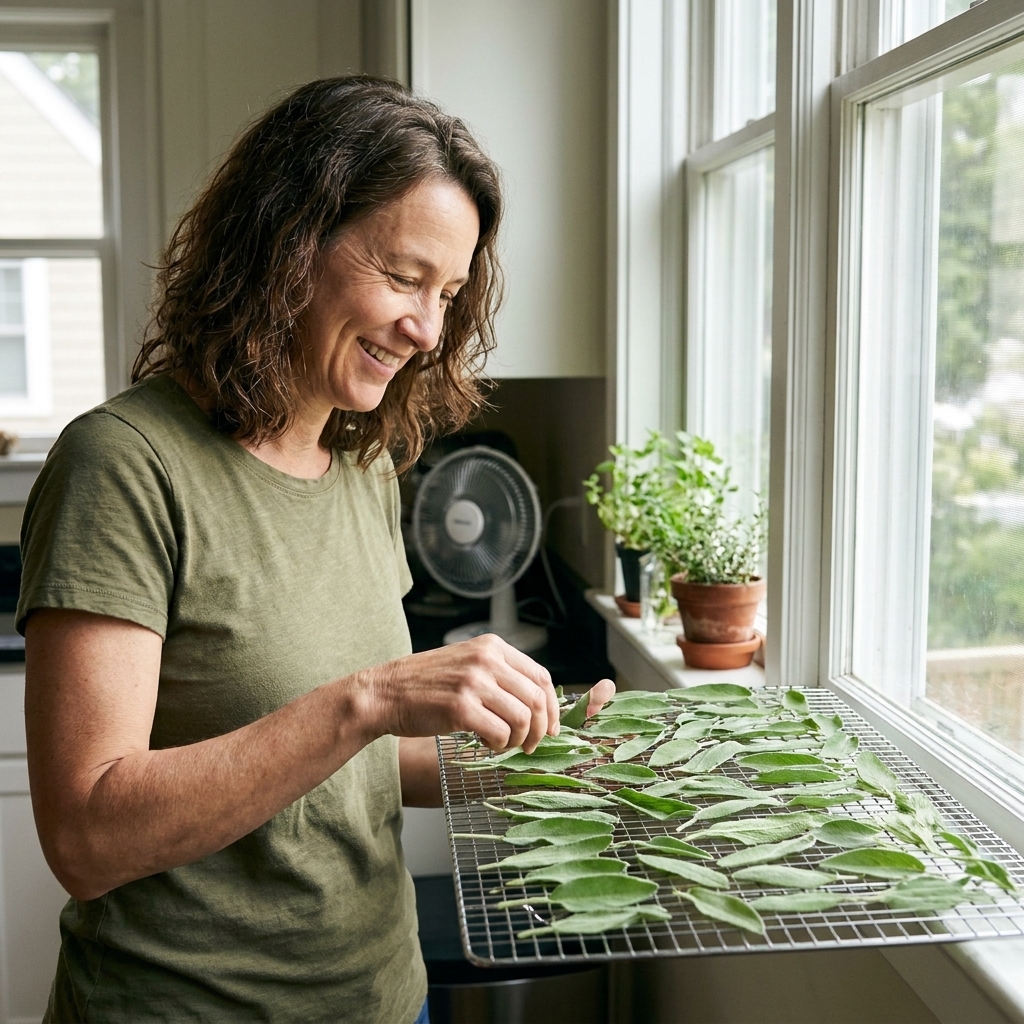
Tip from my own kitchen rack experiments: If your home is humid, lay leaves in a single layer on a screen or drying rack instead of bundling. It prevents hidden damp spots inside the bundle.
Oven drying
If you need dried sage quickly, use the lowest oven setting and keep a close eye on it.
- Set the oven to the lowest possible temperature, ideally around 170 to 200 F. If your oven runs hot, use a “warm” setting if available.
- Spread leaves in a single layer on a baking sheet lined with parchment.
- If you need extra airflow, crack the oven door slightly, but skip this if it is unsafe in your home (especially with kids or pets).
- Check every 10 minutes and pull leaves when they crumble easily. This can take 30 to 90 minutes depending on your oven.
Dehydrator drying
Dry at a low herb setting, typically around 95 to 125 F, until leaves are brittle. Rotate trays if your dehydrator has hot spots.
How to store dried sage
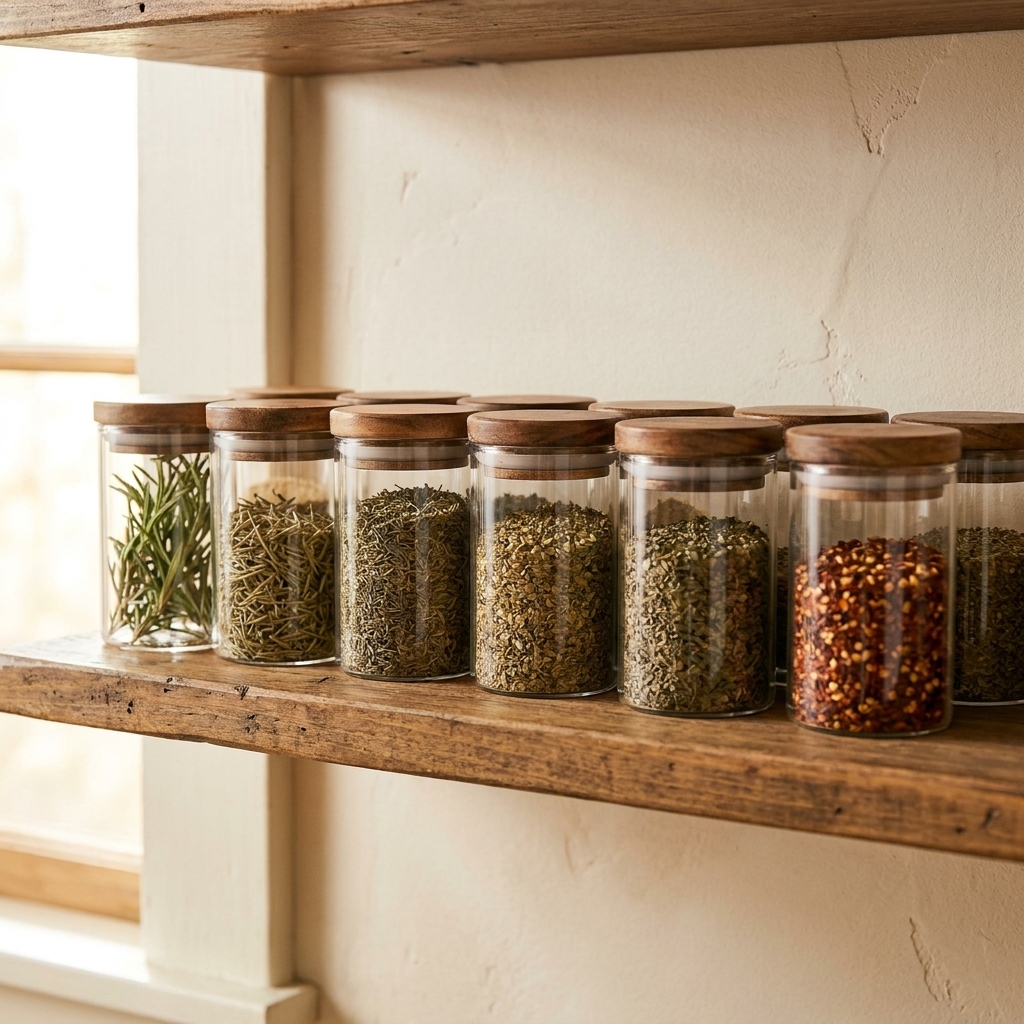
- Container: An airtight jar in a dark cabinet
- Keep it whole: Store whole leaves when you can and crumble just before cooking for best flavor
- Label it: Date the jar so you remember when you dried it
- Shelf life: Best flavor for about 6 to 12 months, though it is safe longer if kept dry
Keeping sage healthy
Winter care
- In cold climates: Mulch lightly around the base after the ground cools, but keep mulch from touching the crown.
- In containers: Move pots to a sheltered spot. In very cold zones, an unheated garage or covered porch can help prevent root damage.
- Avoid winter sogginess: Winter wet is harder on sage than winter cold.
Common problems
Woody, sparse plant
This is usually age plus not enough regular pruning. In early spring, lightly reduce height and thin a little for airflow. If most of the plant is old wood with very little green, it is often best to start a new plant from a cutting and replace the old one.
Yellowing leaves
Often a watering issue. Check drainage first. Let the soil dry more between waterings, especially in pots.
Powdery mildew
Improve airflow, avoid overhead watering, and prune lightly to open the center. Sun helps.
Soft, floppy growth
Usually too much fertilizer or too much shade. Move to a sunnier spot or ease up on feeding.
Aphids and spider mites
These can show up on stressed plants, especially in hot, dry container conditions. Start with a strong spray of water to knock them off (aim under leaves), then repeat as needed. If they persist, use insecticidal soap according to the label, and avoid spraying in full sun or the heat of the day.
Sage for fall roasts
Dried sage is a workhorse, but fresh leaves are special. They perfume fat and make simple roasted food taste like you planned ahead.
- Roast chicken: Tuck fresh sage leaves under the skin with butter or olive oil.
- Root vegetables: Toss cubes of squash or potatoes with olive oil, salt, and torn sage leaves.
- Brown butter sage: Crisp whole leaves in butter, then drizzle over roasted cauliflower or gnocchi.
- Stuffing: Use a mix of dried sage for depth and a few fresh leaves for that bright top note.
FAQ
Is culinary sage easy to grow?
Yes, as long as you give it sun and drainage. Most sage problems trace back to soil that stays wet or a plant that never gets pruned and turns woody.
Should I let my sage flower?
You can. The flowers are beautiful and pollinators love them. If you want maximum leaf production and the strongest leaf flavor, pinch flower stalks as they form and harvest more regularly.
Can I harvest sage in the first year?
Lightly, yes. Pinch tips and take a few sprigs. For big harvests for drying, wait until the plant is established and growing vigorously.
How do I revive a woody sage plant?
Start with a gentle spring prune, taking no more than one third and cutting only where you still see green growth. If the base is all bare wood, your best path is often to root a cutting and replace the plant.