Every year, right around the moment my basil starts acting like it owns the garden, I face the same happy problem: how do I preserve all these herbs without losing their magic? I grew up watching my grandmother tie little bundles of stems and hang them in a warm corner of the kitchen. Now I also keep a small dehydrator tucked in a cabinet, ready for humid weeks or big harvest days when I need herbs dried fast.
Both methods work beautifully, but they shine in different situations. Below is exactly how I decide between traditional air-drying and an electric dehydrator, plus step-by-step instructions, the best herbs for each approach, and the small details that keep dried herbs green, fragrant, and worth using.
Quick answer
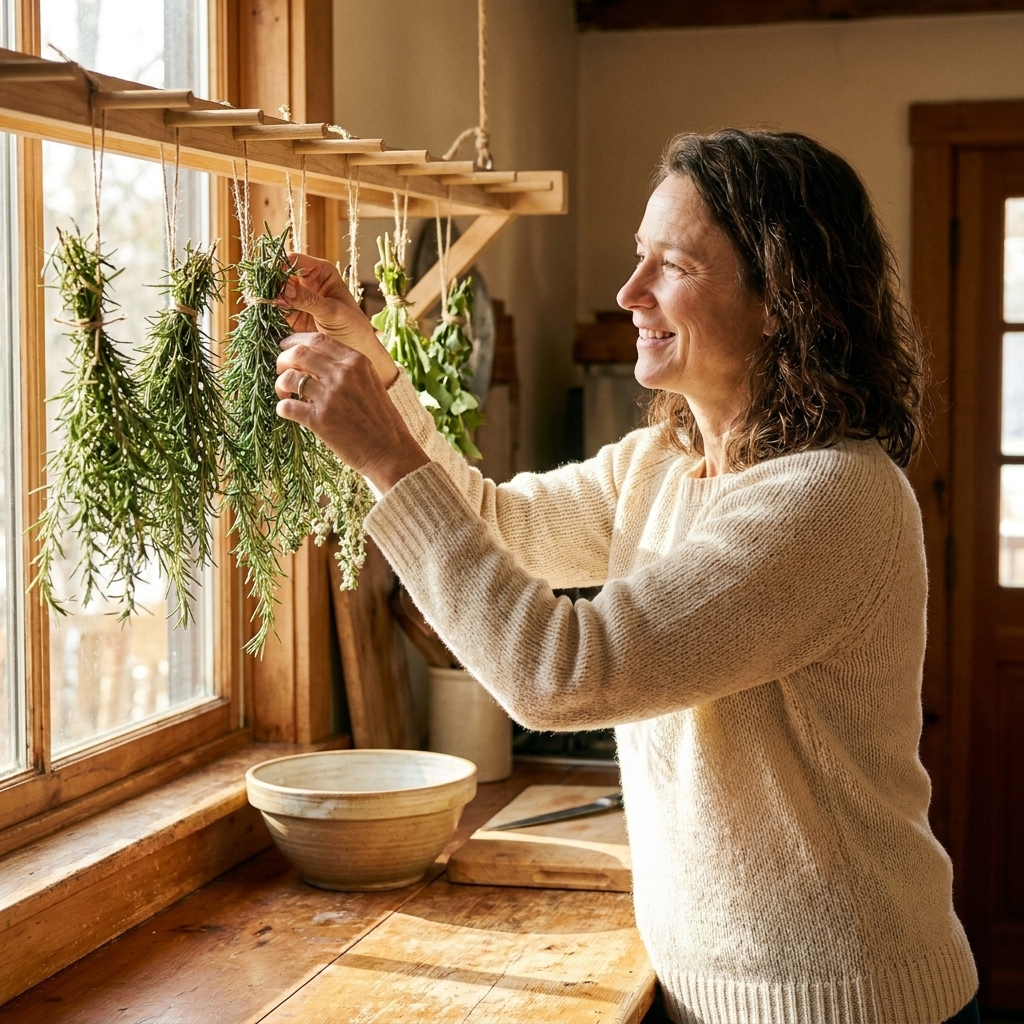
Air-drying is best when you have good airflow, low humidity, and herbs that dry easily on the stem. It is cheap, quiet, and gentle, but it takes longer and can be tricky in damp climates.
Dehydrating is best when you want speed, reliability, and consistent results. It is especially helpful for tender, higher-moisture herbs (or rainy weeks) because it gets you fully dry before mold has a chance to start.
My rule of thumb
- If the herb is woody (think rosemary, thyme, sage), I often air-dry.
- If the herb is tender and leafy (think basil, cilantro, parsley), I usually dehydrate at a low temperature.
Key differences
| Factor | Air-drying | Electric dehydrator |
|---|---|---|
| Speed | Typically days to 2 weeks | Typically 1 to 6 hours for most herbs |
| Risk of mold | Higher in humid conditions or thick bundles | Lower when dried promptly and evenly |
| Flavor retention | Excellent when dried in shade with airflow | Excellent if you keep temperature low |
| Color | Can brown if light is strong or drying is too slow | Often greener because drying is quicker |
| Best for | Woody herbs, seed heads, flowers | Tender leafy herbs, humid climates, big harvest days |
| Hands-on | Low effort, but you wait and check over days | More active checking near the end, but it is done fast |
| Noise and energy | Silent, no electricity | Light fan noise, uses electricity for a few hours |
| Cost and setup | Almost free (string, paper bags, hooks) | Requires appliance and counter space |
The biggest quality difference I see at home is not “air-dried vs. dehydrated.” It is slow-dried vs. properly dried. If herbs sit damp for too long, you lose aroma and invite spoilage. If you get them dry quickly at a gentle temperature, both methods can give you gorgeous jars of flavor.
Harvesting basics
No drying method can rescue herbs that were harvested at the wrong moment or handled roughly. Here is what consistently improves my results.
Timing
- Harvest after morning dew dries, but before the hottest part of the day.
- For many leafy herbs, flavor is often best just before flowering.
- Skip harvesting right after heavy rain if you can. Extra surface moisture slows drying.
To wash or not to wash?
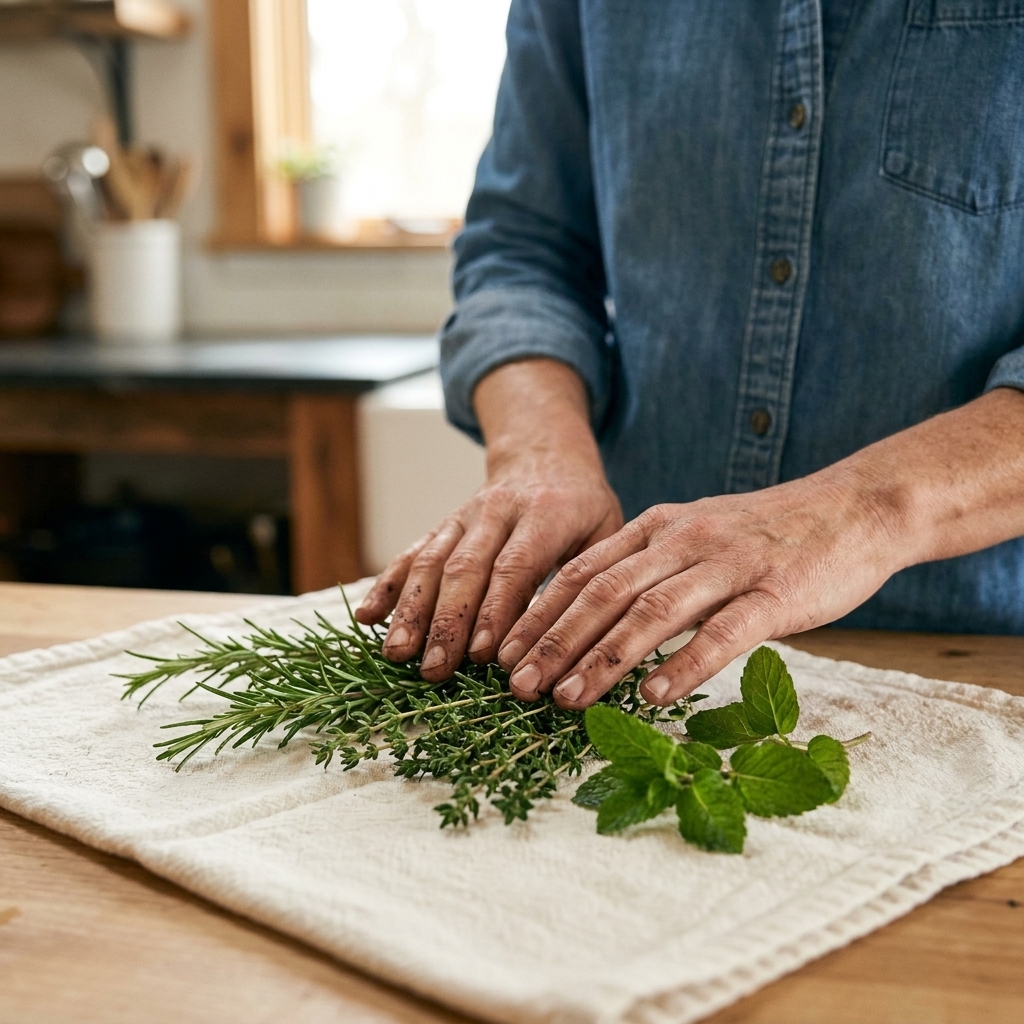
If your herbs are clean (no dust, pet hair, or soil splash), I prefer not washing because it speeds drying and preserves aroma. If you need to wash, do it gently in cool water, shake well, and lay the herbs out on towels until they feel dry to the touch before you begin air-drying or dehydrating.
Method 1: Air-drying
Air-drying is the old-school method I still love, especially for woody herbs. It is simple, but a few small habits make the difference between fragrant jars and dusty, dull leaves.
What you need
- Twine, rubber bands, or cotton string
- Paper bags (optional, but helpful for keeping dust off)
- A dark, dry spot with airflow (a pantry corner, closet with a cracked door, or a breezy room)
- Hooks, hangers, or a drying rack
Steps
- Sort and trim. Remove damaged leaves and thick, muddy stems.
- Make small bundles. Aim for bunches about the width of your thumb. Overstuffed bundles are the fastest route to musty herbs.
- Tie securely. Stems shrink as they dry, so tie a little tighter than you think you need.
- Hang upside down. Choose a spot out of direct sunlight with steady airflow, away from stove steam, splatters, and any greasy cooking area.
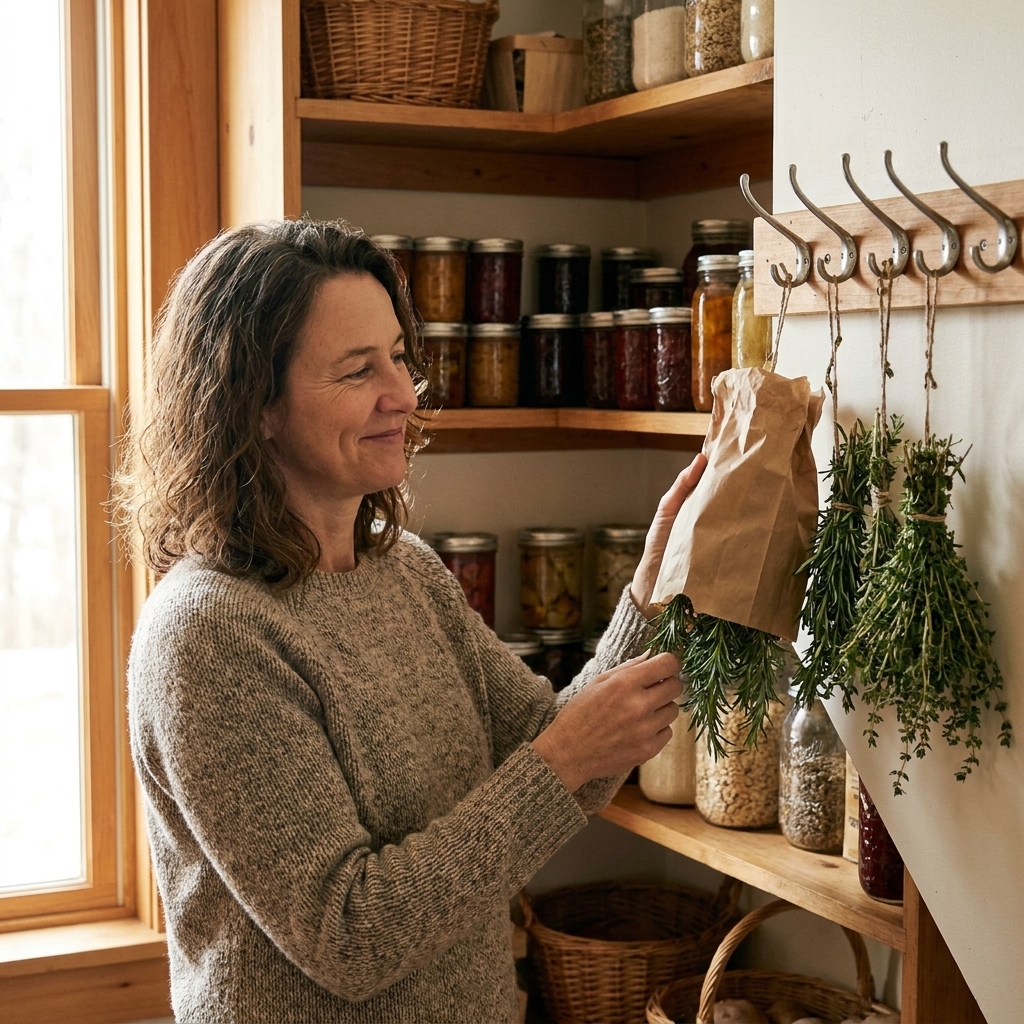
- Use a paper bag if needed. Slip a paper bag over the bundle and poke a few holes for airflow. This helps with dust and can catch falling leaves.
- Check daily. If any leaves feel cool or pliable after several days, increase airflow or move the herbs to a drier room.
- Finish and store. When leaves crumble easily, strip them from stems and store in airtight jars.
How long it takes
Usually 5 to 14 days, depending on humidity, herb type, and bundle size. Rosemary can feel dry in under a week. Basil can take longer and is more likely to discolor if conditions are humid.
Air-drying sweet spot
Think shade + airflow + patience. Direct sun can bleach color and dull flavor. Stagnant air slows drying and raises the risk of mold.
Method 2: Dehydrator
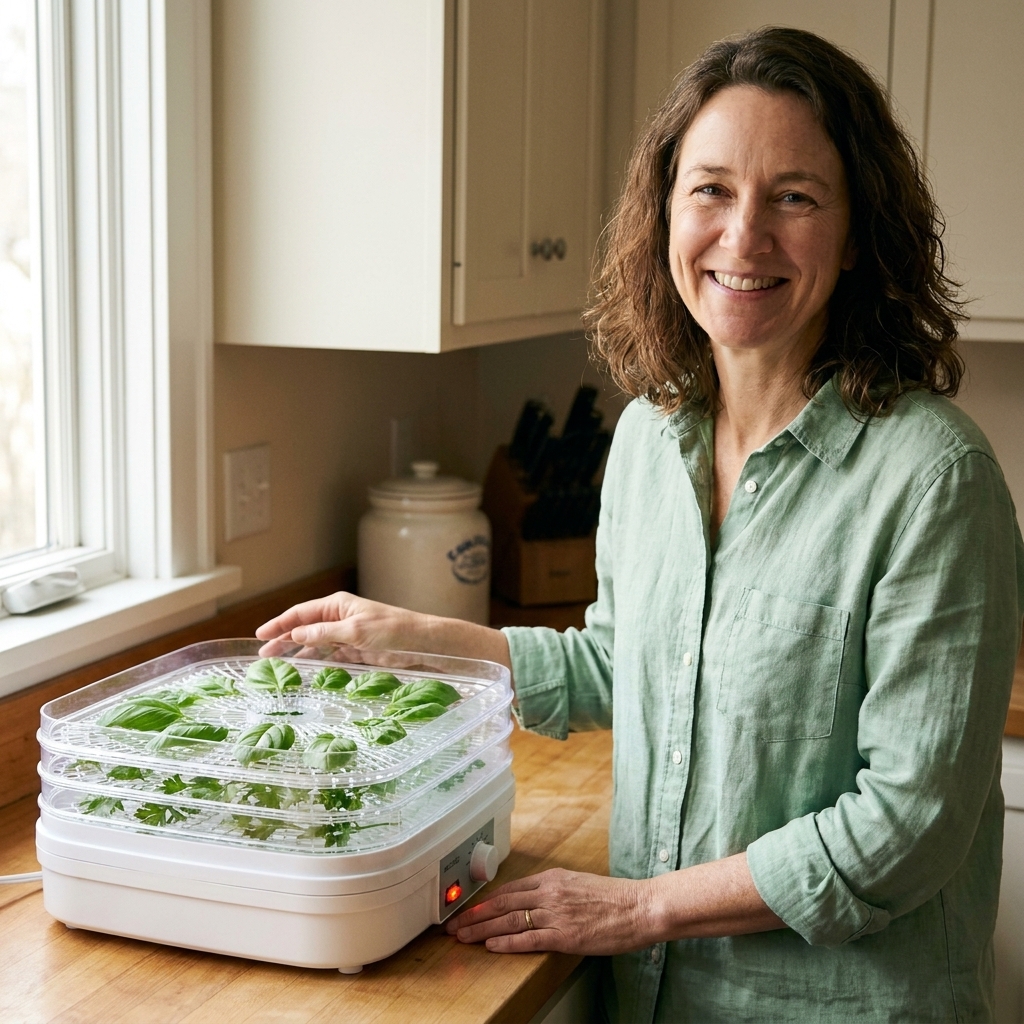
A dehydrator is my “insurance policy” during muggy stretches and my favorite tool when I have a lot to preserve quickly. The key is a gentle temperature. Herbs are delicate, and too much heat can drive off the very oils you are trying to save.
What you need
- Electric dehydrator with temperature control (ideal)
- Clean trays, plus mesh or liner sheets for small leaves
- Airtight jars or tins for storage
Best temperature
Most herbs do well around 95 to 125°F (35 to 52°C). Some dehydrators and herb types run well a bit warmer, so use this as a guide and follow your model’s recommendations when they differ.
Steps
- Prep the herbs. Remove tough, thick stems. Small tender stems are fine, especially for thyme and oregano. Keep leaves whole if possible because whole leaves hold flavor better than pre-crumbled herbs.
- Arrange in a single layer. Do not pile leaves. Air needs to move around each piece.
- Set a low temperature. Start in the 95 to 125°F range.
- Rotate trays if needed. Some dehydrators have hot spots. Swapping trays halfway through can help.
- Check often near the end. Many herbs finish quickly.
- Condition before long storage. Let herbs cool completely, then loosely pack into a jar for 24 hours and shake once or twice. If you see condensation, dry a bit longer.
How long it takes
Commonly 1 to 4 hours for tender leafy herbs, and 2 to 6 hours for thicker leaves like sage. Humidity, leaf size, and your dehydrator model all play a role, so treat time as a guideline and rely on texture instead.
Best herbs by method
Here is how I match the herb to the method, based on how tender it is, how much moisture it holds, and how easily it bruises.
Best for air-drying
- Rosemary: sturdy needles dry quickly and keep fragrance well.
- Thyme: easy to bundle, dries evenly on the stem.
- Oregano and marjoram: excellent air-dried flavor when bundles are small.
- Sage: can air-dry well, especially in a dry home with airflow.
- Mint: air-dries nicely, but keep it out of strong light to protect color.
- Lavender: best air-dried in small bundles for sachets, teas, and baking.
Best for dehydrating
- Basil: more likely to stay green when dried quickly at a gentle temperature.
- Parsley: dehydrator helps it dry before it turns dull and papery.
- Cilantro: tricky to air-dry without losing punch. Quick, gentle dehydration usually wins.
- Dill: delicate fronds dry fast in a dehydrator without falling everywhere.
- Chives: dehydrate low and slow, then store airtight. Air-drying often leads to limp, uneven pieces.
- Lemon balm: prone to browning if it dries too slowly.
Better preserved another way
Some herbs are wonderful fresh but can disappoint when dried. If you are chasing that just-picked flavor, consider freezing instead.
- Chervil: best frozen or used fresh.
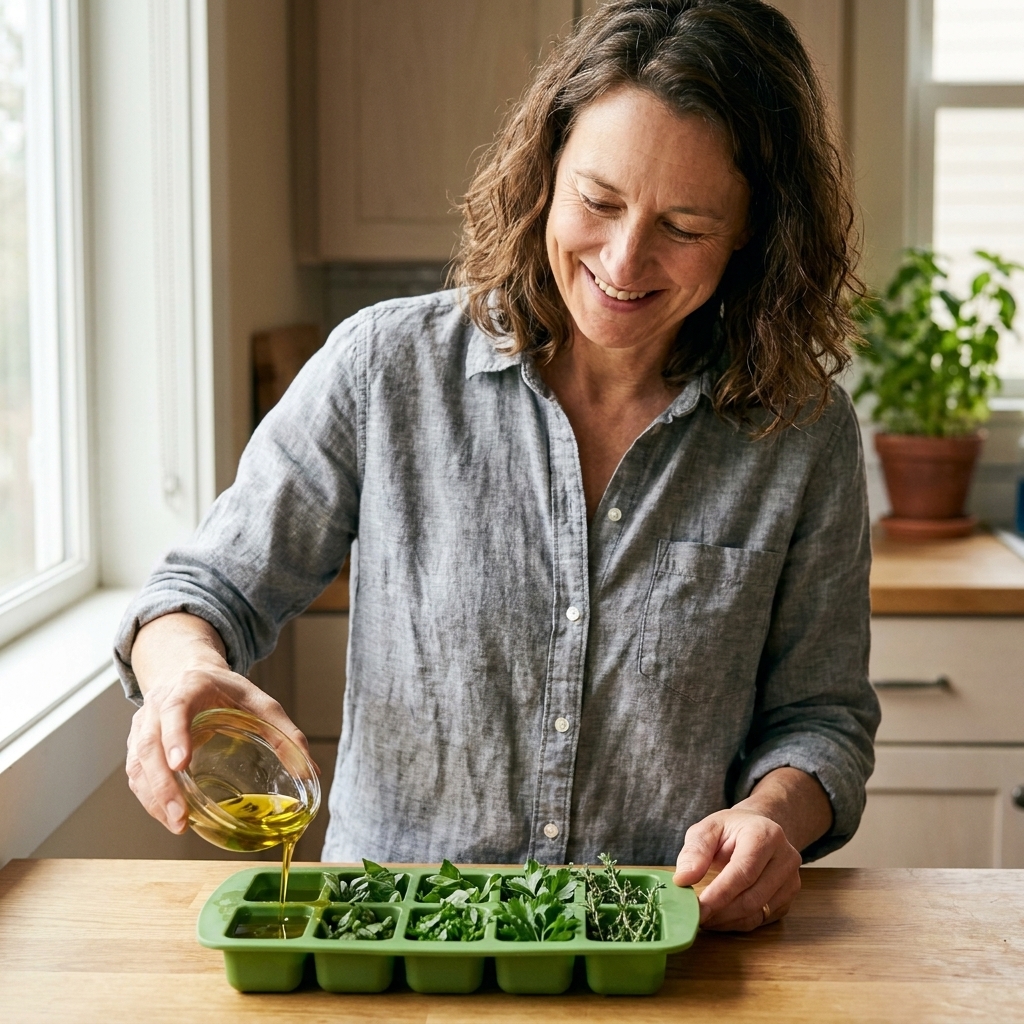
- Tarragon: can dry, but often tastes brighter when frozen in butter or oil cubes.
- Parsley and cilantro: dry fine for soups and sauces, but freezing keeps a fresher personality for many dishes.
When herbs are fully dry
Drying is finished when no part of the herb feels cool, bendy, or leathery. Coolness can mean there is still moisture inside.
- Leaves: should crumble between your fingers.
- Woody stems: should snap cleanly, not bend.
- Thicker leaves (sage, basil): should crackle and break, with no soft spots along the midrib.
If you are using a dehydrator, cool a sample leaf for a minute before judging. Warm herbs can feel slightly flexible even when they are actually dry.
If you are unsure, dry longer. Slightly overdry is better than slightly underdry for safe storage.
Flavor and color
Does a dehydrator ruin flavor?
Not if you keep the temperature gentle. Too much heat can push off essential oils, leaving herbs that smell faint and taste dusty. Low-temperature dehydration is consistent, and it often preserves color better than air-drying in humid air.
Why do air-dried herbs turn brown?
Usually it is one of these:
- Too much light (sunny windows can bleach and brown).
- Too much humidity (slow drying encourages oxidation and musty smells).
- Bundles too thick (the center stays damp).
Move bundles to a darker spot with more airflow, or switch to the dehydrator when the weather will not cooperate.
Storage
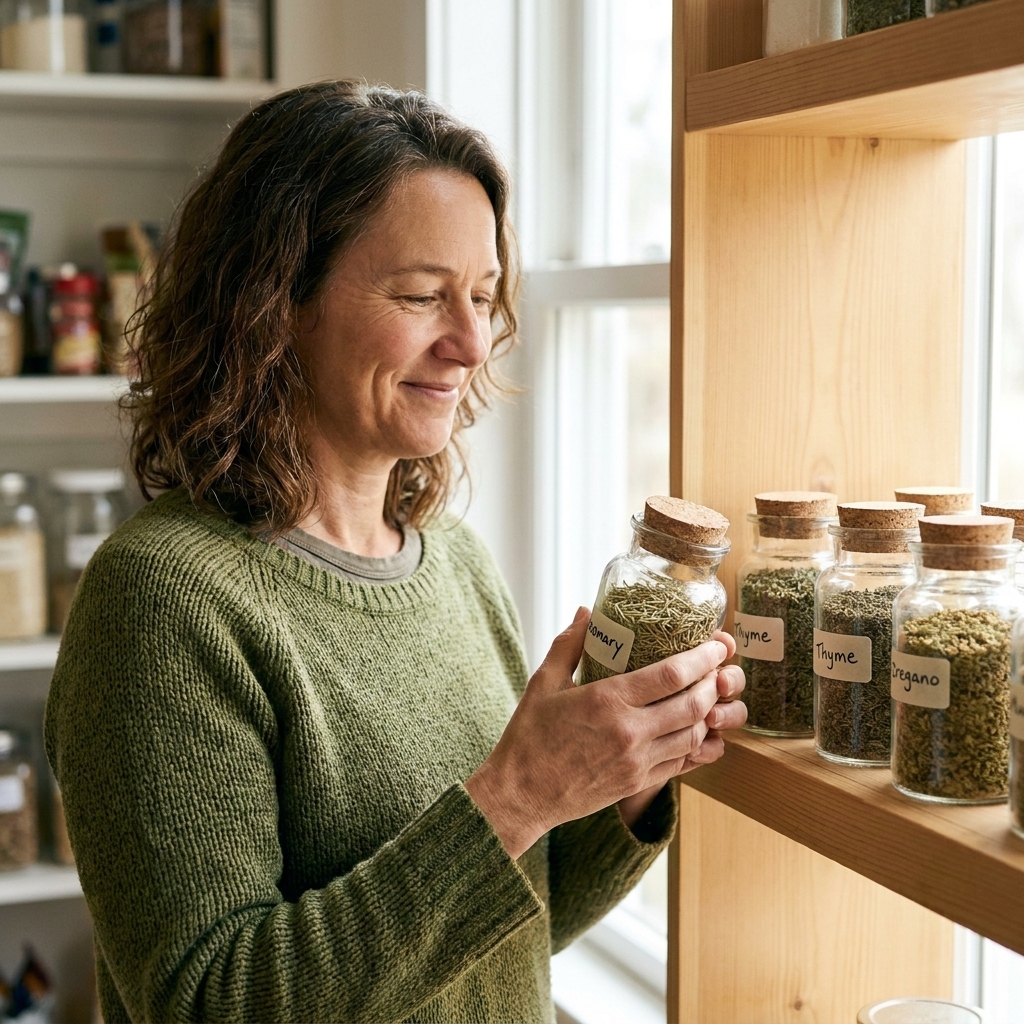
You can dry herbs perfectly and still end up with bland jars if storage is sloppy. Aroma escapes quickly when herbs are exposed to heat, light, and air.
My storage routine
- Cool completely before jarring. Warm herbs can create condensation inside the container.
- Store mostly whole (leaves on, lightly crumbled only when cooking). Whole leaves protect essential oils.
- Use airtight containers and keep them in a dark cabinet away from the stove.
- Label with the month and year so you actually use older jars first.
How long they last
They stay safe longer, but for best flavor I try to use home-dried herbs within 6 to 12 months. After that, they are usually still fine to cook with, but the aroma and punch start to fade.
Troubleshooting
Herbs smell musty
- They likely dried too slowly or were stored before fully dry.
- For safety, discard anything that smells moldy or shows visible mold.
- Next time, make smaller bundles, add airflow, or use a dehydrator during humid weather.
Leaves are crisp but stems bend
Stems hold moisture longer. Keep drying until stems snap, or strip leaves from stems and finish drying the leaves alone.
Herbs taste weak
- They may have been harvested too late, after flowering, or dried at too high a temperature.
- Try drying in shade (air-dry) or lowering dehydrator temperature and checking earlier.
- Store whole and crumble right before using.
Tiny leaves blew around in the dehydrator
Use a mesh liner or place a second mesh tray on top as a gentle lid. Dill and cilantro especially appreciate this.
Choosing for your home
Dry climate
Air-drying can be a dream. A shady, well-ventilated spot plus small bundles will give you excellent results, especially with woody herbs.
Humid or rainy summers
A dehydrator will save you heartbreak. I still air-dry some rosemary and lavender because they are forgiving, but I do not gamble with basil in sticky weather.
Limited space
Dehydrators take counter space, but they run for a short time and pack away. Air-drying takes almost no equipment, but you do need a place to hang herbs for days without them being bumped, steamed, or sunbaked.
FAQ
On the stem or off the stem?
Air-drying: on the stem is easiest for woody herbs. Dehydrating: I usually remove thick stems so leaves dry evenly, but little tender stems are fine. Either way, keep pieces as whole as possible for better flavor.
Can I dry herbs in the oven?
You can, but it is easy to overheat herbs in an oven, even on “low.” If that is your only option, keep the temperature as low as it goes, crack the door slightly for airflow, and check often. For most kitchens, air-drying or a dehydrator gives better results.
Crumble before storing?
Store whole when you can. Crumble right before cooking. Whole leaves protect aroma and stay potent longer.
Dried vs. fresh conversion
A common kitchen swap is 1 teaspoon dried for 1 tablespoon fresh. Start there and adjust to taste, because home-dried herbs can be wonderfully strong.
Bottom line
If you love the slow, cozy rhythm of preservation and you have dry air and good airflow, air-drying is deeply satisfying and very effective. If you want consistent results in any weather, especially for tender leafy herbs, a dehydrator is hard to beat.
Whichever method you choose, your biggest win is simple: harvest at a good time, keep herbs clean and dry, and do not rush them into jars until they are truly crisp. Your winter soups, roasted vegetables, and weeknight pastas will taste like you kept a little corner of summer on the shelf.