Some days you have a handful of basil or parsley on the counter and exactly zero patience for tying bundles and waiting a week. I have been there, usually right before dinner. Microwave-drying is my favorite little shortcut for turning fresh herbs into something shelf-stable in minutes, especially when you only need a tablespoon or two and you want to protect that bright green color.
This method is best for leafy, tender herbs. It is quick, tidy, and surprisingly effective when you use short bursts and let the herbs finish drying from their own leftover warmth.
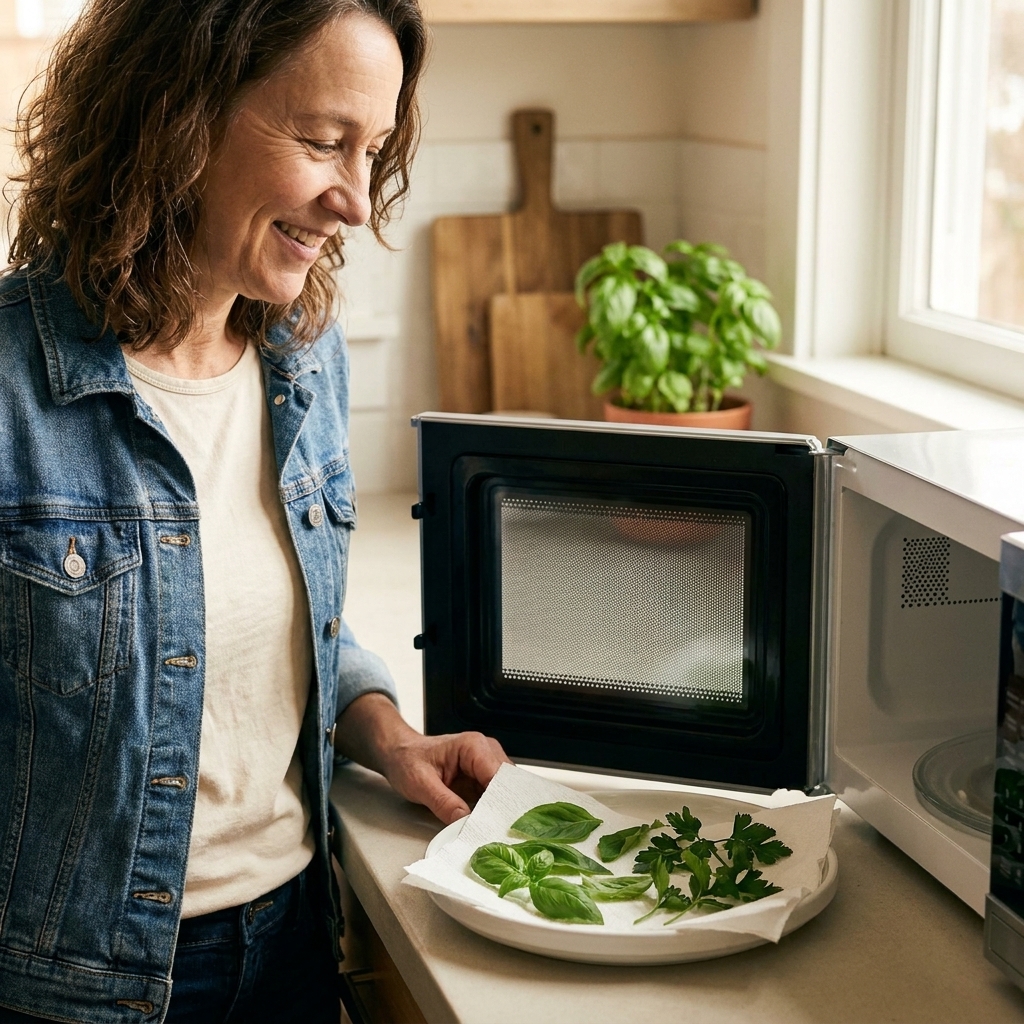
Why the microwave works (and when it does not)
A microwave removes moisture fast. That speed can help herbs keep a fresher color compared with a hot oven, but only if you go gently. Herbs can scorch quickly, and once they smell toasted, those delicate essential oils are already slipping away.
Best uses for microwave-dried herbs
- Small batches you want to use within a few weeks to a couple months
- Weeknight cooking when you need dried herbs right now
- Limited space, no rack, no dehydrator, no time
When to choose another method
- If your herbs are woody or resinous (like rosemary) and you have time, air-drying often preserves their aroma beautifully.
- If you are drying large harvests, a dehydrator or low oven is easier to scale.
- If your microwave runs hot and uneven, you will need extra-short bursts and careful watching.
What you need
- Fresh herbs (one to two loosely packed cups is a comfortable batch)
- Paper towels (or a clean cotton tea towel)
- A microwave-safe plate
- Optional: a second plate to lightly press herbs flat
- Airtight jar or container for storage
Avoid wax paper. It is not absorbent like paper towel, and it can soften, warp, or stick when it gets steamy.
Skip anything metallic. And do not put herbs directly on the microwave glass. Use a plate and a paper towel barrier so you do not hit a hot spot and singe the edges.
Step-by-step: microwave-dry herbs in under 5 minutes
The active microwaving is usually 1 to 3 minutes, plus a short rest to finish drying. Still fast, still weeknight-friendly.
1) Pick the right leaves
Choose healthy, dry leaves with no black spots or slime. Strip leaves from thick stems. As a simple rule, if a stem feels tough and bendy, it will hold moisture and slow everything down.
2) Wash only if you must, then dry very well
If your herbs are clean from the garden or a windowsill pot, you can often skip washing. If you do rinse them, dry them thoroughly. I mean thoroughly. Pat with towels and let them air-dry for a few minutes. Excess surface water leads to steaming and cooking instead of drying, and that is when herbs turn limp and dark.
3) Build a simple drying sandwich
Line a plate with a paper towel. Spread herbs in a single layer with no overlapping. Top with a second paper towel. If your leaves are curly or want to fly around, set another microwave-safe plate on top to keep them flat (do not press hard).
4) Microwave in short bursts
Microwaves vary a lot by wattage and how evenly they heat (a 700-watt microwave behaves very differently than a 1200-watt one), so think in bursts, not minutes. Start conservatively, then add time.
- Microwave on high for 20 to 30 seconds.
- Open the door, let steam escape, and check the herbs.
- Continue in 15 to 20 second bursts until the leaves feel mostly dry.
Most tender herbs finish somewhere between 60 and 150 seconds total. Bigger leaves, damp herbs, or lower-wattage microwaves may take longer, but you still want to creep up on dry rather than blast them.
5) Rest to finish drying
This is the little trick people skip. Leave the herbs on the plate for 1 minute after the last burst. Residual heat continues pulling out moisture gently. Then check again.
6) Test for true dryness
For herbs to be truly shelf-stable, they need to be fully crisp-dry. Any lingering moisture can lead to condensation in the jar and, eventually, mold.
Properly dried herbs should:
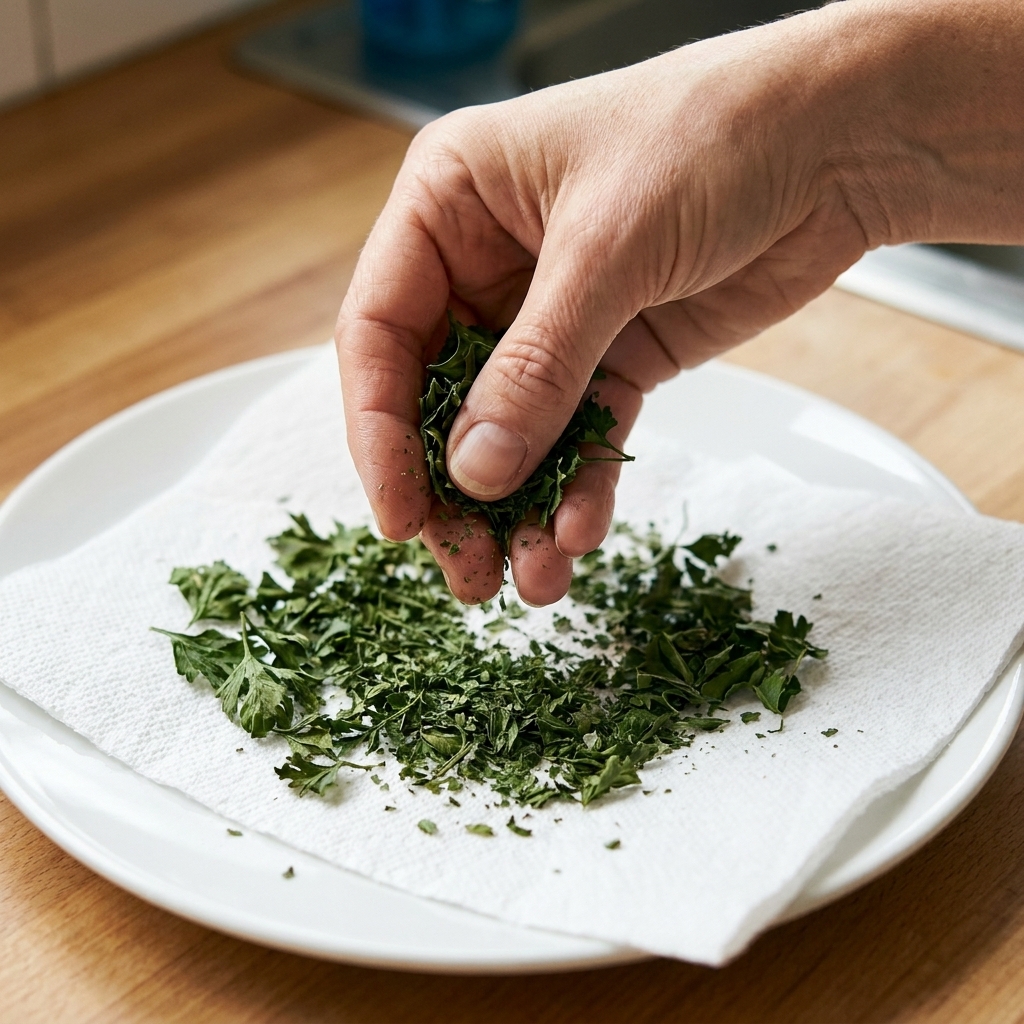
- Crumble easily between your fingers
- Feel papery, not leathery
- Have no cool, damp spots along the midrib
If they bend instead of crumble, give them one more 10 to 15 second burst, then rest again.
Timing guide by herb
These are starting points for about 1 cup of leaves in a single layer, sandwiched in paper towels. Always adjust based on your microwave wattage and how dry the herbs were to begin with.
- Parsley: 60 to 120 seconds total
- Cilantro: 45 to 90 seconds total (watch closely, it scorches fast)
- Basil: 60 to 120 seconds total (darkens if overheated, so keep bursts short)
- Mint: 60 to 120 seconds total
- Dill: 45 to 90 seconds total
- Oregano (leaves): 60 to 150 seconds total
- Thyme (sprigs): 60 to 150 seconds total, then strip leaves
If you are drying sage or rosemary, expect longer times and a higher risk of hot spots. I still use the same burst method, just smaller batches and more patience.
Keep herbs green and flavorful
Use smaller bursts than you think you need
Herbs go from “almost there” to “oops” in a heartbeat. I would rather run one extra 15-second burst than lose a whole plate to scorching.
Do not overdry to dust
Yes, you want them crisp. But if they are turning brown and smell toasty, you have gone too far. That toasted smell is flavor leaving the building.
Crush after, not before
Leave leaves as whole as possible while drying and storing. Crush only what you need right before cooking. Whole leaves protect their oils better.
Storing microwave-dried herbs
Let the herbs cool completely first. Warm herbs put condensation in the jar, and condensation invites mold.
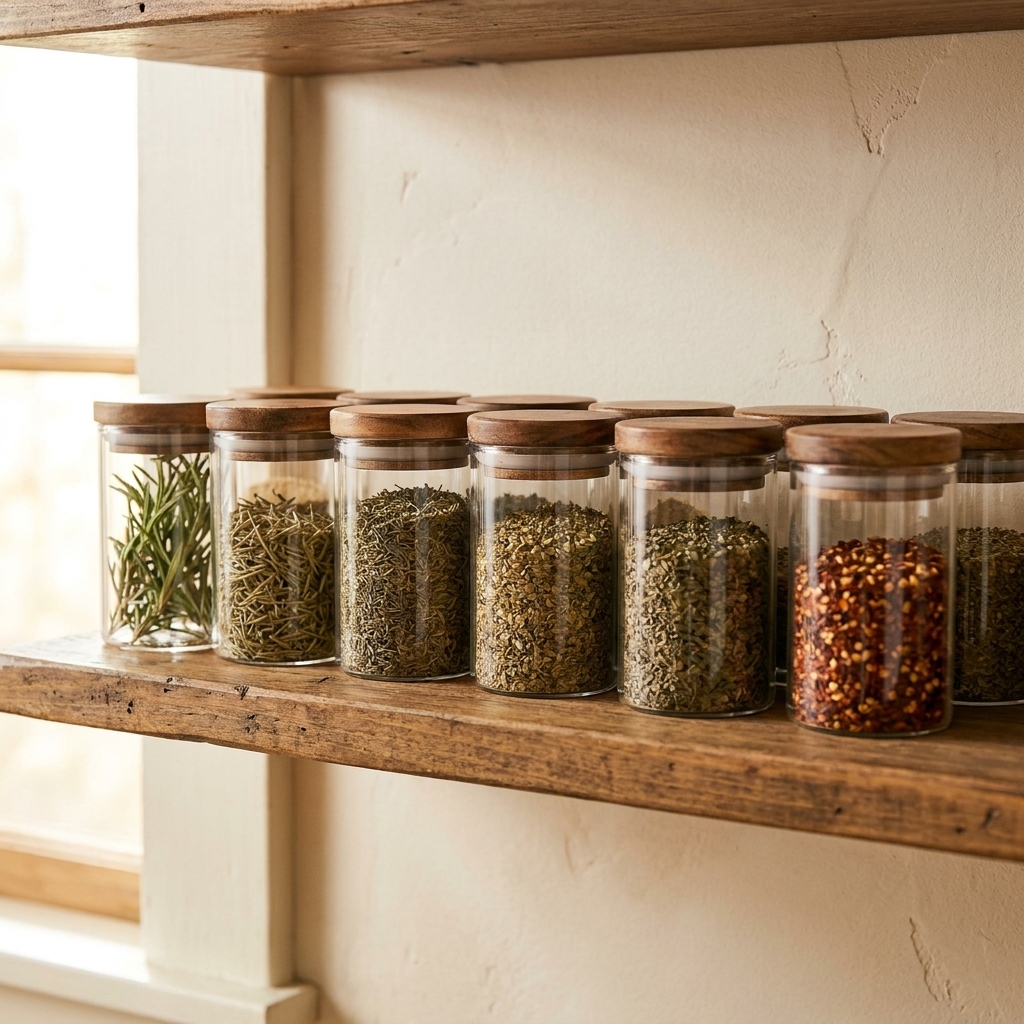
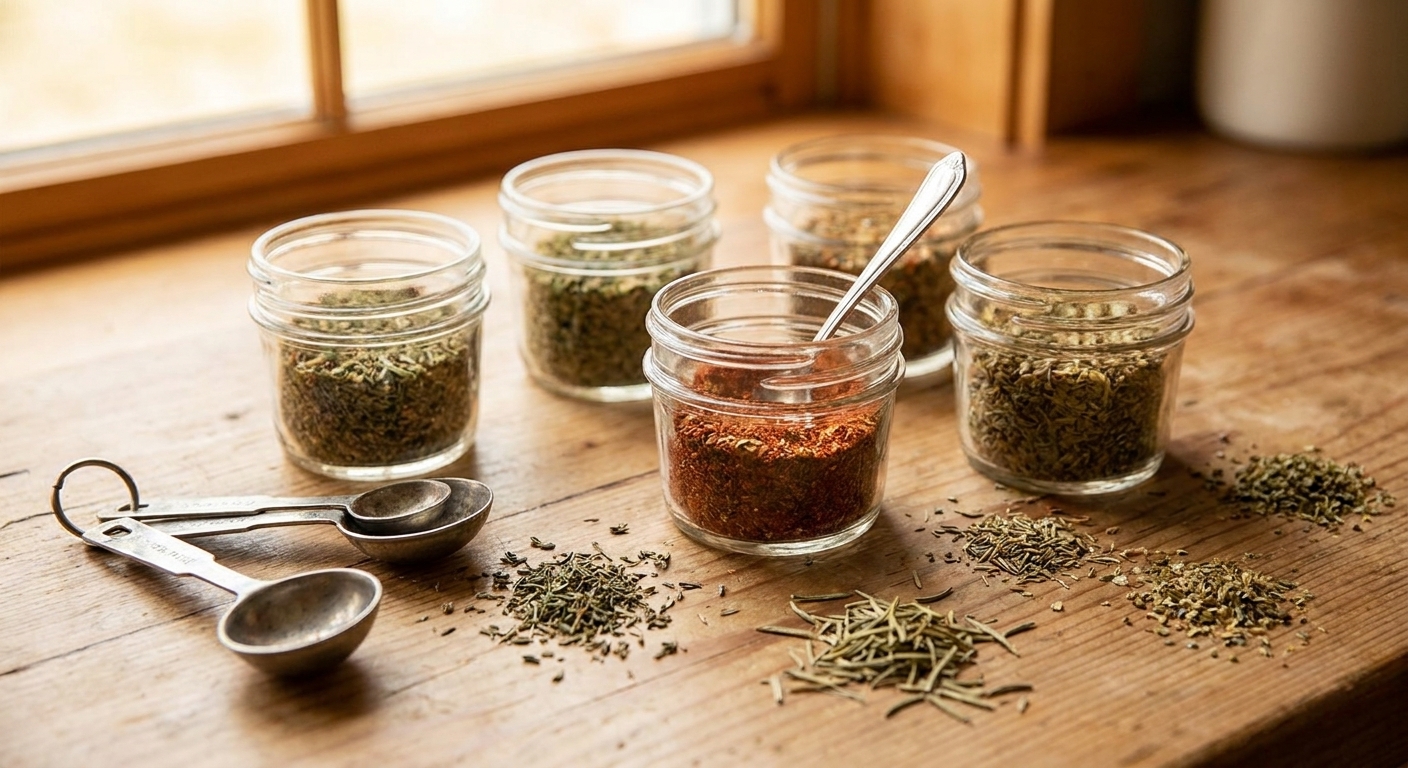
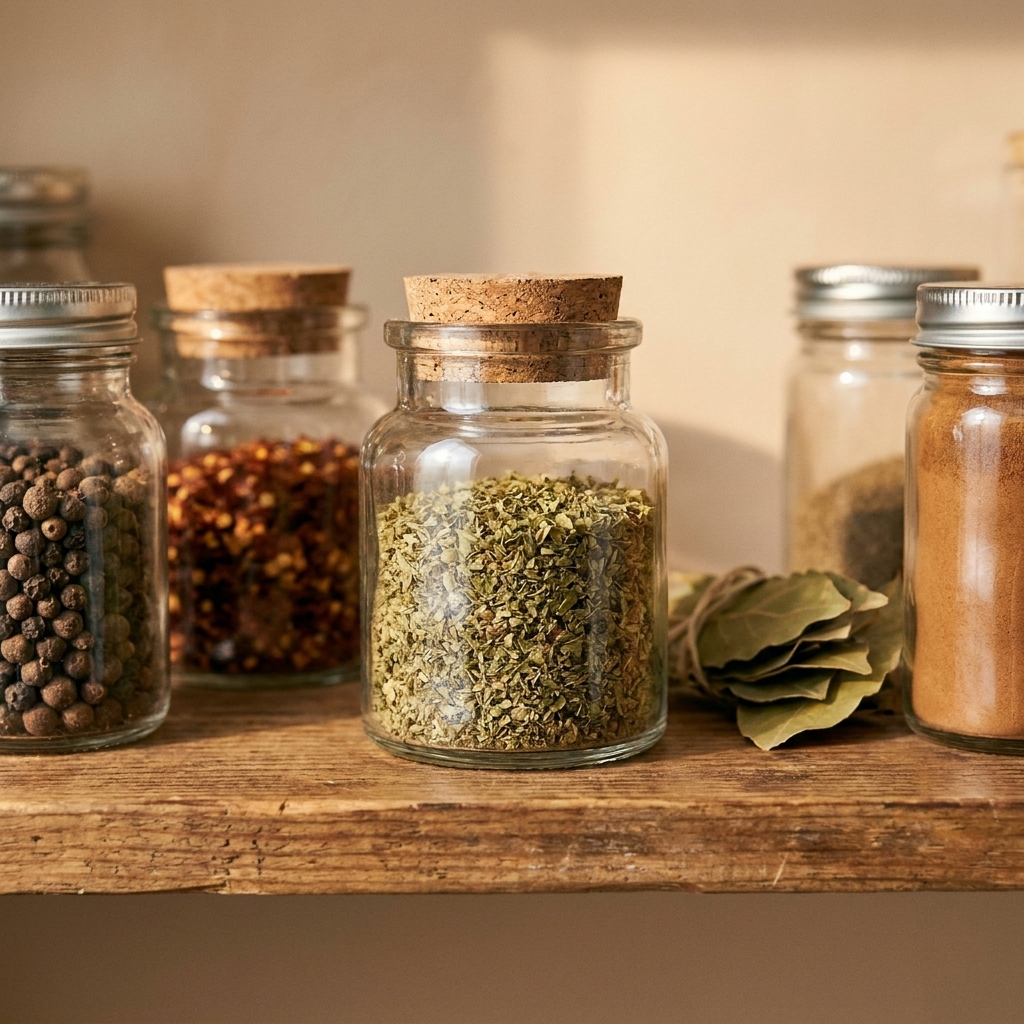
- Store in an airtight jar or tin.
- Keep in a cool, dark cupboard away from the stove.
- Label with the herb name and month you dried it.
If you live somewhere very humid, you can add a food-safe desiccant packet to the jar to help keep things dry. Not required, but it can be a nice little insurance policy.
For best flavor, I try to use microwave-dried herbs within 1 to 3 months. They are generally safe longer if they are truly crisp-dry and kept dry, but the brightest aroma fades over time.
Common problems
My herbs turned brown
This usually means too much heat at once. Next time:
- Shorten bursts to 10 to 15 seconds
- Dry smaller batches
- Make sure herbs are very dry before starting
- Try 50 to 70 percent power if your microwave runs hot
They feel dry, but get soft in the jar
They were not fully dried through, or they were jarred while warm.
- Spread them back out and microwave for 10 seconds, then rest and retest.
- Cool completely before sealing.
My herbs flew around the microwave
Light leaves can lift from airflow and hot spots. Use the paper towel on top, and if needed, set a microwave-safe plate on top to keep everything still.
They smell burnt
Unfortunately, burnt is burnt. Toss that batch and start over with shorter bursts. For the next round, aim for “dry and fragrant,” not “dry and toasted.”
Safety notes
- Do not microwave wet herbs. They steam, cook, and can get slimy instead of dry.
- Stay nearby. This is not a set-it-and-forget-it project.
- Use microwave-safe dishes and plain paper towels.
- Let the plate cool if it feels hot. Overheating the dish can contribute to scorching.
Quick FAQs
Can I microwave-dry herbs without paper towels?
You can, but paper towels help absorb moisture and protect leaves from hot spots. If you want a reusable option, a clean cotton tea towel works well. Just be sure it is dry and lint-free.
Should I use the defrost setting?
Some microwaves do better on lower power, especially if yours runs hot. If you have scorched herbs before, try 50 to 70 percent power with slightly longer bursts.
Do microwave-dried herbs taste as good as air-dried?
For small batches, they can taste surprisingly fresh, especially leafy herbs like parsley and mint. Air-drying often wins for big harvests and woody herbs, but when I need dried herbs in a pinch, the microwave is a very respectable shortcut.
Can I dry herbs still on the stem?
For tender stems (dill, thyme), yes. For thicker stems (basil, parsley), strip the leaves first so they dry evenly and do not trap moisture.
Use them tonight
If you are drying herbs because dinner is waiting, here is my quick go-to: stir a pinch of your freshly dried parsley or oregano into melted butter or olive oil with a little salt and a squeeze of lemon, then spoon it over roasted potatoes, eggs, or a simple bowl of beans. It tastes like you planned ahead, even if you absolutely did not.