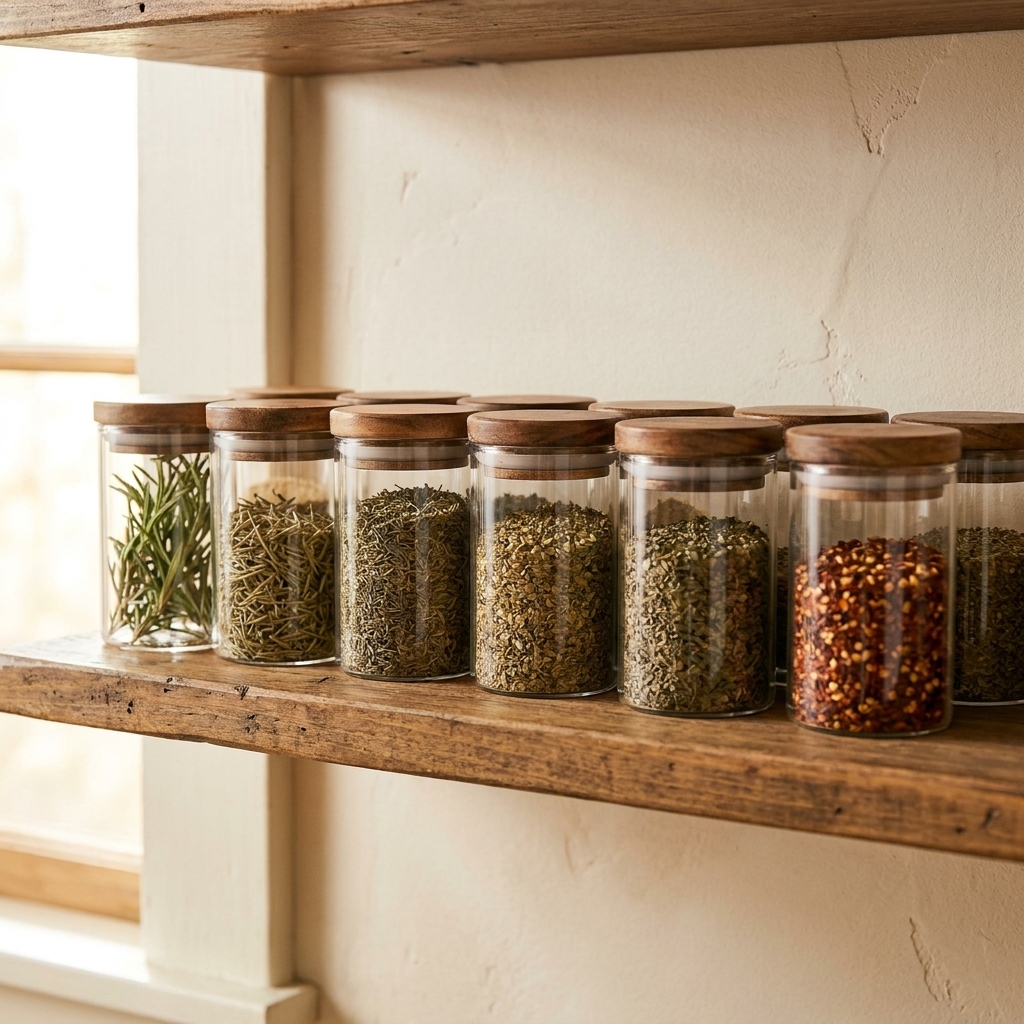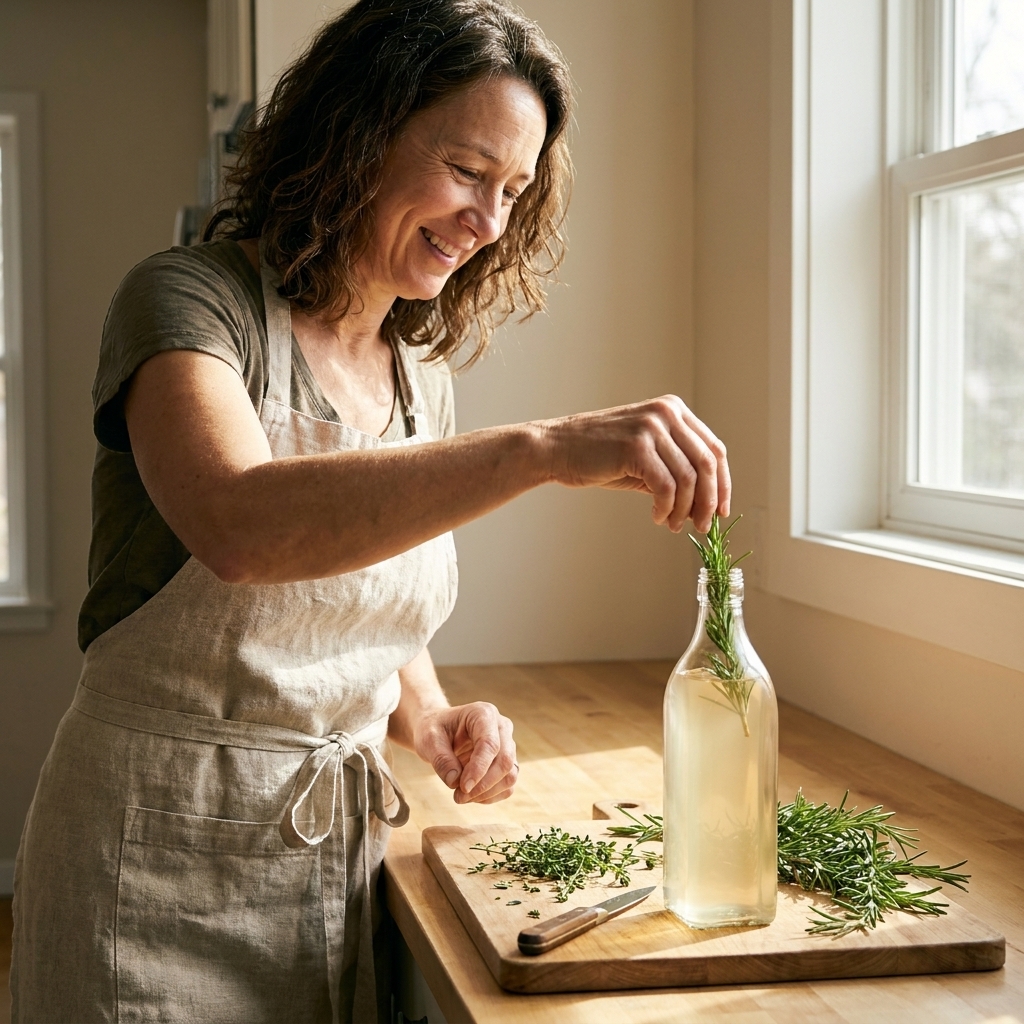
The first time I made herb salt, I felt like I’d discovered a tiny kitchen shortcut that also happened to be a preservation method. One jar on the counter, and suddenly scrambled eggs, tomato slices, roasted potatoes, and even buttered popcorn tasted like I’d done something fancy on purpose.
Herb salts are exactly what they sound like: fresh herbs blended with salt, then dried so the flavor sticks around long after the basil has bolted and the thyme has gone woody. If you can snip herbs and operate a blender or food processor, you can make these.

Why herb salts work so well
Salt is a natural preservative. When you combine it with fresh herbs, it draws out moisture. Once you dry the mixture thoroughly, the result is a shelf-stable seasoning with concentrated herb flavor.
- Bigger flavor, less effort: the herbs are already evenly distributed, so every pinch tastes balanced.
- A great use for “too much”: especially basil, oregano, thyme, sage, and rosemary in midsummer.
- Beautiful gifts: a small jar with a handwritten label feels personal without being fussy.
Choose your salt and herbs
Best salt for herb salt
You have options, and they all work. I keep it simple and choose based on what I’m cooking.
- Kosher salt: my everyday choice. Easy to pinch and dissolves nicely.
- Sea salt (fine or coarse): great flavor, and coarse crystals look pretty in a jar.
- Flaky salt: delicate and lovely, but it can clump more easily if the herb mixture is not fully dried.
- Table salt: works in a pinch, but it’s very fine and can go from “seasoned” to “salty” quickly.
Best herbs to use
Think sturdy, aromatic herbs. Tender herbs work too, but they dry differently and can lose some brightness if overheated.
- Excellent: rosemary, thyme, oregano, sage, savory, marjoram
- Wonderful and summery: basil, dill, chives, parsley, cilantro
- Use a lighter hand: mint and tarragon (they can dominate)
Quick garden note: harvest in the morning after dew has dried but before the day gets hot. That’s when herbs are usually at their most fragrant.
The basic ratio (and how to tweak it)
For a balanced, “use-it-on-everything” herb salt, start here:
- 1 cup salt
- 1 cup loosely packed fresh herbs (leaves and tender stems)
This 1:1 starting point is forgiving. Measure loosely and do not stress about exactness. Herb volume varies a lot depending on what you’re using. Want a bolder jar? Add more herbs. Want something that behaves more like plain salt with a gentle herbal background? Use 1 cup salt to 1/2 cup herbs.
My rule of thumb: very strong herbs like rosemary and sage taste best when they are not the only herb in the mix. Basil and parsley can carry more of the volume.
Step-by-step: blend, dry, and store
1) Wash and dry your herbs well
Rinse herbs if needed, then dry thoroughly. Excess water is the enemy of a free-flowing herb salt.
- Spin in a salad spinner, then pat dry with a towel.
- Let them air-dry on a clean kitchen towel for 20 to 30 minutes if they still feel damp.
2) Strip leaves and use tender stems
Woody stems (older rosemary and thyme stems, for example) do not break down nicely. Stick with leaves and tender tips for the best texture.
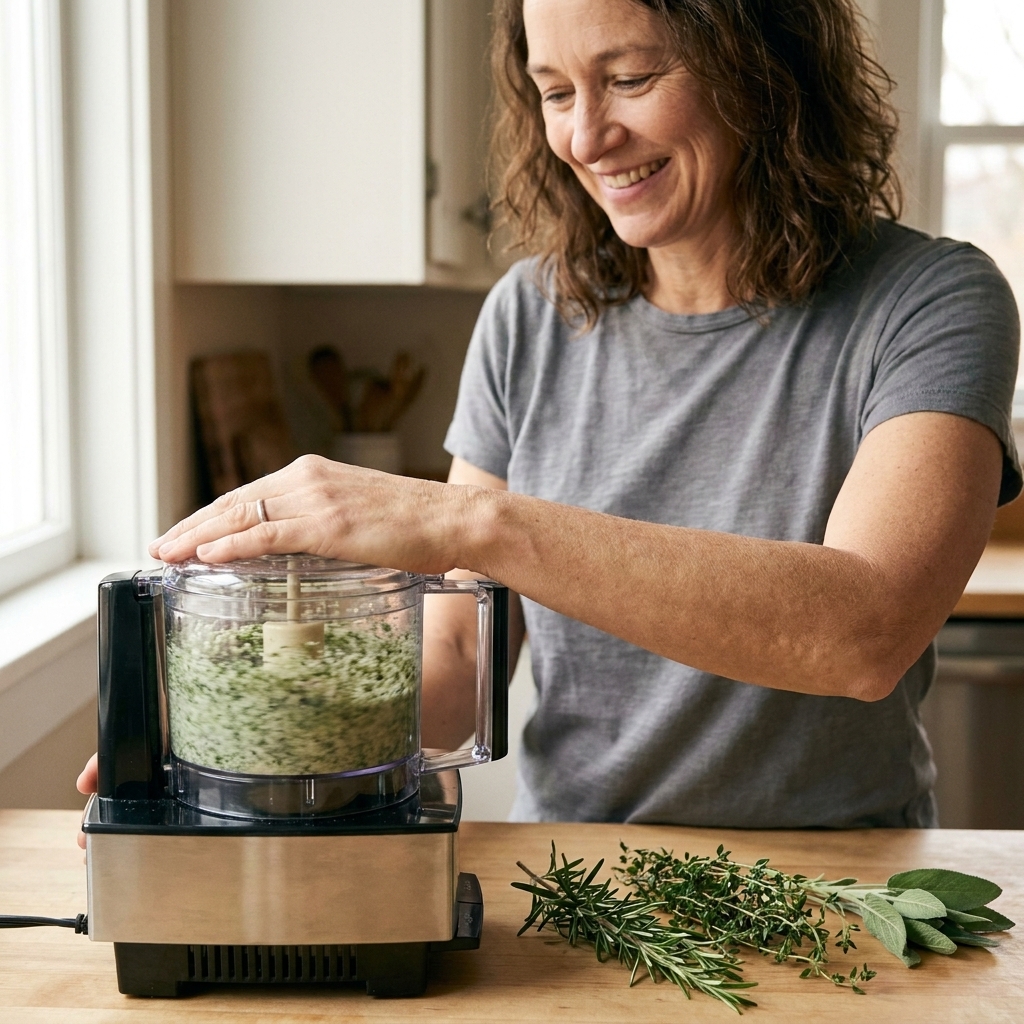
3) Blend until it looks like wet sand
Add the salt and herbs to a food processor, mini chopper, or blender. Pulse until the herbs are finely chopped and the salt is evenly green and fragrant. Scrape down the sides once or twice so you do not end up with wet pockets.
You are aiming for a texture that resembles damp, herbal beach sand. If the mixture starts smearing into a paste, you either blended too long or the herbs were too wet. It will still dry, but it may need extra time and stirring.
Drying methods (pick what fits your day)
Option A: Air-dry (my favorite for maximum aroma)
Spread the herb salt in a thin, even layer on a parchment-lined baking sheet. Leave it in a warm, dry spot out of direct sunlight.
- Time: 24 to 72 hours
- How to help it along: stir once or twice a day and break up clumps with a fork
Air-drying keeps the herbs smelling bright and garden-fresh, especially basil and dill.
Option B: Oven-dry (fast and reliable)
Set your oven to the lowest temperature it will hold, which is often 170°F (about 75°C). Spread the mixture thinly on a parchment-lined sheet pan. If your oven runs cool you can go a little higher, but treat 200°F (about 95°C) as the upper end, especially for delicate herbs.
- Time: 30 to 90 minutes, depending on moisture level
- Tip: keep the oven door cracked slightly with a wooden spoon if your oven runs hot
- Stir: every 15 to 20 minutes so the edges do not over-dry
You want dry and crumbly, not toasted. If you smell “cooked” herbs, lower the heat.
Option C: Dehydrator (set it and forget it)
Use fruit leather trays or line dehydrator trays with parchment so the salt does not fall through.
- Temp: 95°F to 115°F (35°C to 46°C)
- Time: 2 to 6 hours

How to know it’s dry enough
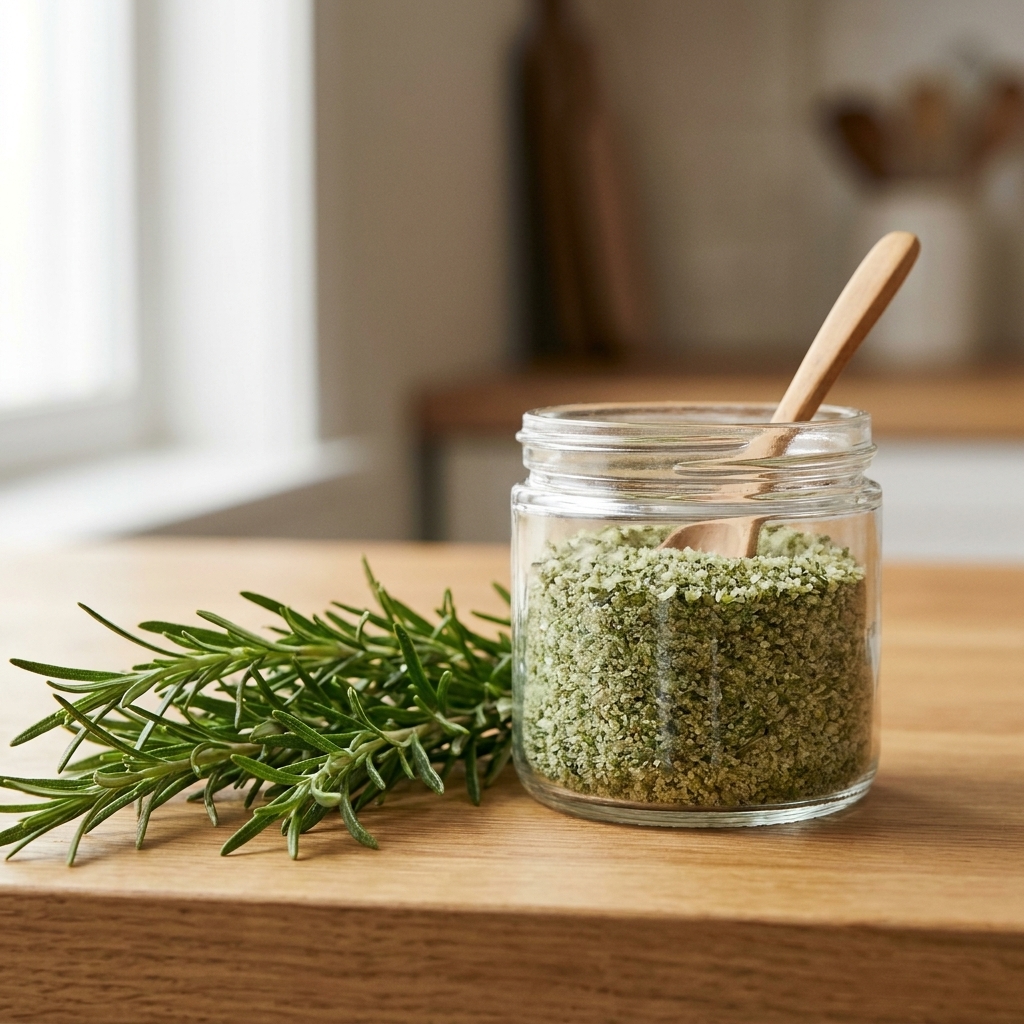
Herb salt should feel like dry sand again, not cool and damp. A few signs you are ready to jar it:
- It crumbles easily between your fingers.
- No dark, wet clumps remain in the center of the pile.
- The mixture no longer feels tacky on the parchment.
If you are unsure, dry longer. A little extra drying time is harmless. Storing even slightly damp herb salt can lead to clumping and, in worst cases, spoilage.
Storing herb salts (and keeping them clump-free)
Once fully dry, let the herb salt cool completely on the tray, then transfer to clean, dry jars with tight lids. Cooling first helps prevent condensation from forming inside the jar.
I like small jars because you open them often, and the aroma stays stronger when the container is not half empty for months.
- Store it cool and dark: a pantry away from heat and light helps keep the herb flavor brighter.
- Keep away from steam: do not store right above the stove if you can help it.
- Use dry utensils: moisture introduced from a wet spoon is a common clumping culprit.
- Label it: herb blend + date. You will thank yourself later.
Shelf life: For best flavor, use within 6 to 12 months. If it ever shows signs of moisture, mold, or an off smell, discard it and start fresh.
Four blends I make on repeat
Basil garlic salt
- 1 cup kosher or fine sea salt
- 1 cup packed basil leaves
- 1 small clove garlic, peeled (optional)
Use it on: tomatoes, eggs, pasta, grilled zucchini, popcorn.
Garlic note: Fresh garlic adds moisture. If you use it, keep the amount small and dry the mixture completely. If you want the lowest-fuss, most stable version, use a little garlic powder or dried garlic instead.
Rosemary lemon salt
- 1 cup sea salt
- 1/2 cup rosemary needles (chopped)
- Zest of 1 to 2 lemons (avoid the bitter white pith)
Use it on: roasted potatoes, chicken, white beans, focaccia.
Thyme and pepper salt
- 1 cup kosher salt
- 3/4 cup thyme leaves and tender tips
- 1 to 2 teaspoons cracked black pepper
Use it on: mushrooms, lentils, roast carrots, pan sauces.
Garden “everything” herb salt
- 1 cup salt
- 1/2 cup basil
- 1/4 cup parsley
- 2 tablespoons chives
- 2 tablespoons thyme
- 1 tablespoon oregano
Use it on: basically anything that starts with olive oil and a hot pan.
How to use herb salt in everyday cooking
Herb salt is salt first, so treat it like a seasoning, not a garnish you pile on at the end. A little goes a long way.
- Roasted vegetables: toss with oil, then season with herb salt before roasting.
- Simple proteins: sprinkle on chicken thighs, salmon, tofu, or pork chops before cooking.
- Finishing touch: a pinch on sliced tomatoes, avocado, or cucumbers.
- Bread and butter: stir into softened butter for instant herb butter.
- Soups and grains: use it to season rice, quinoa, and broth-based soups.
One small habit: if a recipe already calls for salt, swap in herb salt and then taste before adding more. It is easy to overdo it the first few times.
Troubleshooting
My herb salt clumped into a brick
This usually means it was jarred before it was fully dry, or it picked up moisture near the stove. Break it up and spread it back out to dry again, let it cool, then re-jar in a dry container.
It turned dark or smells “cooked”
Oven temperature was likely too high, especially for basil and parsley. Next time, lower the heat and dry longer, or air-dry instead.
The flavor is faint
Use more herbs, dry more gently (air-dry or dehydrator), and store in a smaller jar away from heat and light.
Can I use dried herbs instead of fresh?
You can, but it becomes a different kind of blend. Stir dried herbs into salt and use immediately, but you do not get the same infused, cohesive flavor as blending fresh herbs and drying them together.
Herb salt safety notes
Herb salt is low-risk when dried properly, but a few habits keep it extra dependable:
- Dry thoroughly: moisture is the main issue to avoid. If you have any doubt, keep drying.
- Be cautious with fresh garlic: garlic adds moisture, and moist, low-oxygen environments are where botulism can become a concern. Herb salt is generally safe when it is truly dried and stored dry, but if you cannot dry it completely, skip fresh garlic. For maximum stability, use garlic powder or pre-dried garlic.
- Use clean, dry jars: wash and dry completely before filling.
- Discard if anything seems off: moisture, visible mold, or odd odors are your cue to toss it.
Make summer last
I love drying bundles of herbs as much as anyone, but herb salts are my go-to when I want something practical. One afternoon of snipping and blending turns into months of easy, fragrant cooking.
If you try one blend first, make basil salt. It tastes like sunshine on a slice of tomato, even when the garden is just a memory.
FAQ
Do I need a food processor?
No. You can chop herbs very finely with a knife and mix with salt, then dry. The texture will be a bit chunkier, but still delicious.
Can I use herb salt in a grinder?
If it is very dry and fairly fine, yes. Coarse blends with larger herb pieces may clog. I usually keep mine in a pinch jar instead.
How much herb salt should I use instead of regular salt?
Start with a 1:1 swap, then taste. Because herb salt can be more aromatic, it often feels “stronger” even when the saltiness is similar.
What’s the best herb salt for gifts?
Rosemary lemon salt and basil garlic salt are crowd-pleasers. They smell incredible when the jar is opened and pair with lots of foods.