Mint is the friend who shows up with snacks, helps you clean the kitchen, then quietly moves into your guest room. I adore mint for tea, summer salads, and a quick handful tossed into a bowl of berries, but I have also watched it creep under a fence line like it had a plan.
The good news is you do not have to ban mint from your garden. You just need to give it boundaries it cannot charm its way around. Below are my go-to, real-life methods for growing mint safely, especially the “sunken pot” approach that lets you enjoy the look of mint in the ground without the takeover.
Why mint spreads so aggressively
Mint spreads through underground rhizomes and, in the right conditions, it can also send out surface runners that root as they go. Those stems travel outward, pop up new shoots, and keep going. If conditions are good, mint does not politely stay where you planted it.
Mint is especially happy when it has:
- Moist soil (not soggy, just consistently damp)
- Decent sun (full sun to partial shade)
- Loose garden soil that is easy to tunnel through
- Room at the edges of beds where you do not notice runners until it is too late
Containment is really about blocking those roaming stems and controlling the edges.
The easiest rule: do not plant mint naked
If you remember one thing, let it be this: mint belongs in a container or behind a barrier. Even small yard beds can become mint beds in a couple of seasons if you give mint free rein.
You have three solid options:
- Container above ground (simple, portable, very effective)
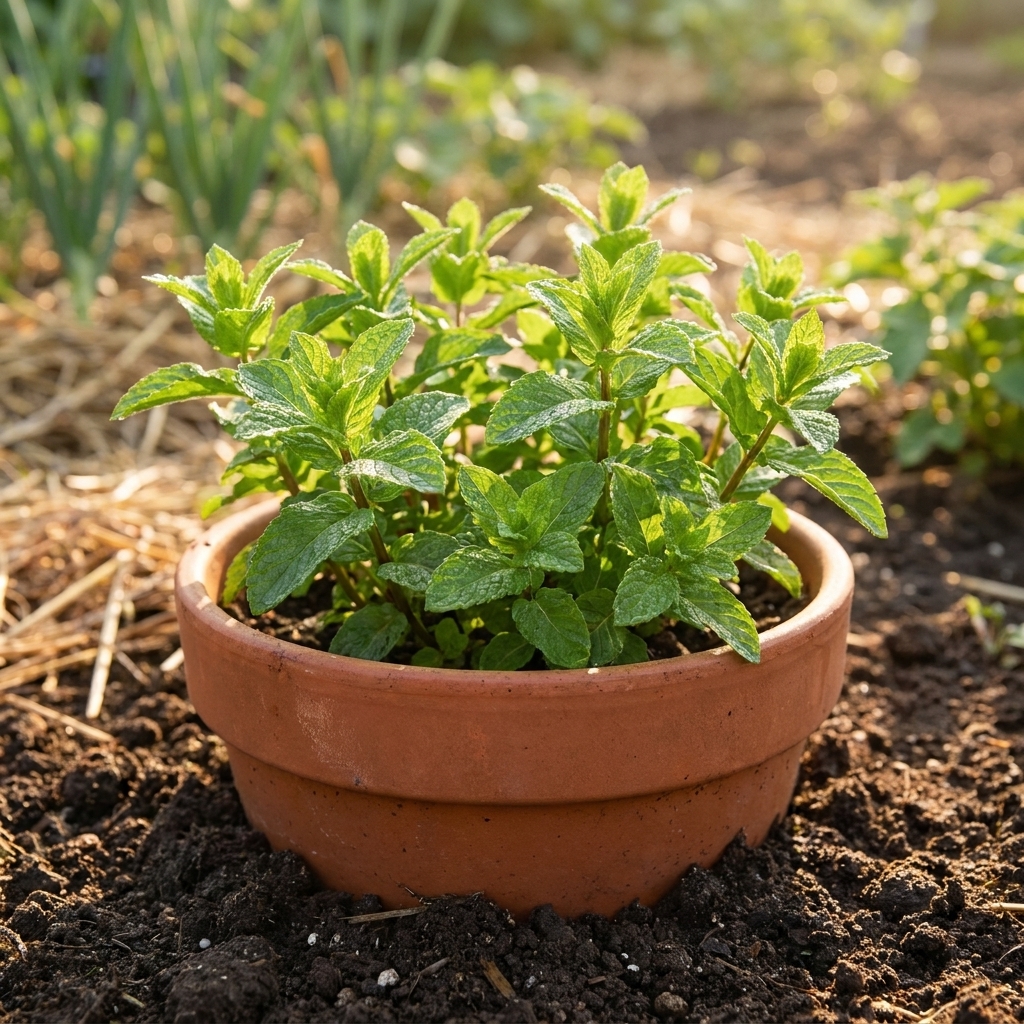
- Container sunk into the ground (my favorite for a tidy, in-bed look)
- Physical barrier in the soil (best for larger, dedicated mint patches)
Method 1: Sink a pot in a bed
This is my go-to when I want mint near the kitchen path, tucked into a raised bed corner, or right beside my lettuce where I will actually remember to harvest it.
What you need
- A pot that is 12 to 18 inches wide (bigger is easier to keep evenly moist)
- 10 to 14 inches deep is ideal
- Potting mix (or a blend of potting mix and compost)
- Scissors or pruners
Important: Use a pot with drainage holes. Mint likes moisture, but it still needs drainage.
Step-by-step
- Choose your spot. Mint grows well in full sun to partial shade. If your summers are hot, aim for morning sun and afternoon shade.
- Dig a hole slightly wider than your pot. You want the pot to slide in without cracking.
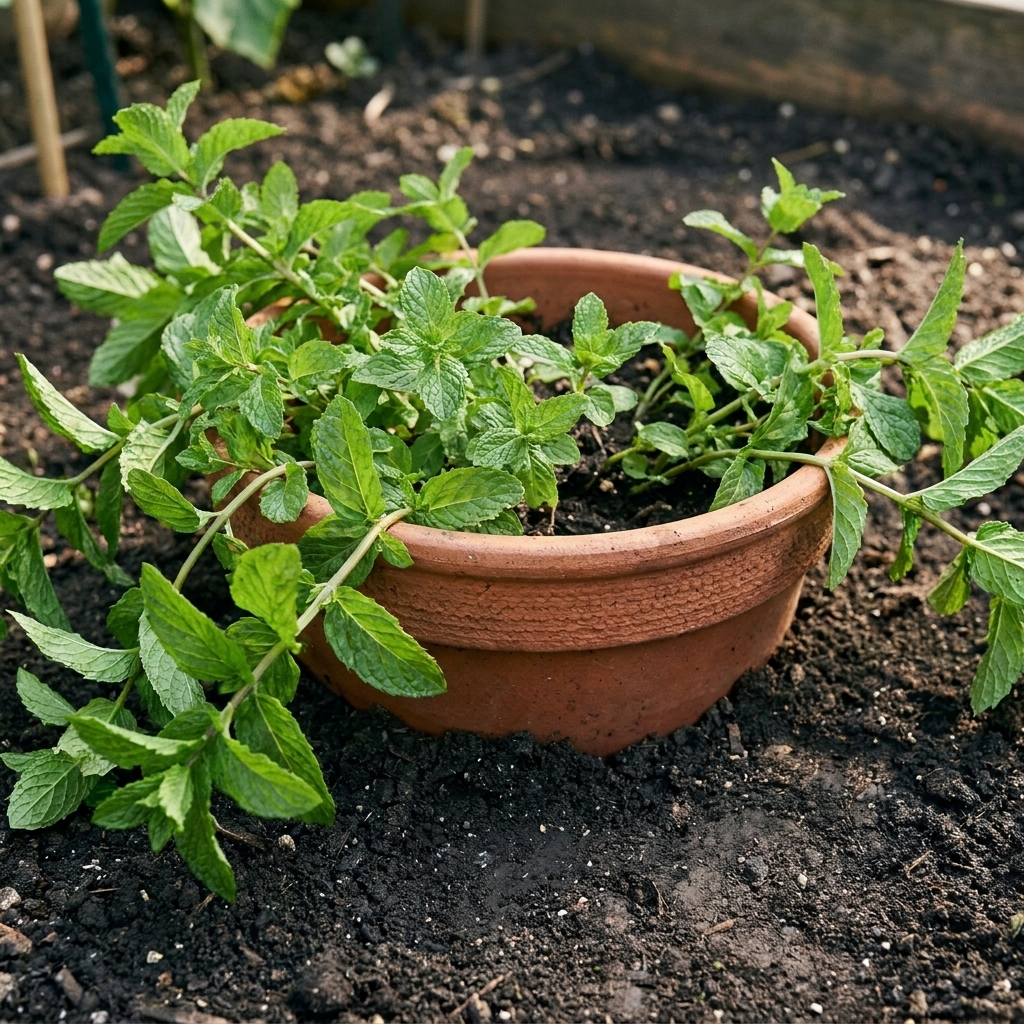
- Sink the pot so the rim sits 1 to 2 inches above the soil line. This is the secret. If the rim is flush, runners can creep right over the edge and root outside the pot.
- Backfill around the pot firmly. Press soil around the outside so there are no gaps where runners can sneak along.
- Fill with potting mix and plant mint. Water deeply to settle everything.
- Mulch lightly on top. A thin layer helps retain moisture, but keep mulch away from the rim so you can spot escapees.
Method 2: Pots above ground
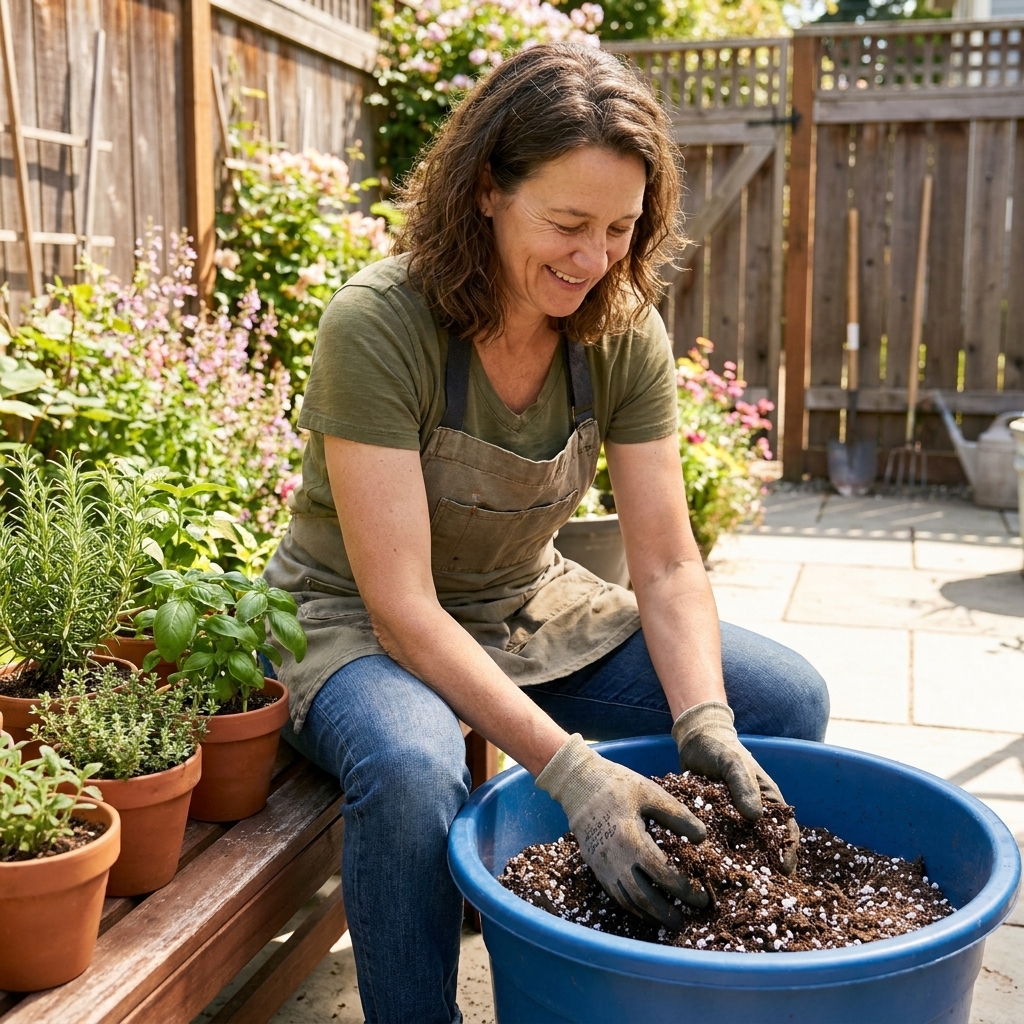
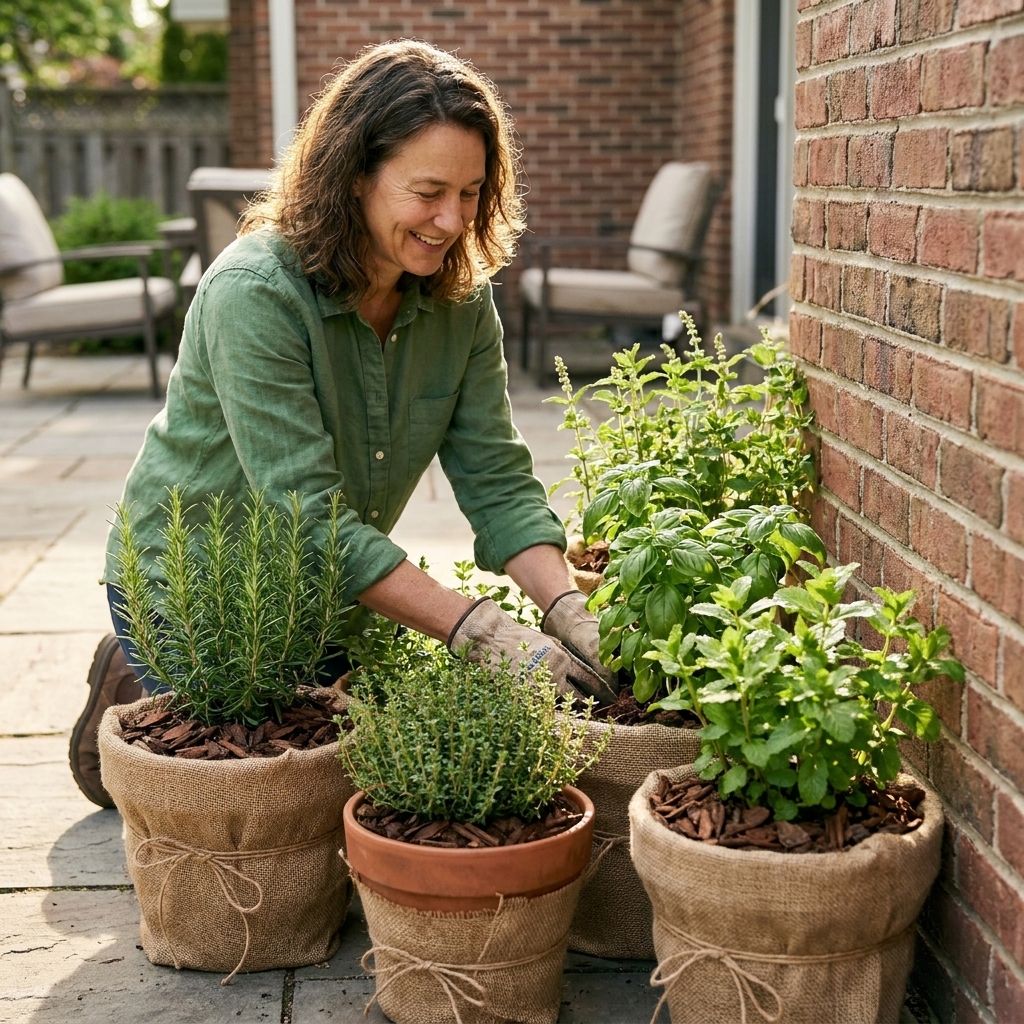
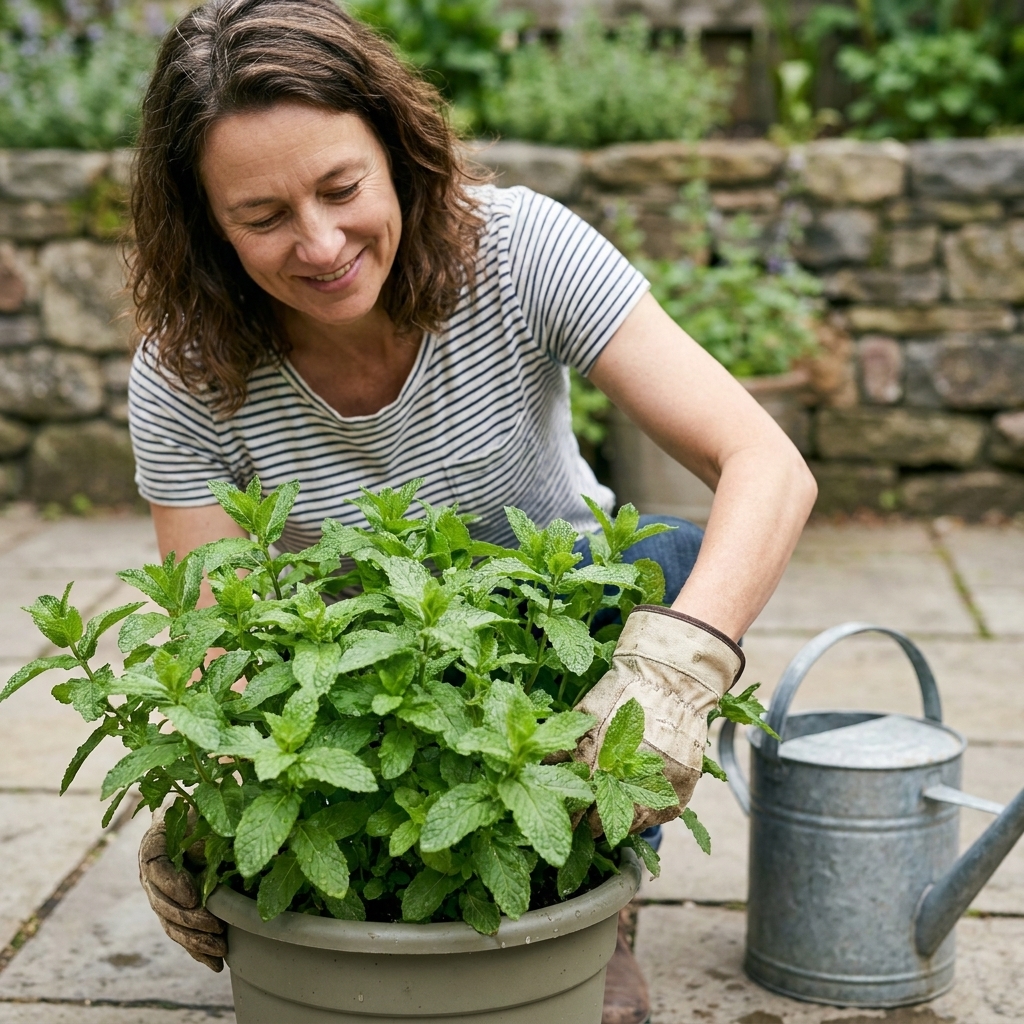
If you want maximum control, keep mint in a pot on a patio, steps, balcony, or right outside the kitchen door. I did this for years in apartment life, and it is still the cleanest way to prevent spread.
Container tips
- Go bigger than you think. A 10-inch pot works, but a 14-inch pot is less fussy about watering.
- Use potting mix, not garden soil. Potting mix drains well and stays airy.
- Water consistently. Mint wilts dramatically when it dries out, then bounces back. Try not to put it through that rollercoaster too often.
- Feed lightly. A little compost top-dressed in spring is usually enough. Too much nitrogen can mean a jungle of soft growth.
If your pot sits on soil, place it on a paver or saucer so runners cannot root through the drainage holes and into the ground.
Method 3: Root barrier patch
Sometimes you truly want a dedicated mint area, especially if you make a lot of tea, syrups, or herbal bundles. In that case, a barrier can work, but it needs to be done like you mean it.
Barrier materials
- HDPE root barrier (the most reliable option)
- Thick plastic edging rated for root control
- Metal edging can work if seams are tight and it is tall enough
Aim for a barrier that goes 12 to 18 inches deep. Mint tends to spread shallowly, but depth needs vary with soil type and how loose and moist your beds stay.
How to install it
- Mark your mint zone. A circle or rectangle works fine. Bigger than 2 x 2 feet will still require maintenance.
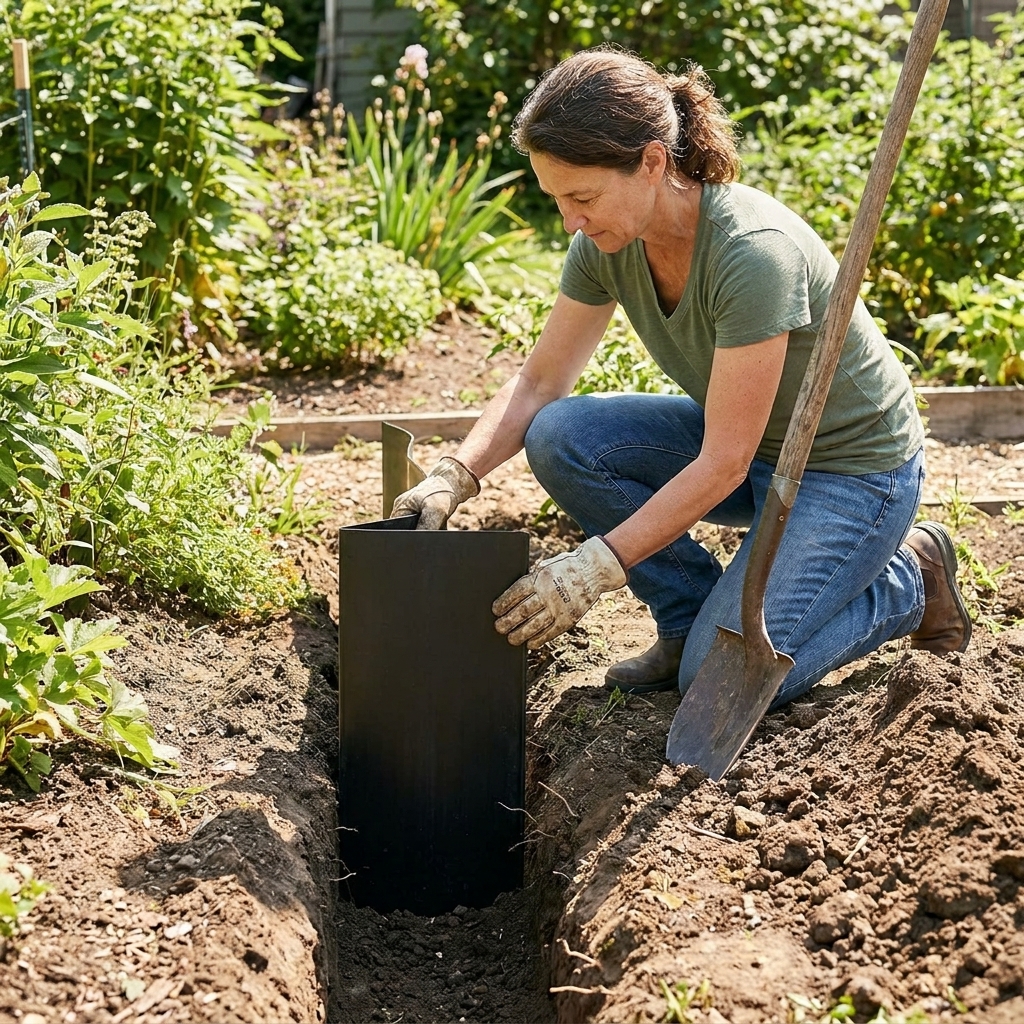
- Dig a trench. Make it deep enough for your barrier with a little extra wiggle room.
- Install the barrier with 1 to 2 inches above soil level. Just like the sunken pot method, that above-ground lip matters.
- Overlap seams by several inches. Mint will find weak points.
- Backfill firmly and plant. Water well and watch the edges during the first season.
Habits that keep mint contained
Even perfectly contained mint benefits from a few routines. These are the little habits that keep mint sweet, bushy, and cooperative.
Harvest often
The more you harvest, the better mint behaves. Regular cutting keeps it from flopping outward and trying to root wherever it touches.
- Start harvesting once stems are 6 to 8 inches tall.
- Cut back to just above a set of leaves to encourage branching.
- For a big harvest, cut up to one-third of the plant at a time.
Do a rim patrol
If your mint is in a sunken pot or behind a barrier, take 30 seconds to look around the edges twice a month. If you see a runner or a little mint sprout outside the boundary, pull it right away, roots and all.
Lift and root-prune
Mint can become root-bound, which makes it thirstier and can reduce vigor and leaf quality. In early spring or early fall:
- Lift the pot out of the ground.
- Slide the mint out and slice off the outer 1 to 2 inches of roots and soil.
- Refresh with new potting mix.
- Replant and water deeply.
Where to plant mint
Containment works best when you also pick a location that fits mint’s personality.
Great spots
- Near the kitchen so you harvest constantly
- Along a path where you can brush the leaves and enjoy the scent
- Morning sun, afternoon shade in warm climates
- Close to a spigot because thirsty mint is cranky mint
Spots to avoid
- Right next to other spreading plants like oregano or lemon balm, unless everything is contained
- Edges of beds where it is easy to miss escapees
- Anywhere you till, because chopped runners can become new plants
How to clean up escaped mint
If you are reading this while staring at mint popping up where it absolutely does not belong, you are not alone. Mint can be removed, but it takes persistence.
If you are considering planting mint in-ground, it is also worth checking local guidance. Mint is not treated as invasive everywhere, but regional conditions and nearby waterways can change the risk.
Step-by-step removal
- Follow the stems to the source. Mint patches are often connected by underground rhizomes.
- Dig after a rain or watering. Damp soil releases roots more easily.
- Lift runners carefully. Try to pull long sections intact.
- Sift the soil with your hands. Even small root pieces can resprout.
- Repeat every 1 to 2 weeks. New shoots are easiest to remove when small.
If mint is tangled in a perennial bed, consider temporarily lifting nearby plants, removing runners, then replanting. It is tedious, but it works.
Skip the rototiller. Chopping mint runners often turns one patch into twelve.
Do not spread it in compost
If you are pulling runners or digging out a patch, be careful where you toss the leftovers. Mint can reroot from fresh stems. Unless you run a reliably hot compost pile, it is safer to let pulled mint dry out completely on a hard surface, or bag it and send it out with yard waste or trash, depending on what your area accepts.
Mint care basics
Containment is only half the story. Good care makes mint lush and flavorful.
Sun and water
- Light: Full sun to partial shade. In hot summers, partial shade keeps leaves tender.
- Water: Keep soil evenly moist. Containers dry faster, so check with your finger and water when the top inch feels dry.
Soil
Mint is not picky, but it is happiest in rich, well-draining soil. In pots, a quality potting mix with a handful of compost is perfect.
Flowers
Mint flowers feed pollinators, and I love them for that. If you want maximum leaf production, pinch flower spikes back. If you want bees and a softer, cottage-garden look, let a few bloom and keep harvesting around them.
Best mint varieties
All mints spread, but some are easier to live with simply because you enjoy using them so much that you harvest them constantly.
- Spearmint: Classic for tea, tabbouleh, and everyday cooking.
- Peppermint: Strong, cooling flavor. Wonderful for tea and desserts.
- Chocolate mint: Fun for iced coffee, whipped cream, and summer treats.
- Apple mint: Softer and slightly fruity, great for fresh garnishes.
If you are planting near other herbs, I recommend starting with spearmint or peppermint so you learn mint’s growth habits with familiar flavors.
Quick FAQ
Can I grow mint in a raised bed?
Yes, but treat the raised bed like open ground. Use a sunken pot or install a barrier. Planting mint directly into a raised bed without containment is very likely to end in a takeover.
Will mint survive winter in a pot?
Often, yes. Mint is hardy in many climates. In very cold regions, pots can freeze solid, which is tougher on roots than in-ground planting. If you get deep freezes, move the pot to a sheltered spot, insulate it, or sink the pot for winter protection.
Does mint grow in shade?
Mint tolerates partial shade well. In full shade it will grow, but it may be leggy and less aromatic. Bright, indirect light is a sweet spot.
Can I plant mint with other herbs?
Only if the mint is contained. Mint will happily invade basil, parsley, thyme, and anything else nearby if it has access to shared soil.
My simple mint plan
If you want the easiest, most forgiving setup, here is what I recommend: pick a sturdy 12 to 18-inch pot, sink it into the bed with the rim 1 to 2 inches above the soil, and harvest mint weekly. You will get a lush plant, a steady supply of leaves, and a garden that still looks like your garden next season.
Mint is a generous herb. With the right boundaries, it stays generous instead of greedy.